> ## Documentation Index
> Fetch the complete documentation index at: https://www.carstoragesoftware.com/docs/llms.txt
> Use this file to discover all available pages before exploring further.
# Connect a custom domain
> Use your own web address for public facility pages, customer login pages, and customer-facing email.
## What you will accomplish
Customers will open links that use **your** business web address—for example `storage.yourfacility.com` or `yourfacility.com`—instead of a default Car Storage Software address. That helps people trust the link and recognize your brand.
## When to use this guide
Use this guide when:
* Your website helper asks for DNS records
* You want customer login or public pages on your own domain
* You are ready to update links on your website, emails, and printed materials
If you have not turned on public pages yet, finish [Configure the facility landing page](/docs/facility-web-pages/configure-the-facility-landing-page) first. Then return here.
## Before you start
* You own a domain name (for example `smithstorage.com`).
* You can sign in to the company that manages that domain (GoDaddy, Namecheap, Cloudflare, Squarespace, and similar services).
* You know whether you want a **subdomain**, your **primary website**, or **both**.
* You have the name and email of the person who can add DNS records if you do not manage the domain yourself.
* You can enable **Custom domains** from [Settings > Integrations](https://www.carstoragesoftware.com/dashboard/settings/integrations). That adds **\$200/month** to your Car Storage Software subscription.
**DNS in plain English**
**DNS** is the internet’s address book. When someone types your domain, DNS tells their browser where to go. Car Storage Software shows you the records to copy. You or your domain helper paste them at your domain company—nothing installs on your computer.
## Step 1: Enable Custom domains
From the [Dashboard](https://www.carstoragesoftware.com/dashboard), click **Settings**, then **Integrations**.
Direct link: [Settings > Integrations](https://www.carstoragesoftware.com/dashboard/settings/integrations).
Search for **domain** or open the **Custom domains** card under Website. Confirm the **\$200/mo** add-on, then turn it on.
**Expected result:** The card shows **On**, **Custom domain** appears in the settings sidebar, and \$200/month is added to your Car Storage Software subscription (prorated).
## Step 2: Open Custom domain settings
Go to [Settings > Custom domain](https://www.carstoragesoftware.com/dashboard/settings/custom-domain). You can also click **Open custom domain** in the Integrations dialog.
**Do not see Custom domain in Settings?**
Enable **Custom domains** from [Settings > Integrations](https://www.carstoragesoftware.com/dashboard/settings/integrations). That adds a **\$200/month** item to your Car Storage Software subscription (prorated). You need the Payments permission and a card on the subscription. Until it is enabled, use the default **Shareable links** on [Settings > Website & customer app](https://www.carstoragesoftware.com/dashboard/settings/website)—they work without a custom domain.
If **Custom domain** appears in the Settings sidebar, open it and confirm the page title says **Custom domain** with a short description about saving your domain and adding DNS records.
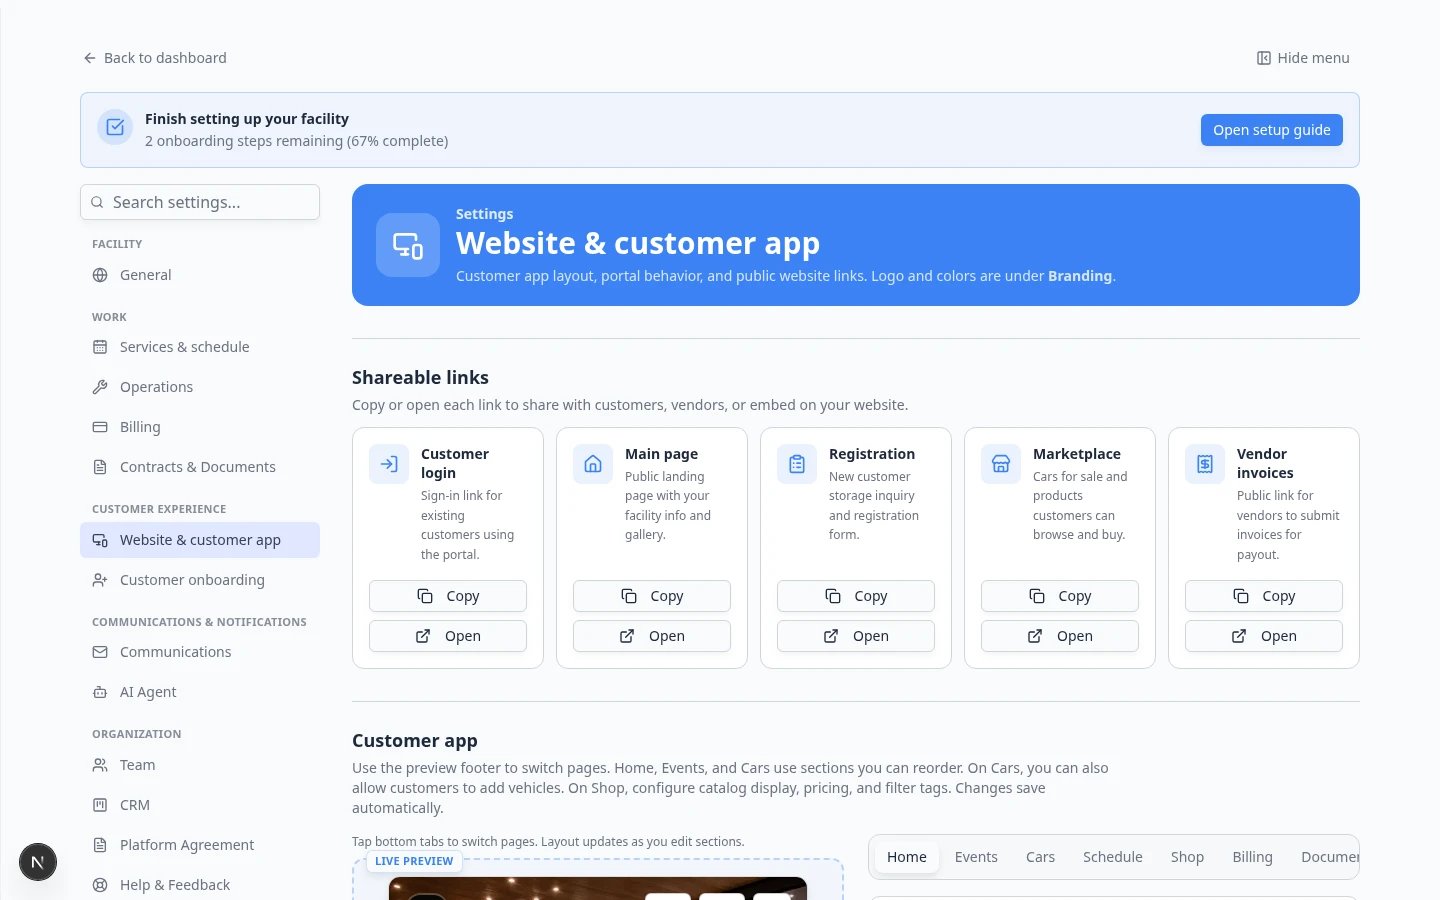 *On **Custom domain**, enter your domain, choose subdomain, primary website, or both, then copy the DNS records.*
### Expected result
You see the domain field and three choices: **Subdomain**, **Primary website**, and **Both**.
## Step 3: Choose where the site should live
On [Settings > Integrations](https://www.carstoragesoftware.com/dashboard/settings/integrations), open **Custom domain** after it is enabled. You can also open [Settings > Custom domain](https://www.carstoragesoftware.com/dashboard/settings/custom-domain).
Enter the primary domain your facility owns, such as `megaspeedstorage.com`. Then choose one option:
* **Subdomain** — host the customer site at an address such as `storage.megaspeedstorage.com`. Your existing marketing site stays where it is.
* **Primary website** — host at `megaspeedstorage.com` and `www.megaspeedstorage.com`.
* **Both** — public pages on the primary domain, customer login on the subdomain you choose.
Save the choice. Existing hostnames that are not part of the new choice stay connected so current links keep working.
## Step 4: Add the DNS records
The dialog shows the records for the choice you made.
* A subdomain uses a **CNAME**.
* The primary domain uses **A** records (and **AAAA** when shown). Also add the **www** record when you chose the primary website or both.
* Add any **TXT** verification row before the domain shows as verified.
Copy each record exactly, add it at the company that manages the domain, then use **Check DNS**.
*On **Custom domain**, enter your domain, choose subdomain, primary website, or both, then copy the DNS records.*
### Expected result
You see the domain field and three choices: **Subdomain**, **Primary website**, and **Both**.
## Step 3: Choose where the site should live
On [Settings > Integrations](https://www.carstoragesoftware.com/dashboard/settings/integrations), open **Custom domain** after it is enabled. You can also open [Settings > Custom domain](https://www.carstoragesoftware.com/dashboard/settings/custom-domain).
Enter the primary domain your facility owns, such as `megaspeedstorage.com`. Then choose one option:
* **Subdomain** — host the customer site at an address such as `storage.megaspeedstorage.com`. Your existing marketing site stays where it is.
* **Primary website** — host at `megaspeedstorage.com` and `www.megaspeedstorage.com`.
* **Both** — public pages on the primary domain, customer login on the subdomain you choose.
Save the choice. Existing hostnames that are not part of the new choice stay connected so current links keep working.
## Step 4: Add the DNS records
The dialog shows the records for the choice you made.
* A subdomain uses a **CNAME**.
* The primary domain uses **A** records (and **AAAA** when shown). Also add the **www** record when you chose the primary website or both.
* Add any **TXT** verification row before the domain shows as verified.
Copy each record exactly, add it at the company that manages the domain, then use **Check DNS**.
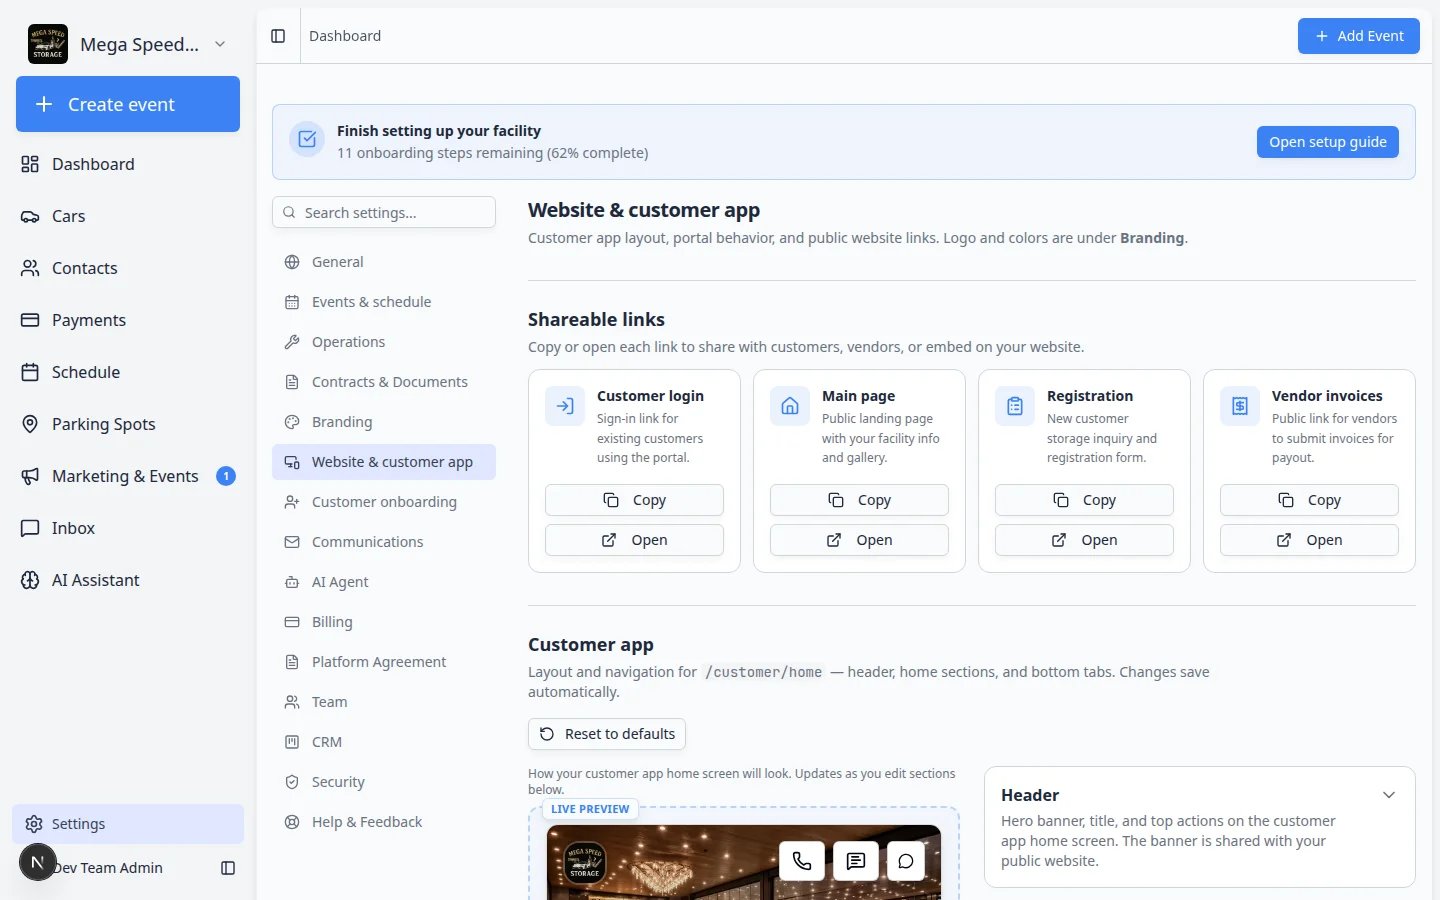 *Copy every DNS record from this table into your domain provider. Use the Purpose column if your helper asks what each record does.*
### Expected result
You have a complete list of records ready to paste at your domain company.
## Step 5: Add the records at your domain provider
Sign in where your domain is managed. Open a section named **DNS**, **DNS settings**, **Manage DNS**, or **Advanced DNS**.
Create a new record for each row from Car Storage Software. Match **Type**, **Host**, and **Value** carefully.
**Why this matters:** Your domain company may call **Host** something else—**Name**, **Hostname**, or **Points to**. If you are unsure, send your website helper a screenshot of the Car Storage Software table and ask them to add matching rows.
Some providers add your domain name automatically in the **Host** field. If Car Storage Software says `app` but your provider shows `app.yourfacility.com`, that is often correct. If both the full address and the short name appear, you may have a duplicate—ask your helper before saving.
Click **Save**, **Publish**, or **Apply** at your domain provider when you are done.
**Expected result:** Each new row appears in your provider's DNS list with the same type and value Car Storage Software showed.
**Send this to your website helper**
If you do not manage DNS yourself, copy the full DNS table from [Settings > Custom domain](https://www.carstoragesoftware.com/dashboard/settings/custom-domain) and email it with: "Please add these DNS records for our Car Storage Software customer login / website. Let me know when they are saved so I can click Check DNS."
**Do not delete records unless you are sure**
Your domain may already have records for your website or email. If you are not sure whether to change or remove an existing record, ask your domain helper before deleting anything.
### Expected result
Your domain provider shows the new records and confirms they were saved.
## Step 6: Check DNS in Car Storage Software
Return to [Settings > Custom domain](https://www.carstoragesoftware.com/dashboard/settings/custom-domain).
Click **Check DNS** for the setup option you changed.
You may see:
* **Verified** or **Complete** when the records are found
* **DNS pending** when changes are still spreading across the internet
* **Missing** when one or more records still need to be added or corrected
*Copy every DNS record from this table into your domain provider. Use the Purpose column if your helper asks what each record does.*
### Expected result
You have a complete list of records ready to paste at your domain company.
## Step 5: Add the records at your domain provider
Sign in where your domain is managed. Open a section named **DNS**, **DNS settings**, **Manage DNS**, or **Advanced DNS**.
Create a new record for each row from Car Storage Software. Match **Type**, **Host**, and **Value** carefully.
**Why this matters:** Your domain company may call **Host** something else—**Name**, **Hostname**, or **Points to**. If you are unsure, send your website helper a screenshot of the Car Storage Software table and ask them to add matching rows.
Some providers add your domain name automatically in the **Host** field. If Car Storage Software says `app` but your provider shows `app.yourfacility.com`, that is often correct. If both the full address and the short name appear, you may have a duplicate—ask your helper before saving.
Click **Save**, **Publish**, or **Apply** at your domain provider when you are done.
**Expected result:** Each new row appears in your provider's DNS list with the same type and value Car Storage Software showed.
**Send this to your website helper**
If you do not manage DNS yourself, copy the full DNS table from [Settings > Custom domain](https://www.carstoragesoftware.com/dashboard/settings/custom-domain) and email it with: "Please add these DNS records for our Car Storage Software customer login / website. Let me know when they are saved so I can click Check DNS."
**Do not delete records unless you are sure**
Your domain may already have records for your website or email. If you are not sure whether to change or remove an existing record, ask your domain helper before deleting anything.
### Expected result
Your domain provider shows the new records and confirms they were saved.
## Step 6: Check DNS in Car Storage Software
Return to [Settings > Custom domain](https://www.carstoragesoftware.com/dashboard/settings/custom-domain).
Click **Check DNS** for the setup option you changed.
You may see:
* **Verified** or **Complete** when the records are found
* **DNS pending** when changes are still spreading across the internet
* **Missing** when one or more records still need to be added or corrected
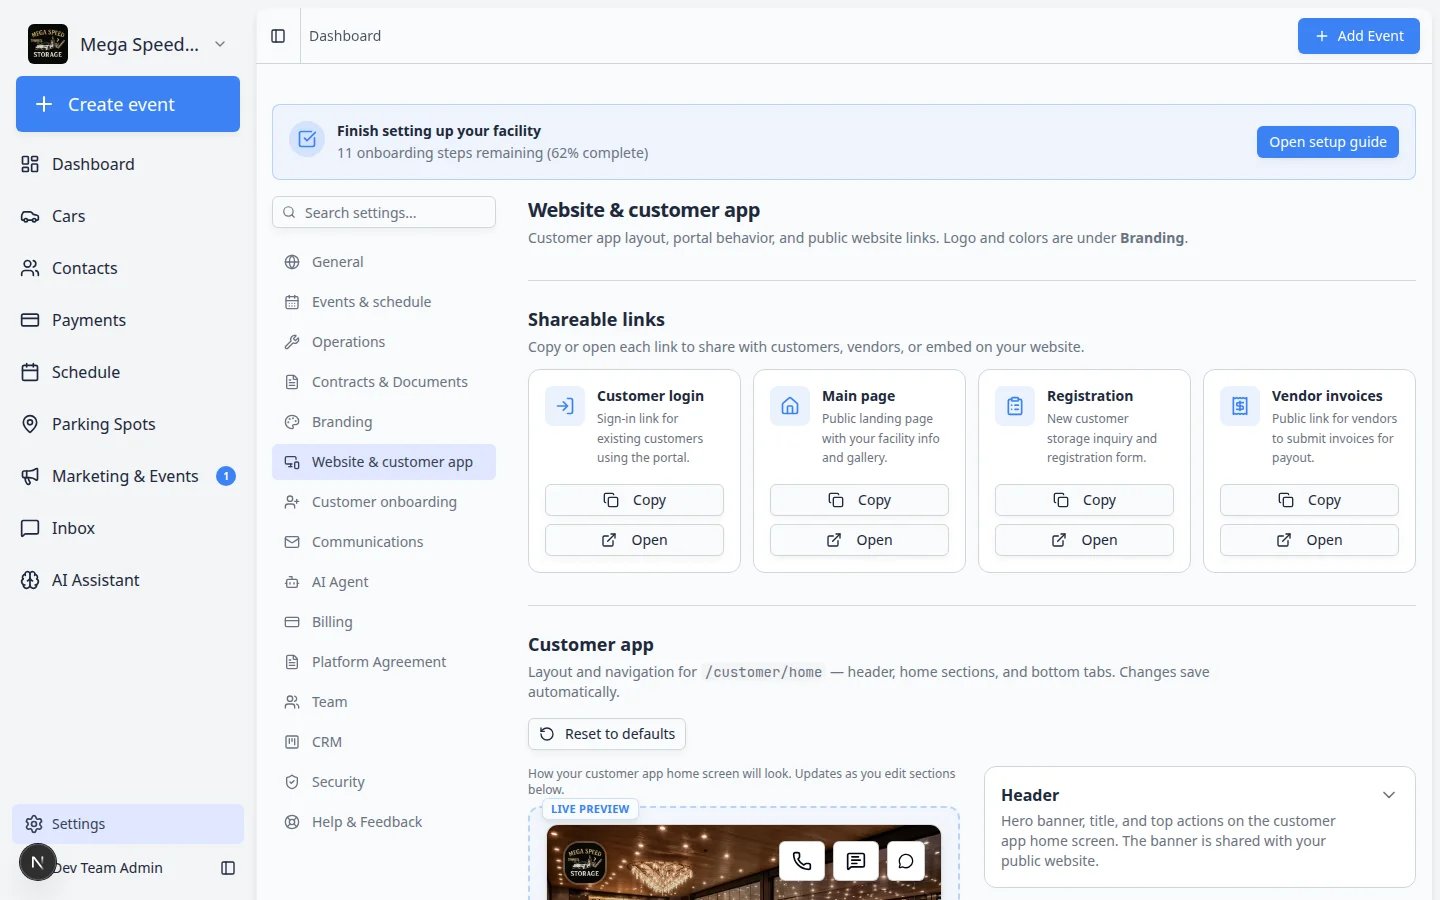 *DNS pending is normal right after you save records. Wait a few minutes, then click **Check DNS** again.*
**What each status means**
**Complete** means your team can test the branded link. **DNS pending** means the internet is still updating—wait and check again. **Missing** means a record is wrong or not saved at your domain company yet—compare the table in Car Storage Software with your domain provider line by line.
### Expected result
The status tells you whether the domain is ready or needs another fix.
## Step 7: Test the custom domain in a browser
After the domain shows verified or complete, **copy every link again** from **Shareable links** on [Settings > Website & customer app](https://www.carstoragesoftware.com/dashboard/settings/website). Customer login, registration, and marketplace URLs may now use your branded domain.
Go to [Settings > Website & customer app](https://www.carstoragesoftware.com/dashboard/settings/website) and find **Shareable links** near the top.
Click **Copy** on **Customer login**, **Main page**, **Registration**, **Marketplace**, and **Vendor invoices** (if enabled).
**Why this matters:** Old bookmarks and printed materials still point at the previous address until you update them. **Marketplace** may be new on your materials if you recently started sharing cars or products online.
Open the new address in a **private** browser window (where you are not signed in as staff).
Check:
* The page opens without an error
* Your facility name looks correct
* Registration, marketplace, login, or vendor buttons go to the right pages
* The address bar shows your domain
## What success looks like
* Your custom domain is saved in Car Storage Software
* DNS records are added at your domain provider
* The domain status is verified or complete
* Your team tested the page like a customer would
## Troubleshooting
**DNS still says pending**
DNS changes can take a few minutes and sometimes up to 24–48 hours. Wait, then click **Check DNS** again.
**Records look correct but still fail**
Look for extra spaces, the wrong record type, or a **Host** field that your provider filled in twice (some providers add your domain name automatically). Send a screenshot of your domain DNS screen to your helper along with the table from Car Storage Software.
**I do not know where my domain is managed**
Check the email where you pay for the domain, or ask whoever built your website. They can usually tell you the company name in one message.
**My existing website stopped working**
Stop making more DNS changes. Contact your domain helper. A website record may have been changed by mistake.
## What to do next
Update links on your website, email templates, vendor instructions, and customer welcome materials so everyone uses the new branded address. Then run [Go live checklist for public pages](/docs/facility-web-pages/go-live-checklist-for-public-pages).
## Related topics
- [Go live checklist for public pages](/docs/facility-web-pages/go-live-checklist-for-public-pages.md)
- [Share customer login links](/docs/facility-web-pages/share-customer-login-links.md)
- [Browse the Integrations catalog](/docs/settings/browse-the-integrations-catalog.md)
- [Publish marketplace listings](/docs/facility-web-pages/publish-marketplace-listings.md)
- [Configure portal and website](/docs/settings/configure-portal-and-website.md)
This documentation is built and hosted on [Mintlify](https://mintlify.com), a developer documentation platform.
*DNS pending is normal right after you save records. Wait a few minutes, then click **Check DNS** again.*
**What each status means**
**Complete** means your team can test the branded link. **DNS pending** means the internet is still updating—wait and check again. **Missing** means a record is wrong or not saved at your domain company yet—compare the table in Car Storage Software with your domain provider line by line.
### Expected result
The status tells you whether the domain is ready or needs another fix.
## Step 7: Test the custom domain in a browser
After the domain shows verified or complete, **copy every link again** from **Shareable links** on [Settings > Website & customer app](https://www.carstoragesoftware.com/dashboard/settings/website). Customer login, registration, and marketplace URLs may now use your branded domain.
Go to [Settings > Website & customer app](https://www.carstoragesoftware.com/dashboard/settings/website) and find **Shareable links** near the top.
Click **Copy** on **Customer login**, **Main page**, **Registration**, **Marketplace**, and **Vendor invoices** (if enabled).
**Why this matters:** Old bookmarks and printed materials still point at the previous address until you update them. **Marketplace** may be new on your materials if you recently started sharing cars or products online.
Open the new address in a **private** browser window (where you are not signed in as staff).
Check:
* The page opens without an error
* Your facility name looks correct
* Registration, marketplace, login, or vendor buttons go to the right pages
* The address bar shows your domain
## What success looks like
* Your custom domain is saved in Car Storage Software
* DNS records are added at your domain provider
* The domain status is verified or complete
* Your team tested the page like a customer would
## Troubleshooting
**DNS still says pending**
DNS changes can take a few minutes and sometimes up to 24–48 hours. Wait, then click **Check DNS** again.
**Records look correct but still fail**
Look for extra spaces, the wrong record type, or a **Host** field that your provider filled in twice (some providers add your domain name automatically). Send a screenshot of your domain DNS screen to your helper along with the table from Car Storage Software.
**I do not know where my domain is managed**
Check the email where you pay for the domain, or ask whoever built your website. They can usually tell you the company name in one message.
**My existing website stopped working**
Stop making more DNS changes. Contact your domain helper. A website record may have been changed by mistake.
## What to do next
Update links on your website, email templates, vendor instructions, and customer welcome materials so everyone uses the new branded address. Then run [Go live checklist for public pages](/docs/facility-web-pages/go-live-checklist-for-public-pages).
## Related topics
- [Go live checklist for public pages](/docs/facility-web-pages/go-live-checklist-for-public-pages.md)
- [Share customer login links](/docs/facility-web-pages/share-customer-login-links.md)
- [Browse the Integrations catalog](/docs/settings/browse-the-integrations-catalog.md)
- [Publish marketplace listings](/docs/facility-web-pages/publish-marketplace-listings.md)
- [Configure portal and website](/docs/settings/configure-portal-and-website.md)
This documentation is built and hosted on [Mintlify](https://mintlify.com), a developer documentation platform.