Product update
Floor plan layering controls
Move overlapping parking spots forward or backward—or send them to the front or back—so dense floor plans stay readable and save in the order you intend.
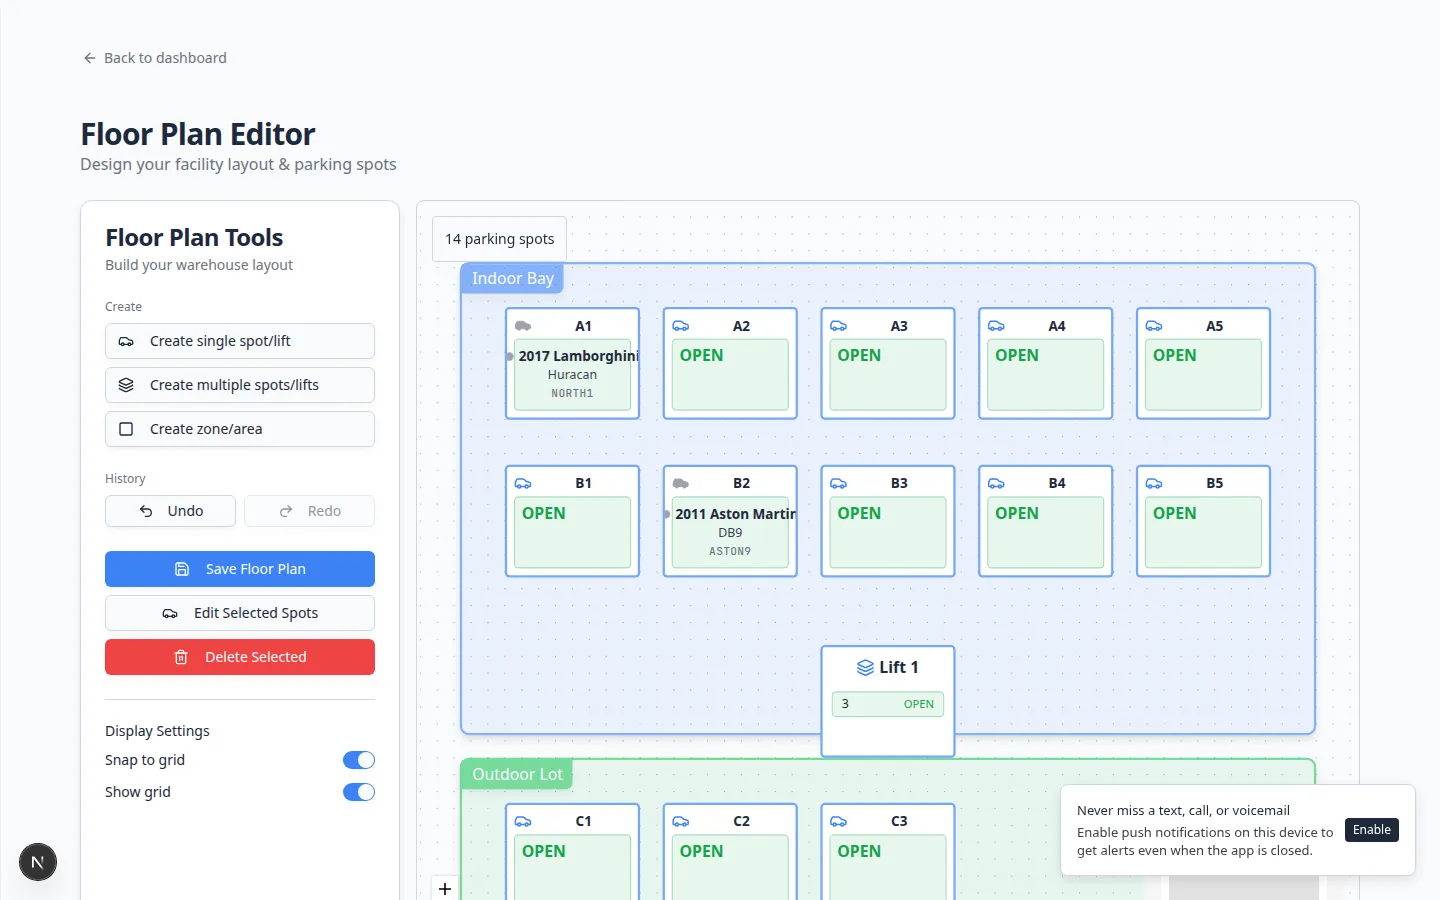
When two spots overlap, the wrong one on top makes the map lie.
Why we built it
Tight floor plans stack spots, lifts, and labels on top of each other. Without layering control, a spot tucked under another could not be selected or looked like empty space. Floor plan layering controls add Placement actions in the floor plan sidebar—Backward, Forward, To back, and To front—plus keyboard shortcuts [ / ] (hold Shift for send-to-back or bring-to-front). Changes update spot z-order on the canvas and persist when you Save the layout.
Who it is for
- Staff editing maps under Settings → Floor plan.
- Facilities with overlapping bays, staggered rows, or motorcycle slots beside full-size spots—see Motorcycle parking spots.
- Anyone cleaning up imports or bulk-generated grids where spots landed on the same coordinates.
What you can do
- Select one or more parking spots and nudge layering one step at a time.
- Jump a selection To front or To back when it should always render above or below neighbors.
- Use
[and]from the keyboard while spots are selected (not while typing in a field). - Save the floor plan so live parking maps and assignments use the same visual order.
How it fits your day
After bulk-placing a row, send background reference spots To back so active bays stay clickable. Before publishing a map screenshot for a prospect tour, walk overlapping corners and fix any spot that hides its label.
Get started
Open the floor plan editor, select two overlapping spots, press ] until the spot you need is on top, then Save and confirm the live parking map matches the editor.
Questions about this update?
Book time with our team or browse the rest of the changelog.