

Open the walkthrough
Open an event from the Schedule and turn on Walkthrough next to Page view at the top, or click Open walkthrough in the event’s photos. Some event types open the walkthrough automatically. Turn Walkthrough off to go back to the full event page, see Run an event. The same event record is used either way, so nothing is lost.Work through the steps
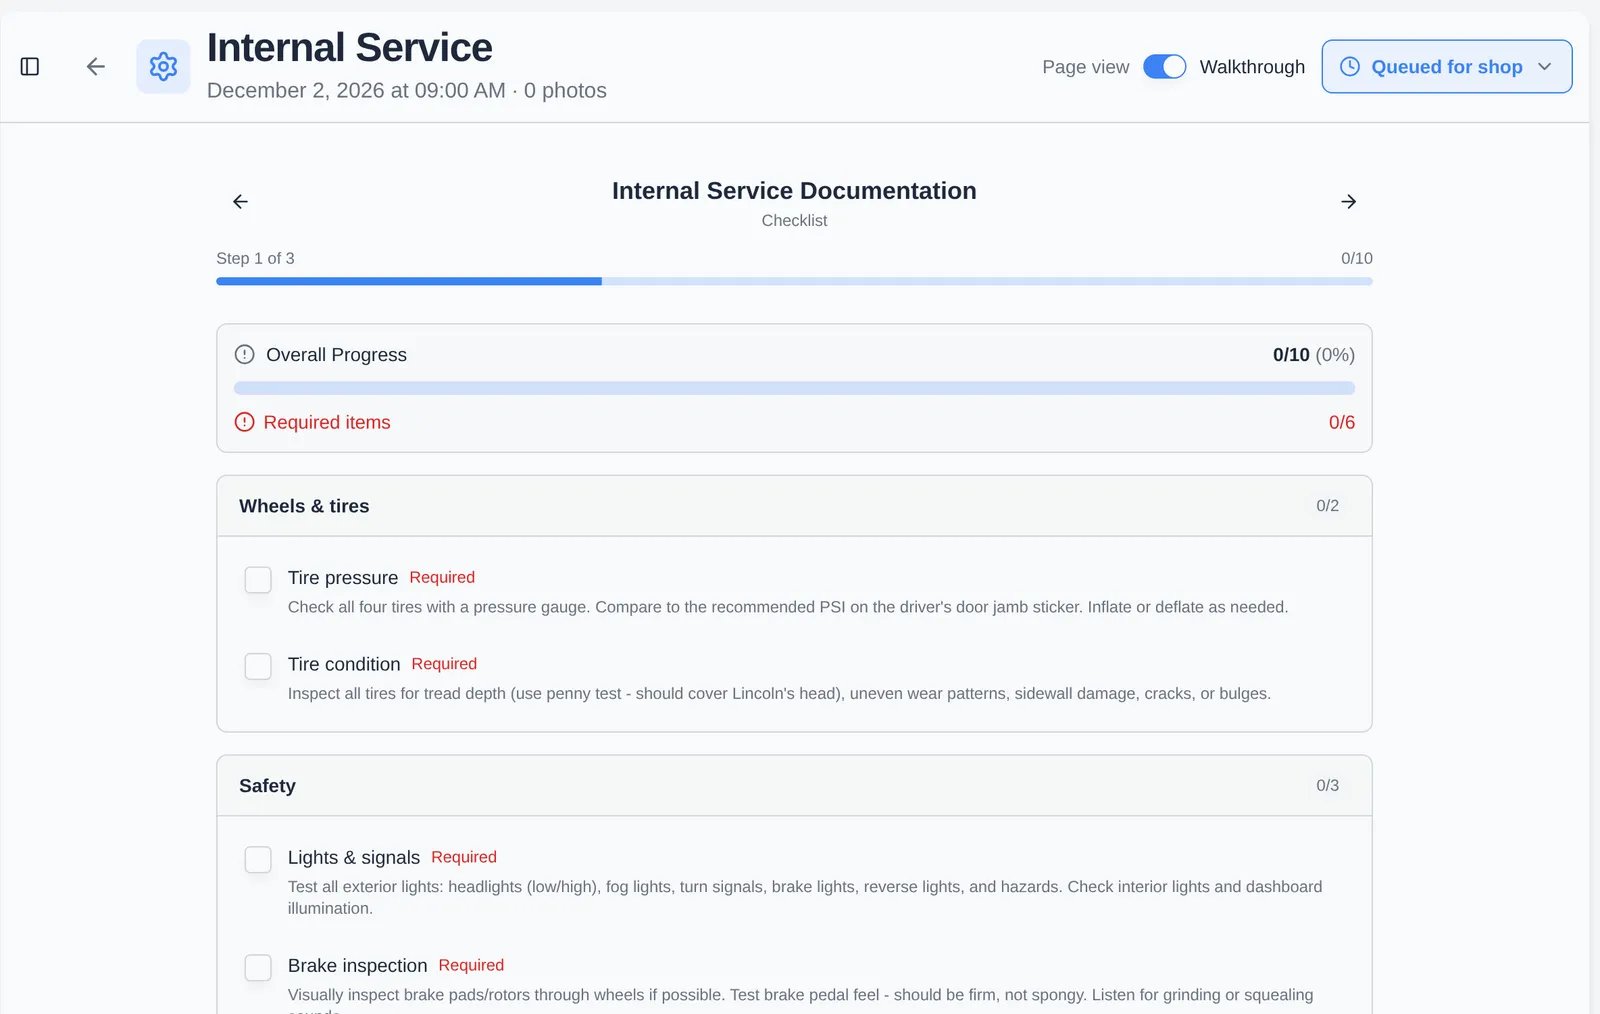
The steps depend on the event type: the screen shows Step 1 of 3, a progress bar, and arrows to go back or forward.1
Checklist
Tick each item. Items marked Required must be ticked, and the counter shows required items done (for example Required items 0/6). Items can be grouped, such as Wheels & tires and Safety.
2
Photos
Click Add Photo to use the camera or Upload to pick files. If the event type has photo prompts, you’re guided through each zone (for example front, rear, interior) one at a time. For an optional photo step, click Not applicable if it doesn’t apply. Mark damage on a photo if you find any.
3
Event details
Enter the Odometer reading, Fuel level, and Notes, depending on what the event type requires. Choose Customer visible or Internal only for the note.
4
Finish
The button at the bottom moves you on. While something required is missing it says what, such as Complete 6 required checklist items to continue. Signature and parking steps appear last when the event type asks for them. See Run an event for completing the event.
Run a transport
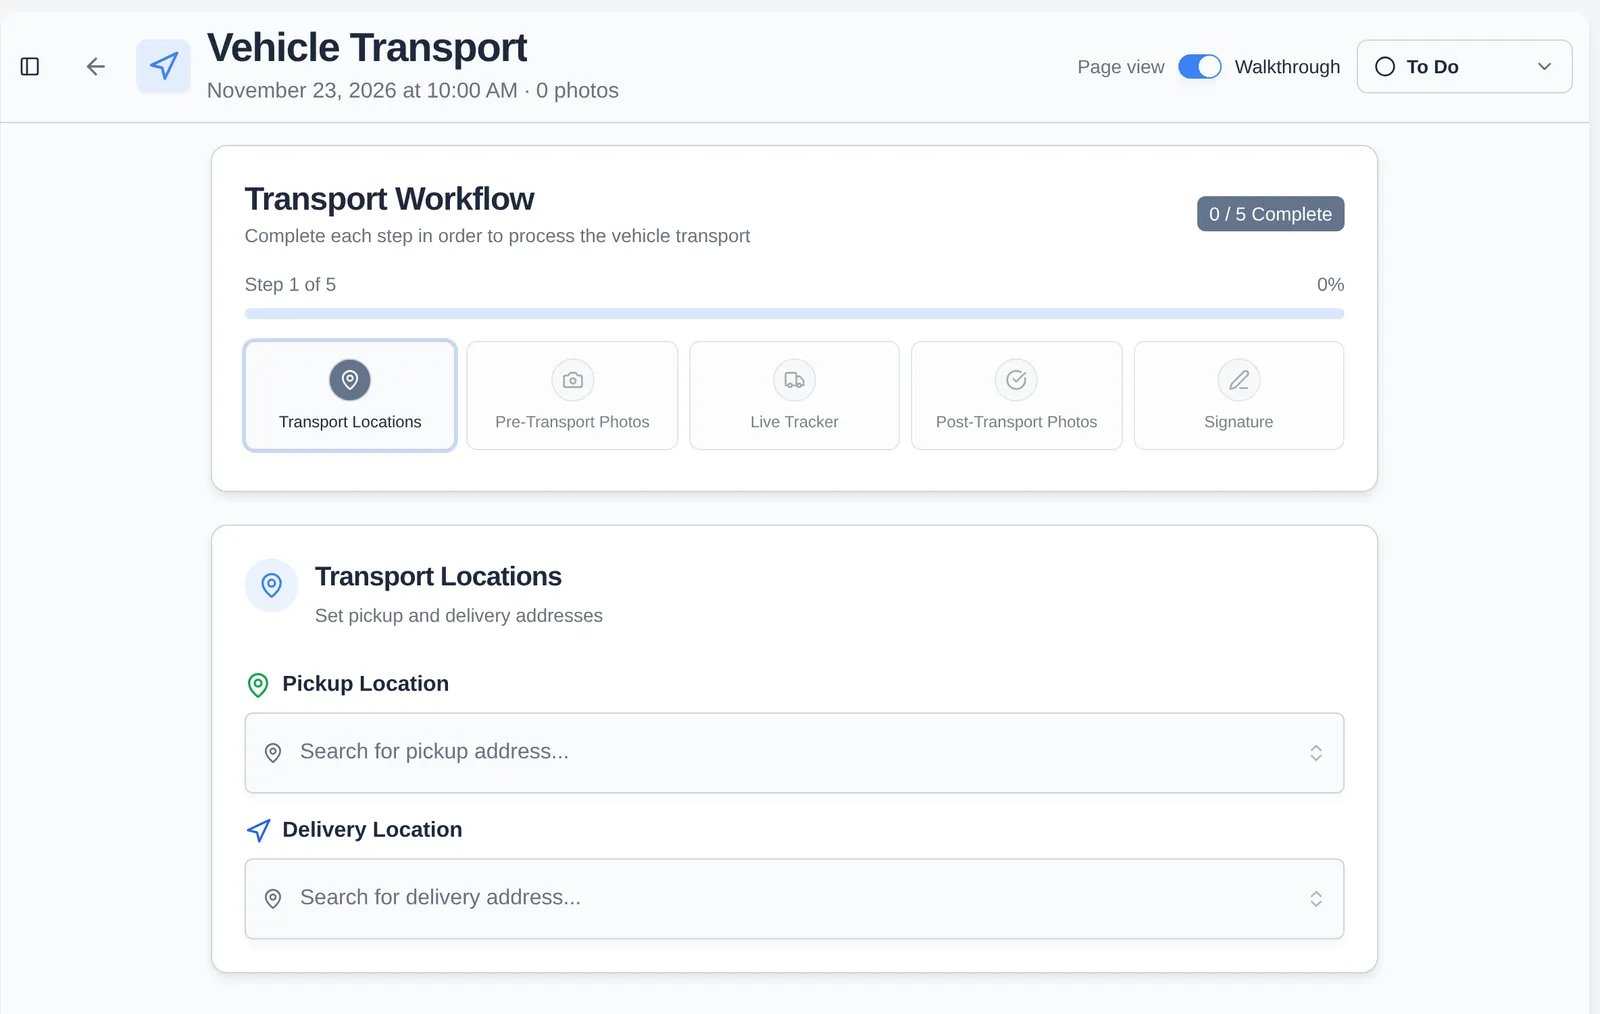
A Vehicle Transport event opens the Transport Workflow, a five-step flow. It shows 0 / 5 Complete and the steps run in order.1
Transport Locations
Search for the Pickup Location and Delivery Location addresses. They save automatically.
2
Pre-Transport Photos
Photograph the car before it moves, then confirm Complete pre-transport photos?. This step stays locked until both addresses are set.
3
Live Tracker
Click Start Transport when the car leaves. The driver’s phone shares its location while the status reads In Transit. Click Mark Delivered on arrival.
4
Post-Transport Photos
Photograph the car at delivery and confirm Complete post-transport photos?. This step is locked until the transport has ended.
5
Signature
Have the customer or driver sign on the screen, then click Complete Transport Event. You’re asked whether to email the customer, answer for that event.
Troubleshooting
- A step is greyed out. An earlier step is unfinished: the alert names it, for example Complete addresses first, Add pre-transport photos first, or End transport first.
- The finish button won’t enable. Complete the required checklist items, photos, and readings it lists, or ask an admin to relax them in the event type.
- Location permission denied during a transport. Allow location for the site in the phone’s browser settings so the tracker can share the car’s position.