Door access lets customers tap Request entry in the customer app while staff approve from their phone, or open a door themselves during a window you grant. Set it up once, then see Approve door requests for daily use.

Before you start

  • Turning the integration on needs a team admin with Admin (full access). Changing settings on the Door access page is admin-only too.
  • Doors come from a connected controller. For UniFi Access, pair a bridge and connect UniFi first, then sync your doors.
  • To get push alerts for new requests, staff install the mobile app and allow notifications.

Turn it on

1

Enable the integration

Open Settings → Integrations, click Door access, and turn on Enable this integration. The dialog now shows Open door access.
2

Find it in the sidebar

Open Door access in the sidebar. A badge shows how many requests are waiting. Staff need the Door access permission (off by default for new invites) to see and answer requests. Until you turn it on, the page shows Doors are off with a Turn on button.

Choose how entry is approved

Open the Settings tab on the Door access page. Under Approval, pick one: The choice saves as soon as you tap it. Click Advanced for timing and security options, then Save.
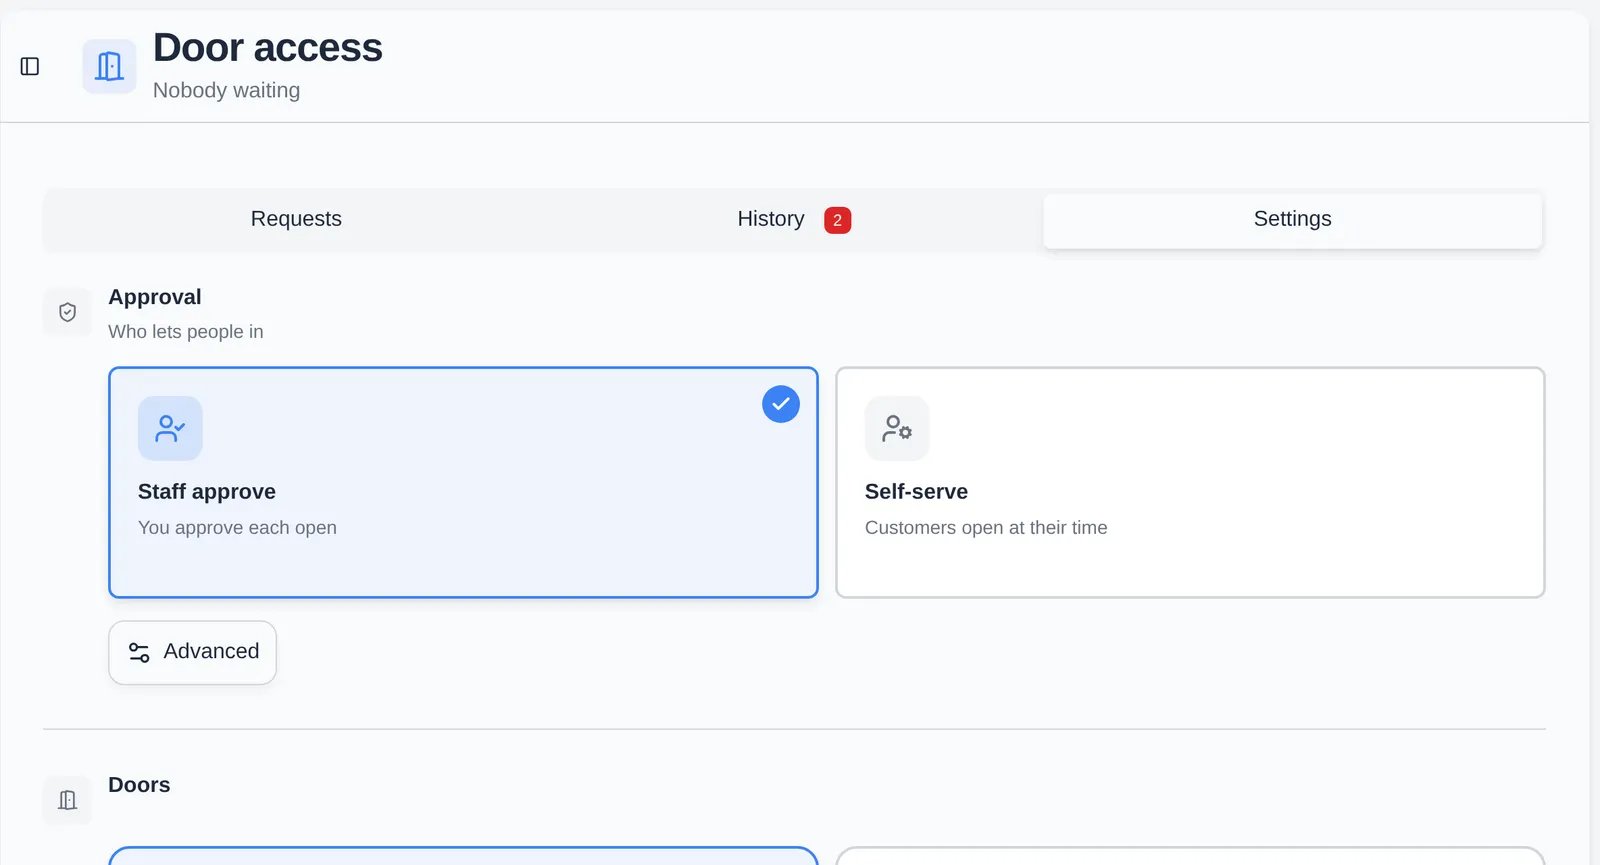
Door access Settings tab with the Approval cards for Staff approve and Self-serve, and an Advanced button

Choose which doors customers can request

Under Doors on the Settings tab, turn on Customers can request for each customer-facing door, such as the front entrance. Leave back-of-house doors off. Click a door’s edit button to set its Location, Approval override, and Active. A door marked Needs a location can’t be requested until you assign one.

Set the site location

Under Locations, click Use my location while you stand at the facility, or Edit to type Latitude and Longitude. The Facility card shows Not set until you do. Self-serve opens from a phone need this to check the customer is on site.

Let appointments open a door (self-serve only)

Under Appointments, turn on Opens a door for each appointment type whose customers should get access, such as a drop-off. The toggles are disabled until the team is on Self-serve. Customers then get a window around the appointment.

Override access for one customer

On a customer’s page, the Door access card sets that customer to Same as facility, Staff approve, Self-serve (offered only when the facility is on Self-serve), or No access. An override can only make access stricter than the facility’s, never looser. You can limit which Doors they can use and switch Contacts on individually; additional contacts are off until you turn them on. With self-serve, Let in grants a window of 30, 60, 120, or a custom number of minutes.

Choose which alerts staff get

The Alerts section on the Settings tab has switches for Forced or held open, Opened, not let in, Unlocked, no car, and Car in, no unlock, plus Wait for car (minutes after an unlock). The last two need a door camera, see Review door camera activity. Click Save after changing them.