

Before you start
- You must be a team admin with Admin (full access) to turn UniFi on and open its setup page.
- For UniFi Access (doors): a Car Storage bridge paired on the same network as your UniFi console. The Access API only works on the facility network, so it runs through the bridge. Turn on Door access in the catalog too: it’s what lets customers request entry and staff approve it.
- For UniFi Protect (cameras): either a Site Manager API key from unifi.ui.com (no bridge needed) or a bridge plus a local Protect API key.
Turn it on and open setup
1
Open the UniFi card
Go to Settings → Integrations and click UniFi.
2
Enable it
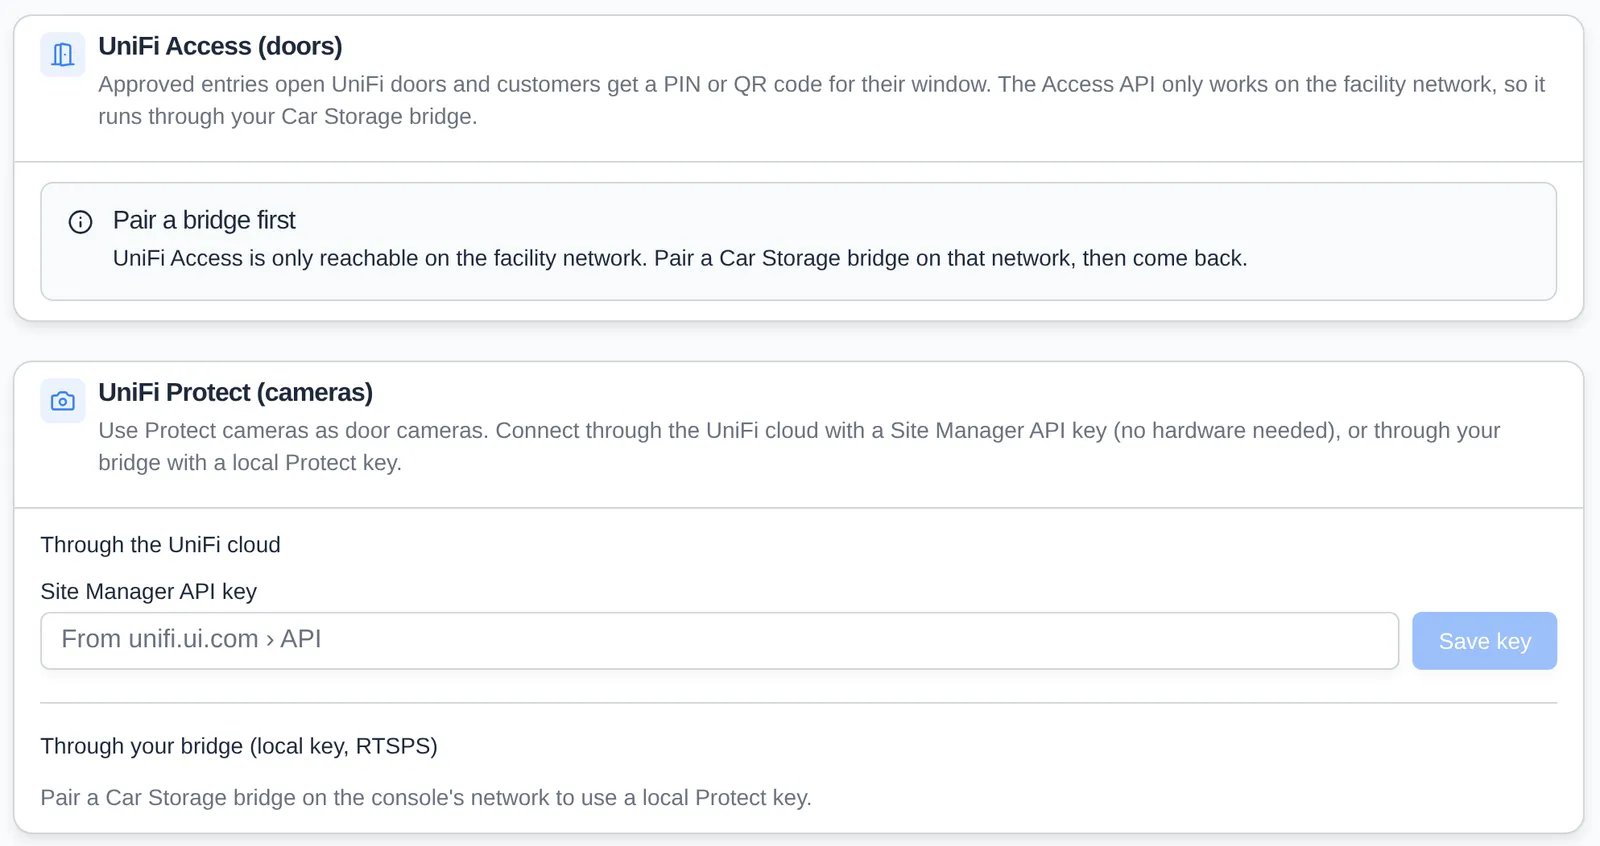
Turn on Enable this integration, then click Set up UniFi. The setup page has two sections: UniFi Access (doors) and UniFi Protect (cameras).
Connect UniFi Access (doors)
If no bridge is paired yet, the section shows Pair a bridge first.1
Create an API token in UniFi Access
In UniFi Access, go to Settings → General → Advanced → API Token. Create a token with a long validity and the permissions listed on the setup page (view and edit space, visitor, and webhook; view credential and device).
2
Fill in the form
Choose the Bridge on the console’s network and the Location, then enter the Console IP address, Port, UniFi Access version, and paste the API token.
3
Connect
Click Connect UniFi Access. A checklist shows each setup step with a tick or a cross. The bridge pins the console’s security certificate the first time it connects.
4
Sync doors and register events
Click Sync doors to pull in your doors, then Register events so door openings show up in activity. Click Check any time to test the connection.
5
Choose customer doors
Each door shows staff only or customers can request. Choose which doors customers can request on the Door access page.
Connect UniFi Protect (cameras)
Pick one way to connect. Through the UniFi cloud (no bridge needed)1
Save your Site Manager key
Create an API key at unifi.ui.com (API), paste it into Site Manager API key, and click Save key.
2
Pick your console
Choose your console from the list. Your cameras appear with their status and whether they detect vehicles.
3
Choose door cameras
Click Use as door camera on each camera that watches a door. A live frame appears on the card; click New frame to refresh it.
4
Optional: send vehicle alerts
Click Create Alarm Manager URL and copy it. In Protect, open Alarm Manager and create an alarm with trigger Line crossing (vehicle) across the door, scoped to your door camera, action Webhook → Custom Webhook, method POST, and paste the URL. Line crossing fires right away; zone alarms only fire when the detection ends.
Turn it off
Open the UniFi card and turn off Enable this integration. This marks UniFi as off in the catalog but does not disconnect the console or stop door openings. Turning off Door access blocks new unlocks from the app; door codes and QR passes already sent are revoked within about five minutes. To stop every door at once, use Stop doors under Emergency stop on the Door access page.Troubleshooting
- Admin access is required to turn this on or off. Only a team admin with full access can change UniFi or Door access.
- Pair a bridge first. UniFi Access can’t be reached from the internet. Pair a Car Storage bridge on the console’s network, then reload the page.
- A setup step shows a cross. The message next to it names the step that failed. Check the console IP, port, and that the token has every permission listed.
- Waiting for the first door event. Events are registered but no door has opened yet. Open a door once to confirm.
- Making a new Alarm Manager URL stops the old URL right away. Update the alarm in Protect with the new one.