

What you will accomplish
After reading this overview and the linked how-to guides, your team will be able to:- Add or import customers and keep contact details accurate.
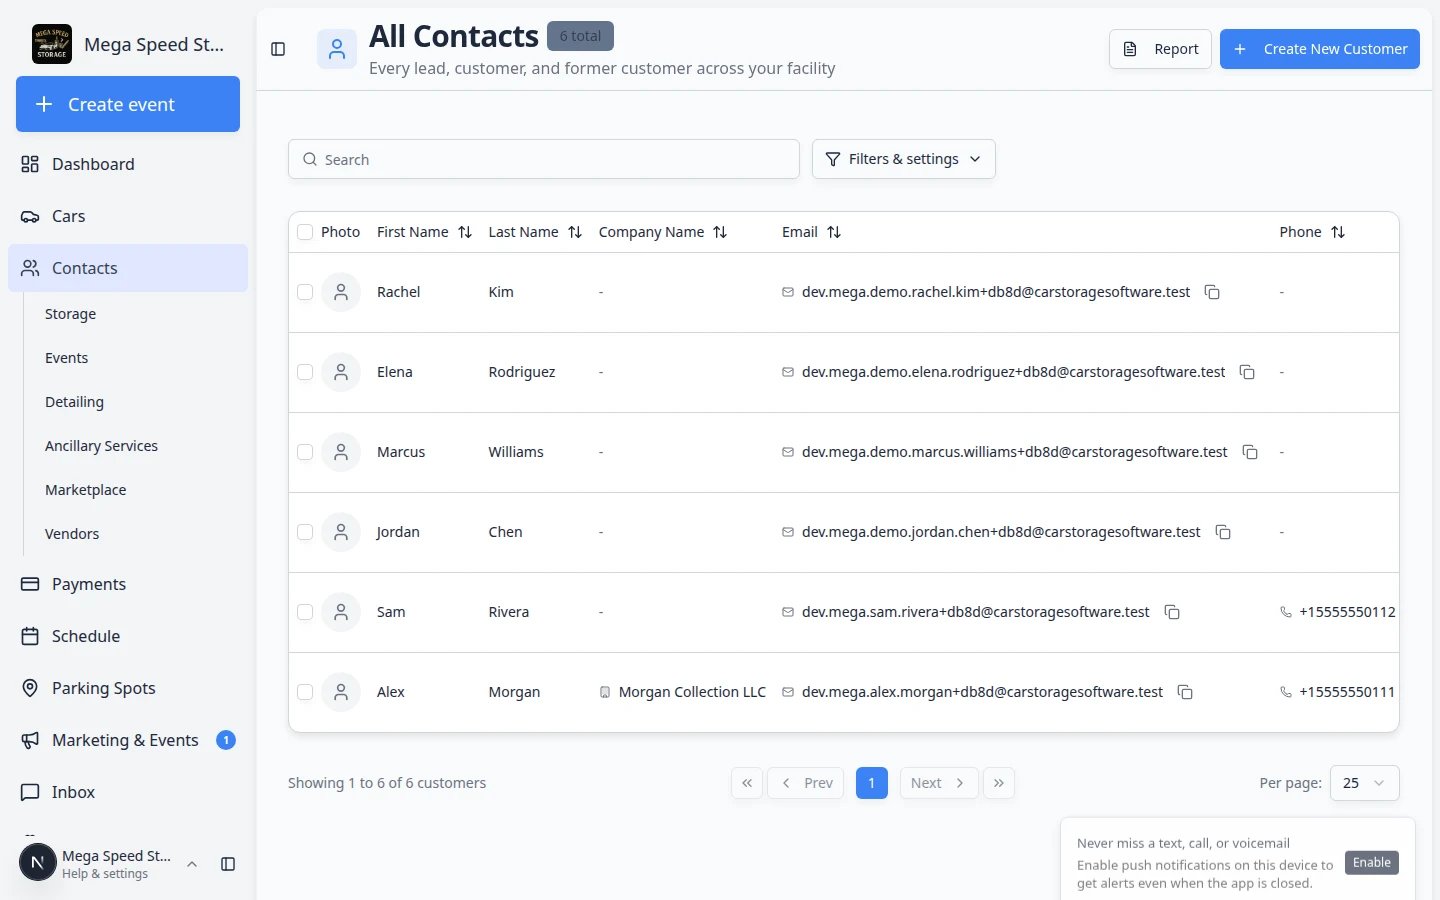
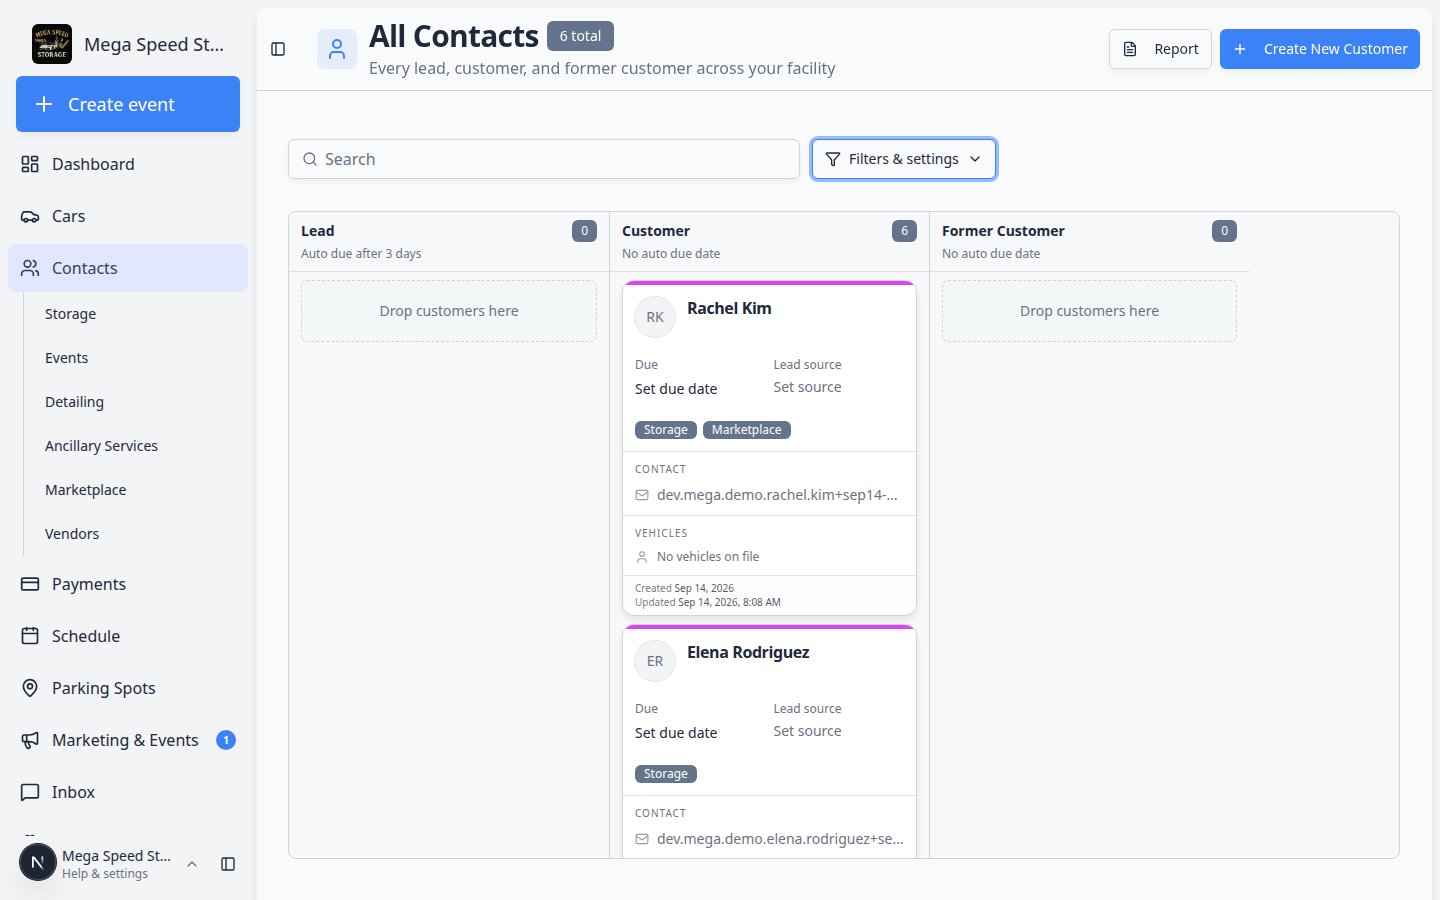
- Find customers quickly using search, filters, and table, card, or board views.
- Organize leads and active customers with CRM stages, types, sources, and tags.
- Link the right cars and documents before billing or portal invites.
- Invite customers to the portal and help them sign in with confidence.
- Who owns this car?
- What is the best email or phone number for this customer?
- Has this customer been invited to the portal?
- What will this customer see after they sign in?
- Which customers are leads, active customers, or former customers?
- Which documents, invoices, and cars belong to this customer?
How the Contacts area is organized
The Contacts item in the left sidebar opens a whole area of the app—not just one page. Think of it as your customer directory with shortcuts for different kinds of relationships.
Open Contacts from the sidebar
Pick the list that matches your task
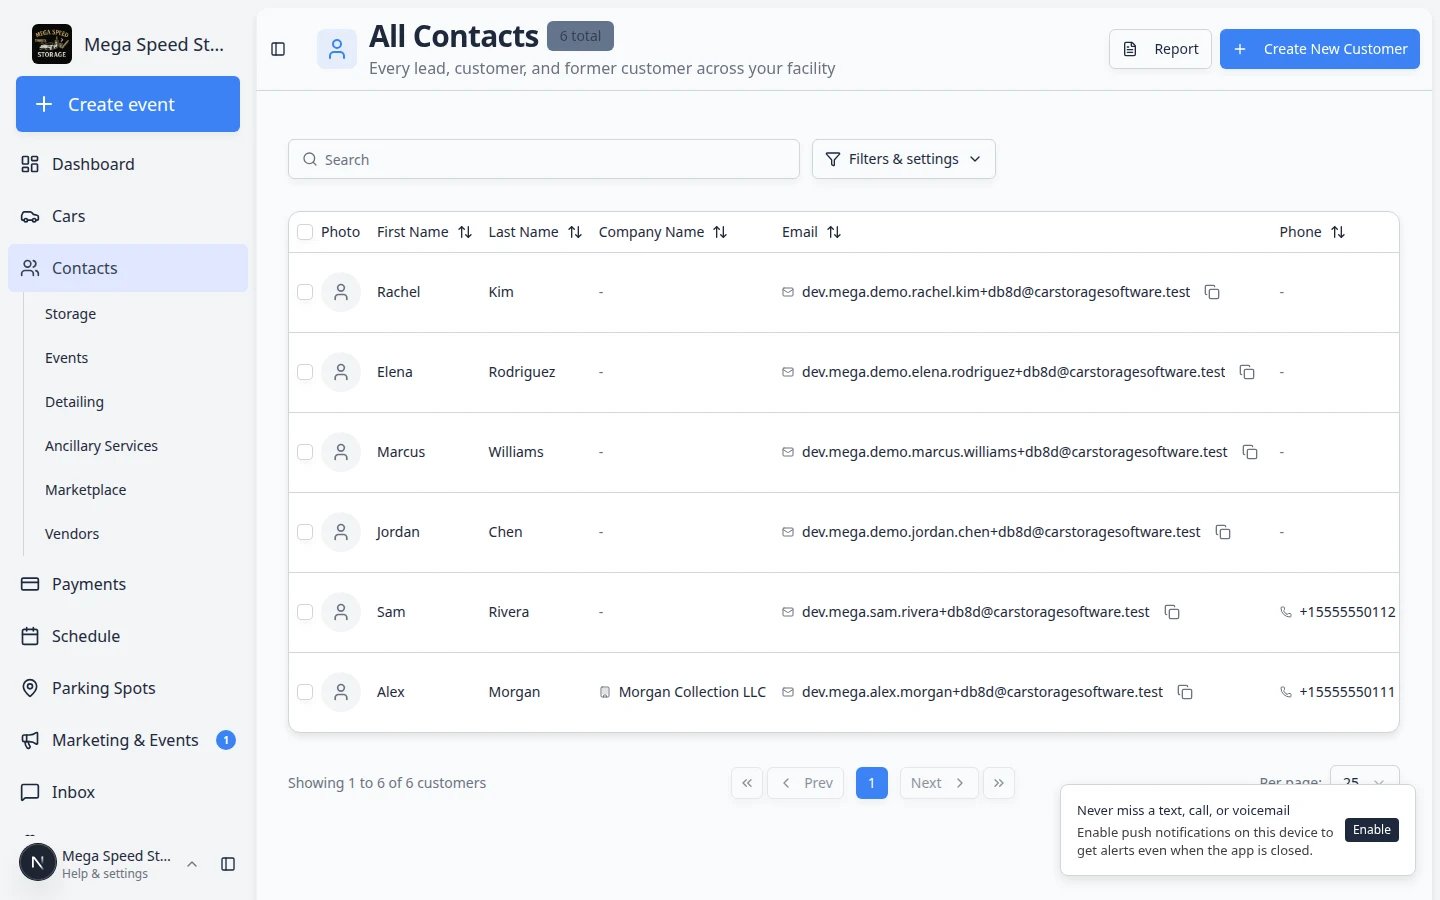
- Use All Contacts when you need to search everyone or you are not sure where someone belongs.
- Use Storage, Events, or another type page when your team only works with that group today.
Use the same tools on every list
What you can do from Contacts
- Add a customer — create one customer record at a time. See Add a customer.
- Import customers — bring in a spreadsheet when you are moving from another system. See Import customers, cars, events, and photos.
- Find and filter customers — search by name, email, phone, company, status, stage, type, or source. See Find and filter contacts.
- Work with customer type lists — open Storage, Detailing, Marketplace, and other focused lists from the Contacts sidebar. See Work with customer type lists.
- View and edit customer details — update name, email, phone, address, company, birthday, and CRM information. See Edit customer details.
- Customize the contact page — hide unused blocks (such as Market Interests) and reorder the rest so your team sees cars, activity, and billing first. See Customize the contact page.
- Add customer notes — leave team-only or customer-visible notes so the next teammate knows preferences and follow-up. See Add and manage customer notes.
- Track market interests — record vehicles a customer wants to buy with year, make, model, and budget. See Track customer market interests.
- Review activity and history — see emails, texts, invoices, and event changes on the customer timeline. See Review customer activity and history.
- Manage billing on the record — add the customer to payment processing and review payment methods. See Manage billing on a customer record.
- Work with vendor contacts — add outside detailers, transporters, and contractors under Contacts > Vendors. See Work with vendor contacts.
- Manage additional contacts — add a spouse, assistant, bookkeeper, or vehicle manager with their own communication preferences. See Manage additional contacts.
- Link cars and documents — connect vehicles, contracts, files, billing, and history to the correct person. See Link cars and documents to a customer.
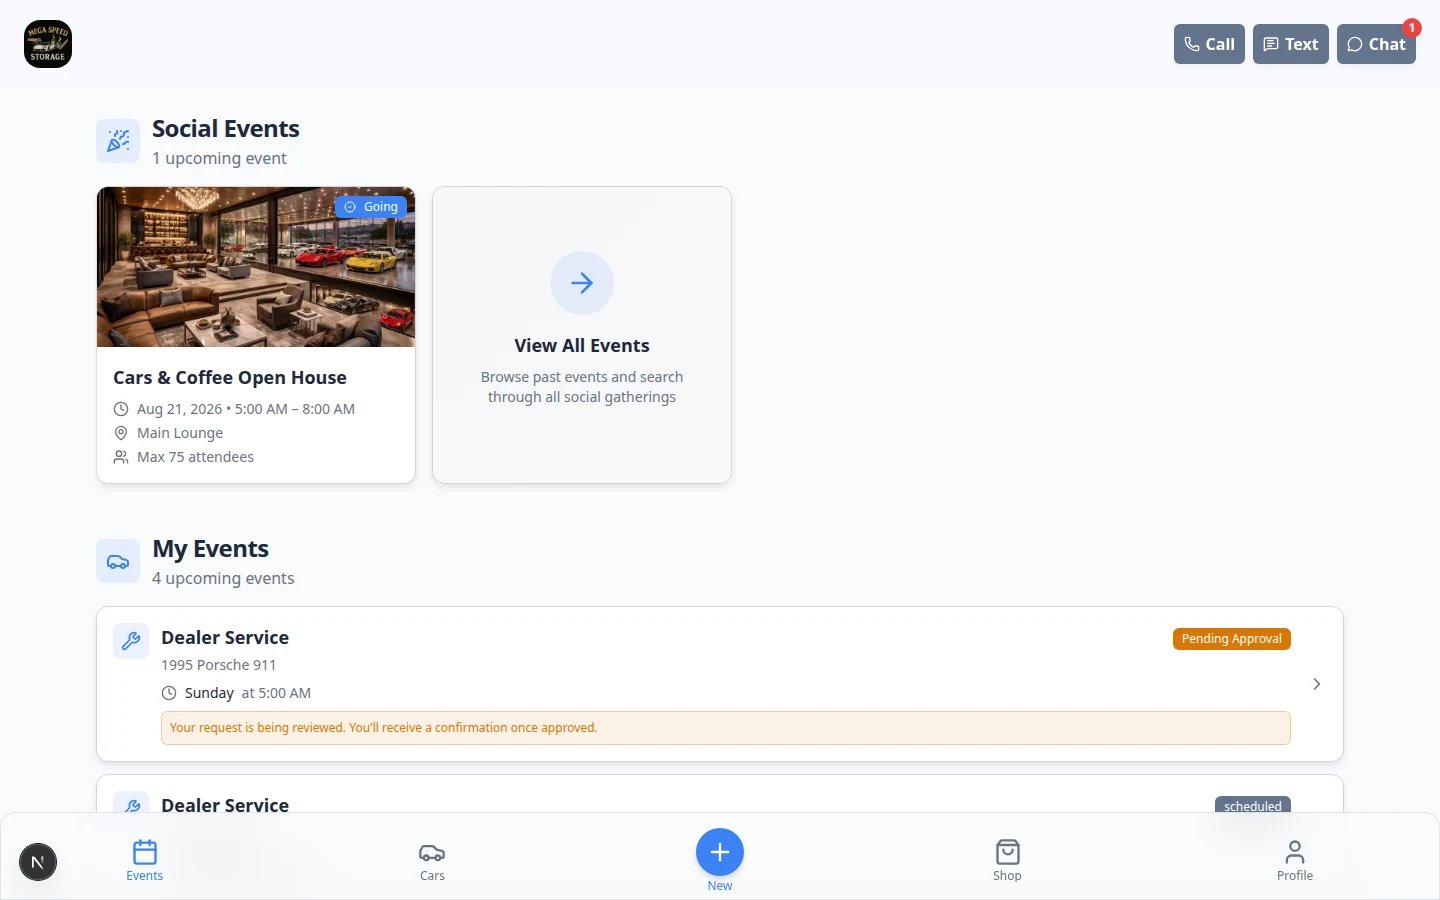
- Invite a customer to the portal — send a sign-in link so the customer can view the information your team has prepared. See Invite a customer to the portal.
- Guide a customer through the portal — help customers sign in, find cars, review events, and understand billing. See Guide a customer through the portal.
- Understand portal access levels — learn the difference between Full and Ticket-only access. See Understand portal access levels.
- Export the customer report — sort and download customer data for reviews and follow-up lists. See Export and use the customer report.
- Handle duplicates — migrate, restore, or delete mistaken records safely. See Handle duplicate or merged customer records.
Customer journey from record to portal
Most customer portal problems start before the customer signs in. Use this simple flow to give customers a smooth first experience:Prepare the record
Invite the customer
Help the customer get oriented
Keep the record current
Finding customers quickly
The All Contacts page (and each customer-type page) supports search, filters, and three view modes so you can find the right customer on the first try.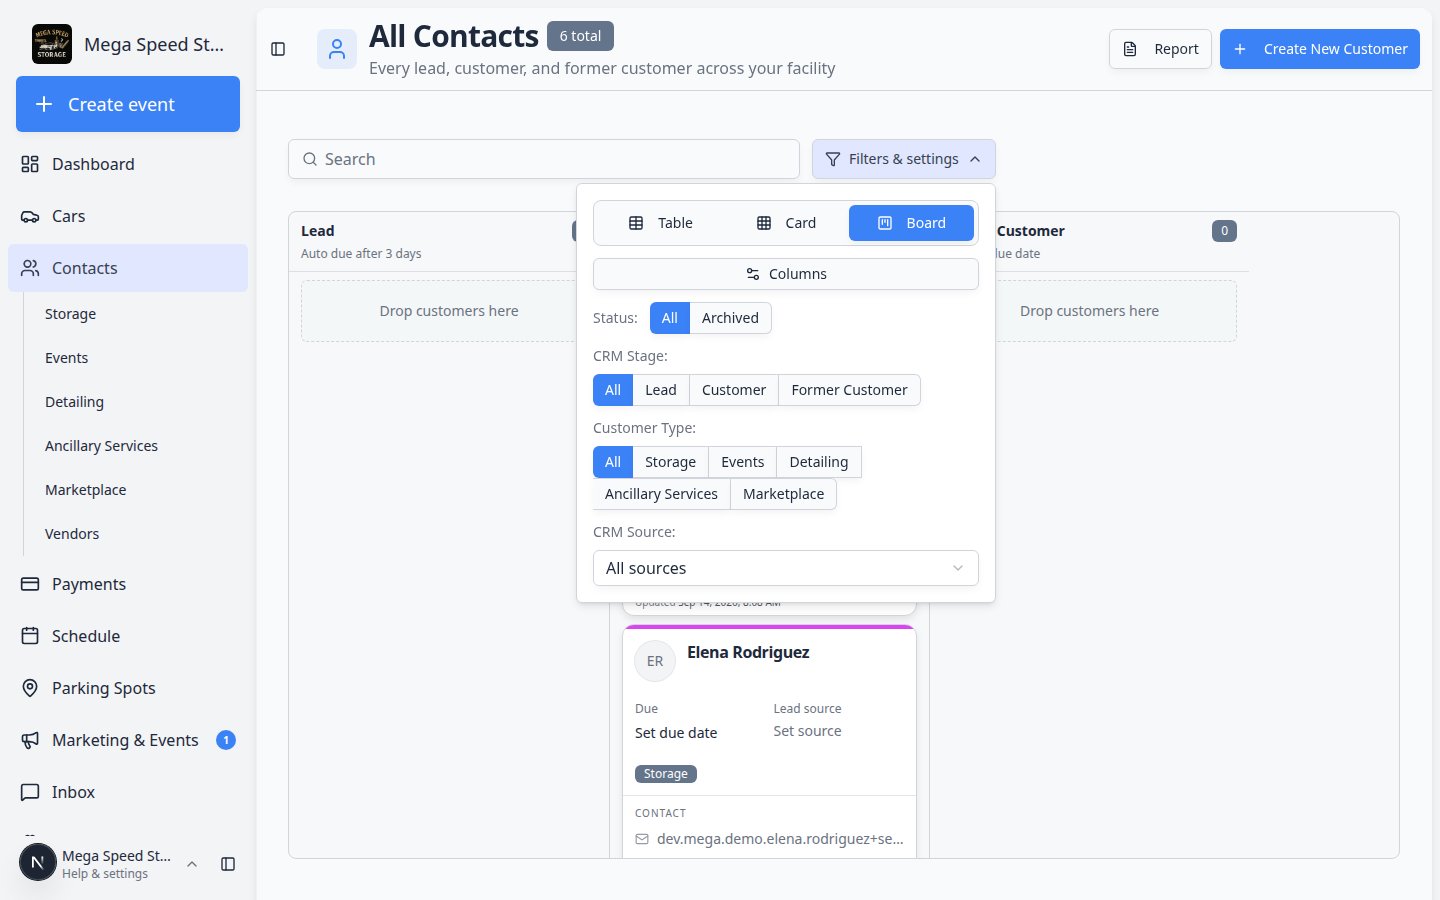
The customer detail page
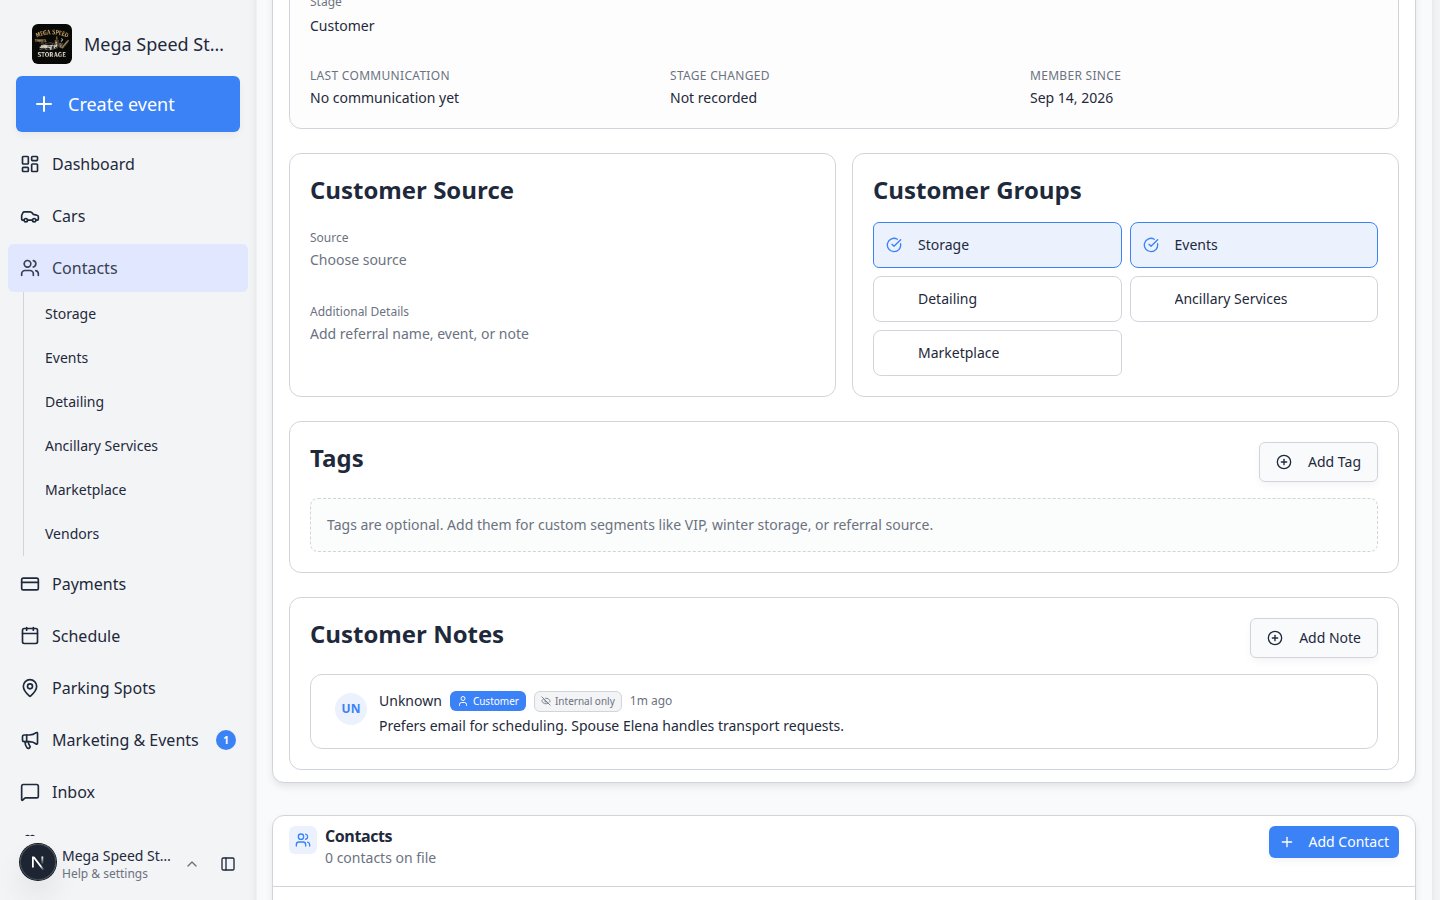
Click any customer to open their detail page. This single page is the source of truth for everything about the customer. Your team can hide or reorder these blocks in Settings > CRM — see Customize the contact page.- Personal & Contact — name, company, email, phone, address, birthday, profile photo, and location assignment.
- CRM Information — pipeline stage, customer source (with detail), customer groups (types), and freeform tags.
- Customer’s Cars — all vehicles linked to this customer, with quick actions to assign more.
- Contacts — additional people associated with the customer account (spouse, assistant, bookkeeper, etc.) with individual communication preferences and portal access. In settings this block is named Additional Contacts.
- Customer Notes — short messages your team adds on purpose. See Add and manage customer notes.
- Market Interests — vehicles the customer wants to buy (when your facility sells or sources cars). See Track customer market interests. Hide this block if you never source cars.
- Documents & Contracts — contracts, agreements, and uploaded files tied to the customer.
- Activity Feed — a timeline of communications, events, and changes. See Review customer activity and history.
- Billing Setup — payment methods, payment history, and fee configuration (when payments are enabled). See Manage billing on a customer record.
How-to guides
Add a customer
Import customers, cars, events, and photos
Work with customer type lists
Work with vendor contacts
Find and filter contacts
Export and use the customer report
Manage contact tags and CRM fields
Add and manage customer notes
Track customer market interests
Manage billing on a customer record
Link cars and documents to a customer
Review customer activity and history
Edit customer details
Customize the contact page
Manage additional contacts
Invite a customer to the portal
Understand portal access levels
Guide a customer through the portal
Handle duplicate or merged customer records
Recommended first-time setup order
If your facility is new to Car Storage Software, use this order:Set up CRM fields
Customize the contact page
Add or import customers
Add or import cars
Attach documents and contracts
Invite customers to the portal
Support their first sign-in