

Before you start
- The customer record exists in All Contacts.
- The customer has a correct email address. This email is how they sign in.
- The customer’s cars are linked to the customer record.
- Any documents, contracts, invoices, or payment requests you want the customer to see are connected to the right customer.
- Your team has reviewed Settings > Website & customer app so only the right customer portal sections are turned on.
Step 1: Prepare the customer record
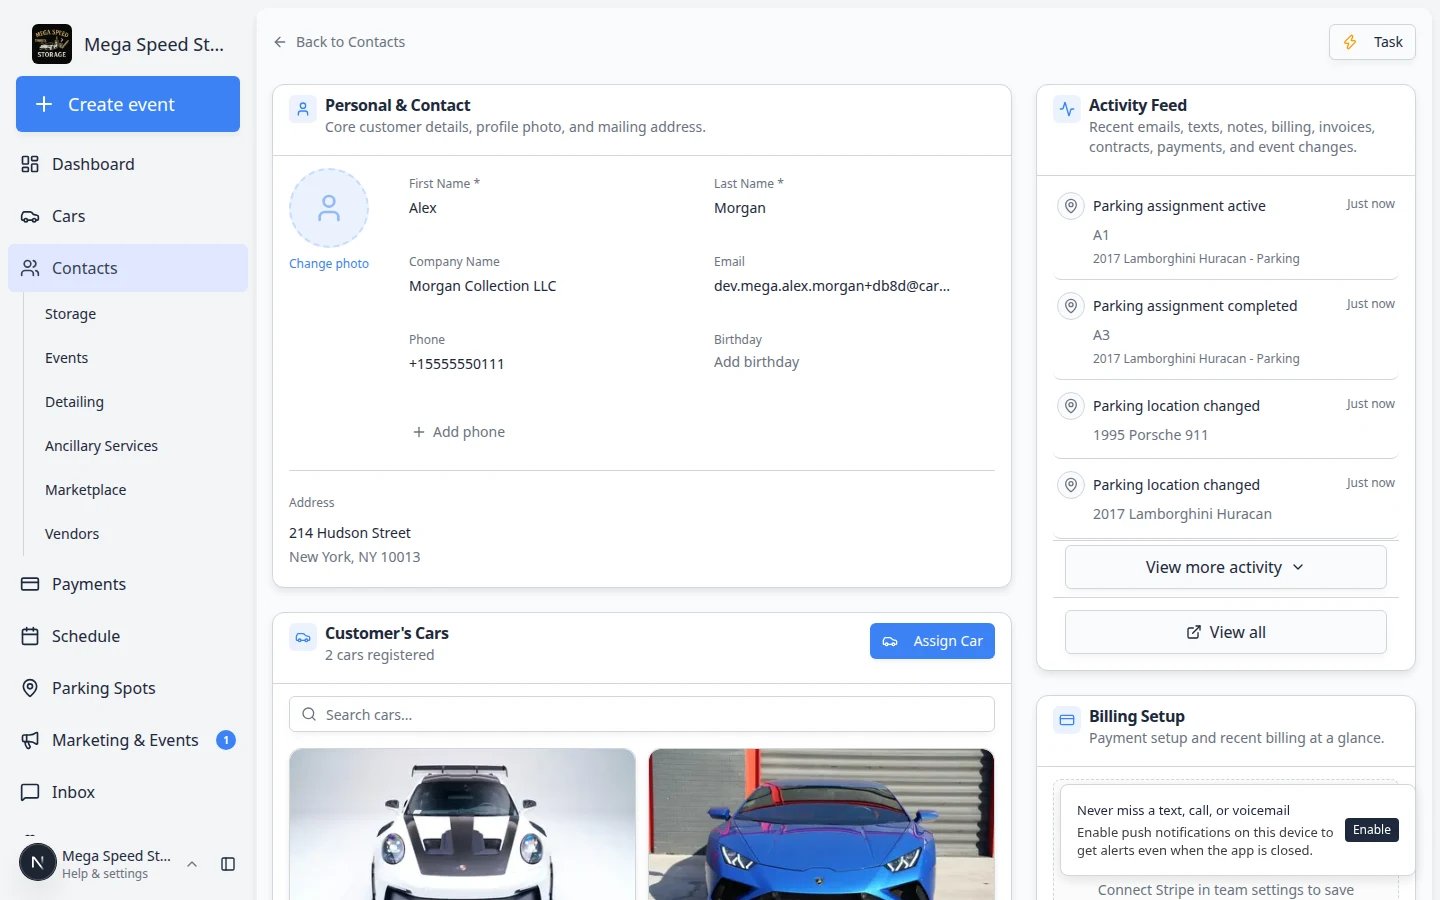
Before you invite a customer, open their record and make sure the important details are ready.1
Open All Contacts
Go to All Contacts.
2
Search for the customer
Use the Search field to find the customer by name, email, phone number, or company.
3
Open the customer record
Click the customer row or View Details.
4
Check the record before inviting
Confirm the name, email, phone number, cars, documents, billing information, and additional contacts look correct.
Step 2: Send the portal invite
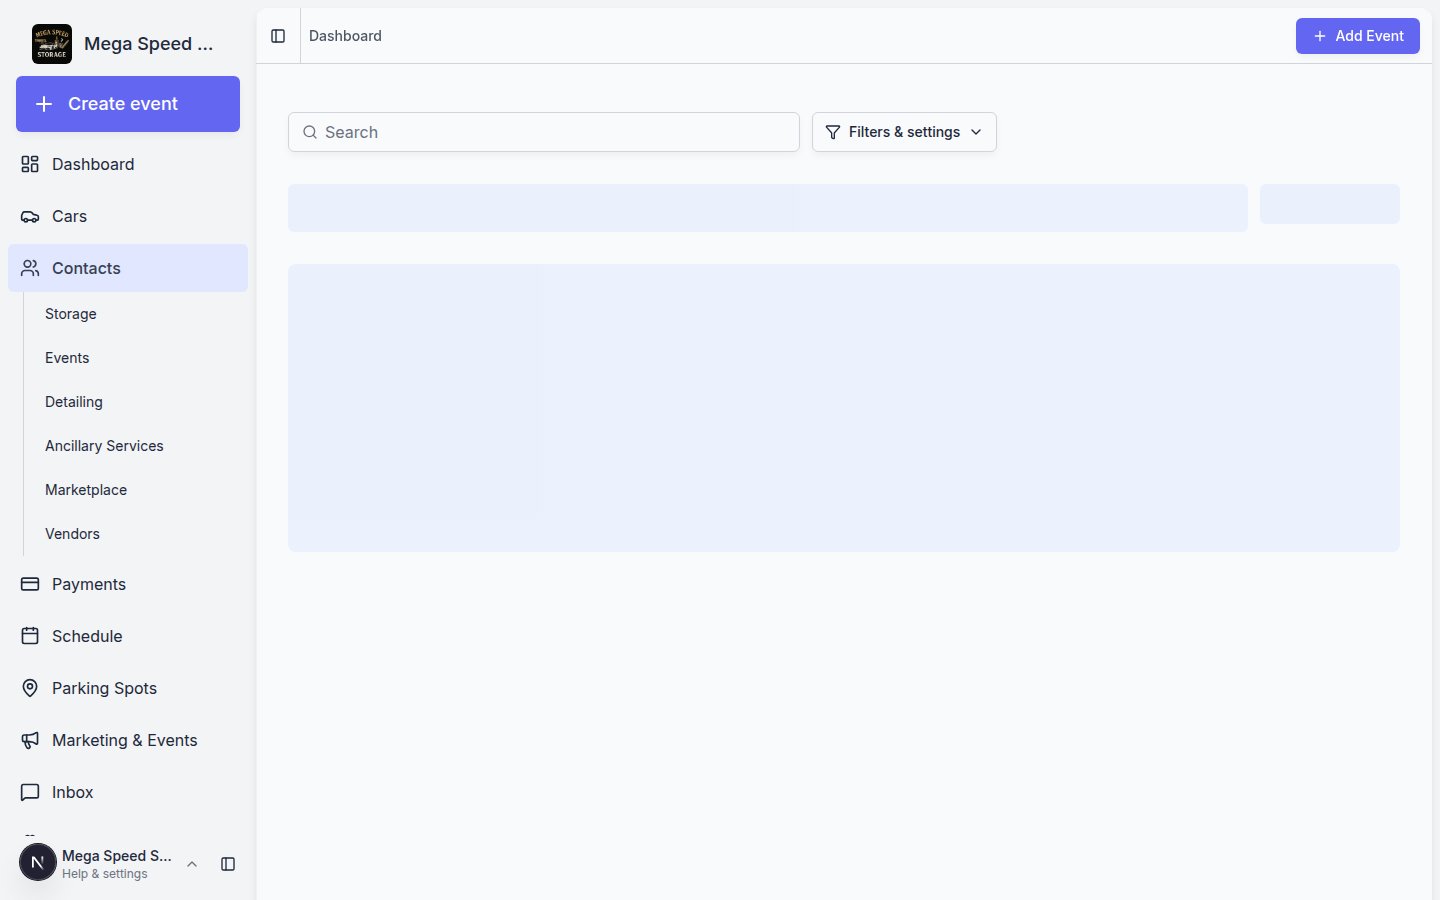
After the record looks ready, send the customer a portal invite.1
Go back to the contacts list
Open All Contacts.
2
Find the customer
Search for the customer you want to invite.
3
Click Send Invite
Click Send Invite on the customer’s row. If the customer was invited before, the button may say Resend Invite.
4
Review and confirm
Review the customer’s name and email address. If they are correct, click Send Invite in the confirmation window.
Step 3: Explain how the customer signs in
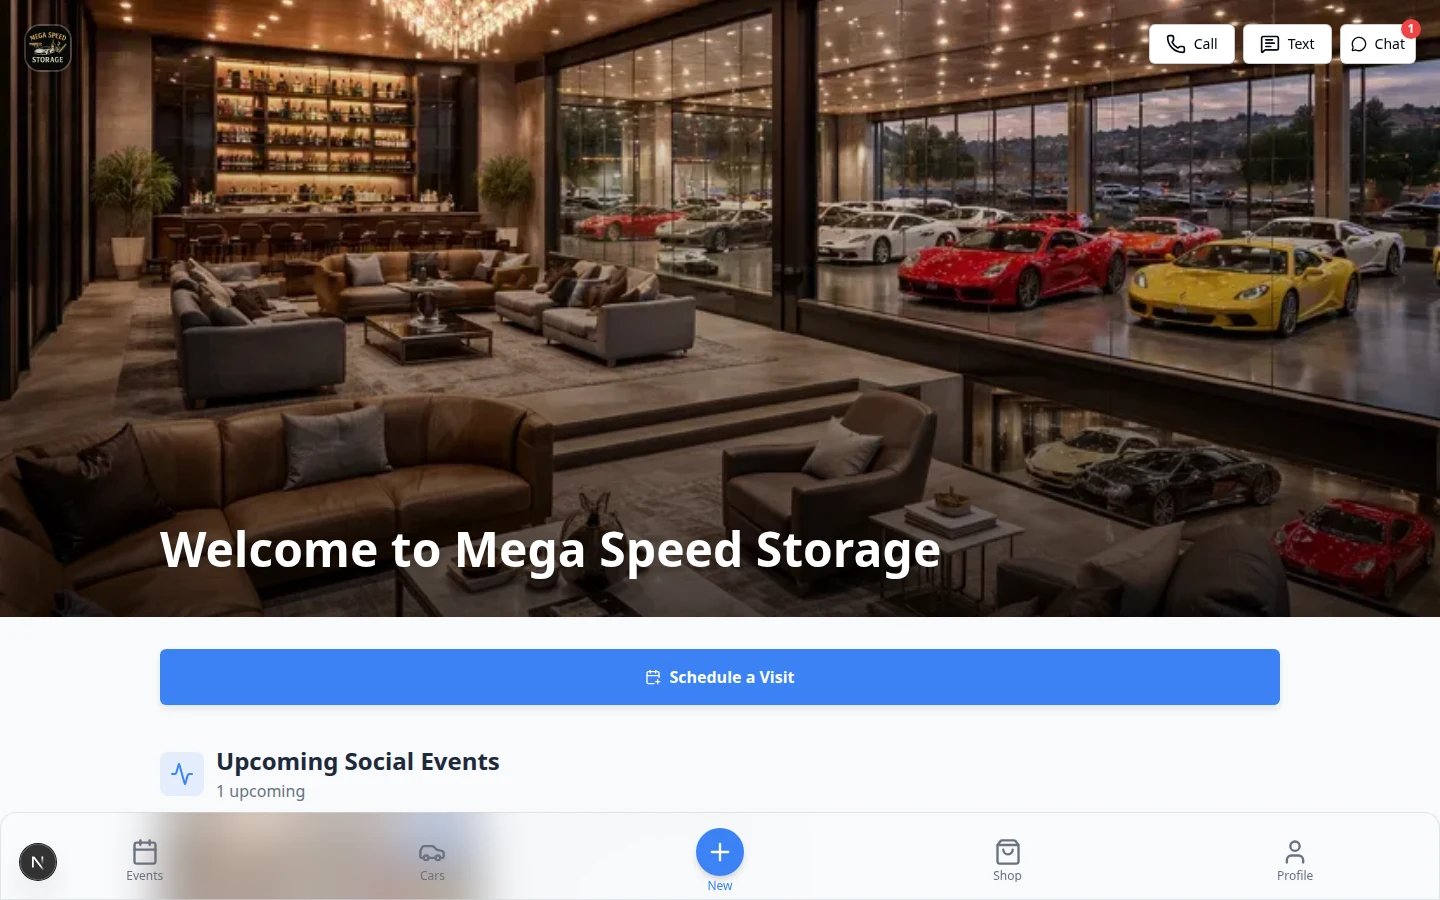
Customers sign in from the invite email. The email includes a secure sign-in button. Explain this in plain language:“Open the email from our facility and click the sign-in button. The button signs you in directly. You do not need to remember a password.”
Step 4: Help the customer complete onboarding, if shown
Some facilities ask customers to complete onboarding right after the first sign-in, before Events, Cars, or Billing open fully. Onboarding may include steps such as:- A welcome screen
- Text message preferences
- Adding or confirming profile details
- Signing a contract
- Adding a payment method
- Installing the app on their phone
- Turning on notifications
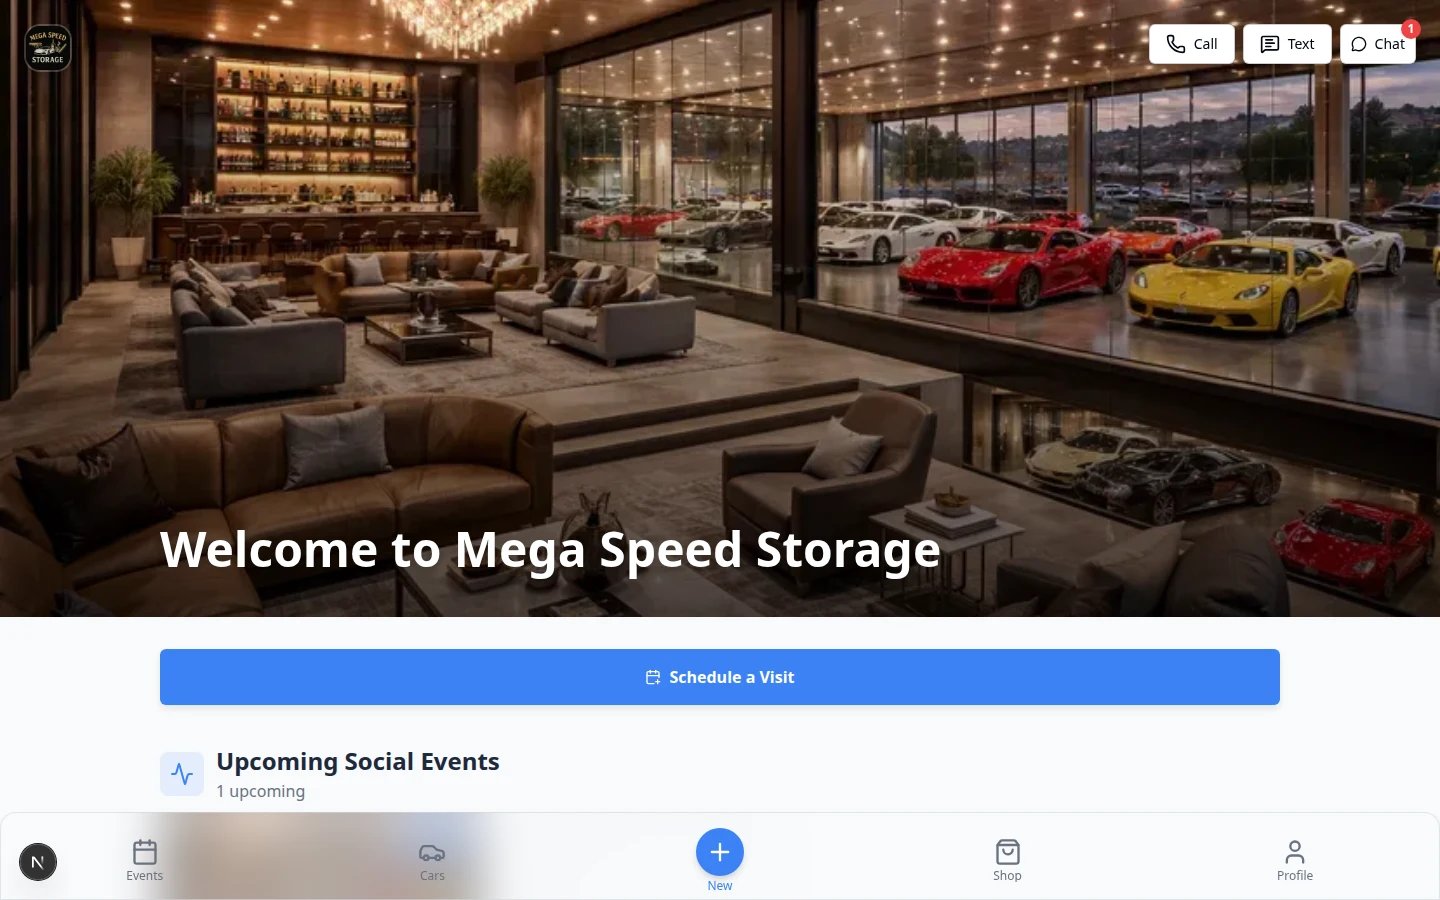
“The portal may ask you to complete a few setup steps first. Please go through each step in order. When you finish, the portal will take you to the main customer area.”
- If the customer needs to sign a contract, make sure the contract was sent to the correct email address. See Help customers complete onboarding paperwork.
- If the customer needs to add a payment method, confirm your payment processing is connected in Settings > Billing.
- If the customer gets stuck, ask which step number they are on before you troubleshoot.
- If your facility does not use onboarding, customers go straight to Events or Cars after sign-in. That is normal—skip to the next step.
Step 5: Help the customer understand the main portal areas
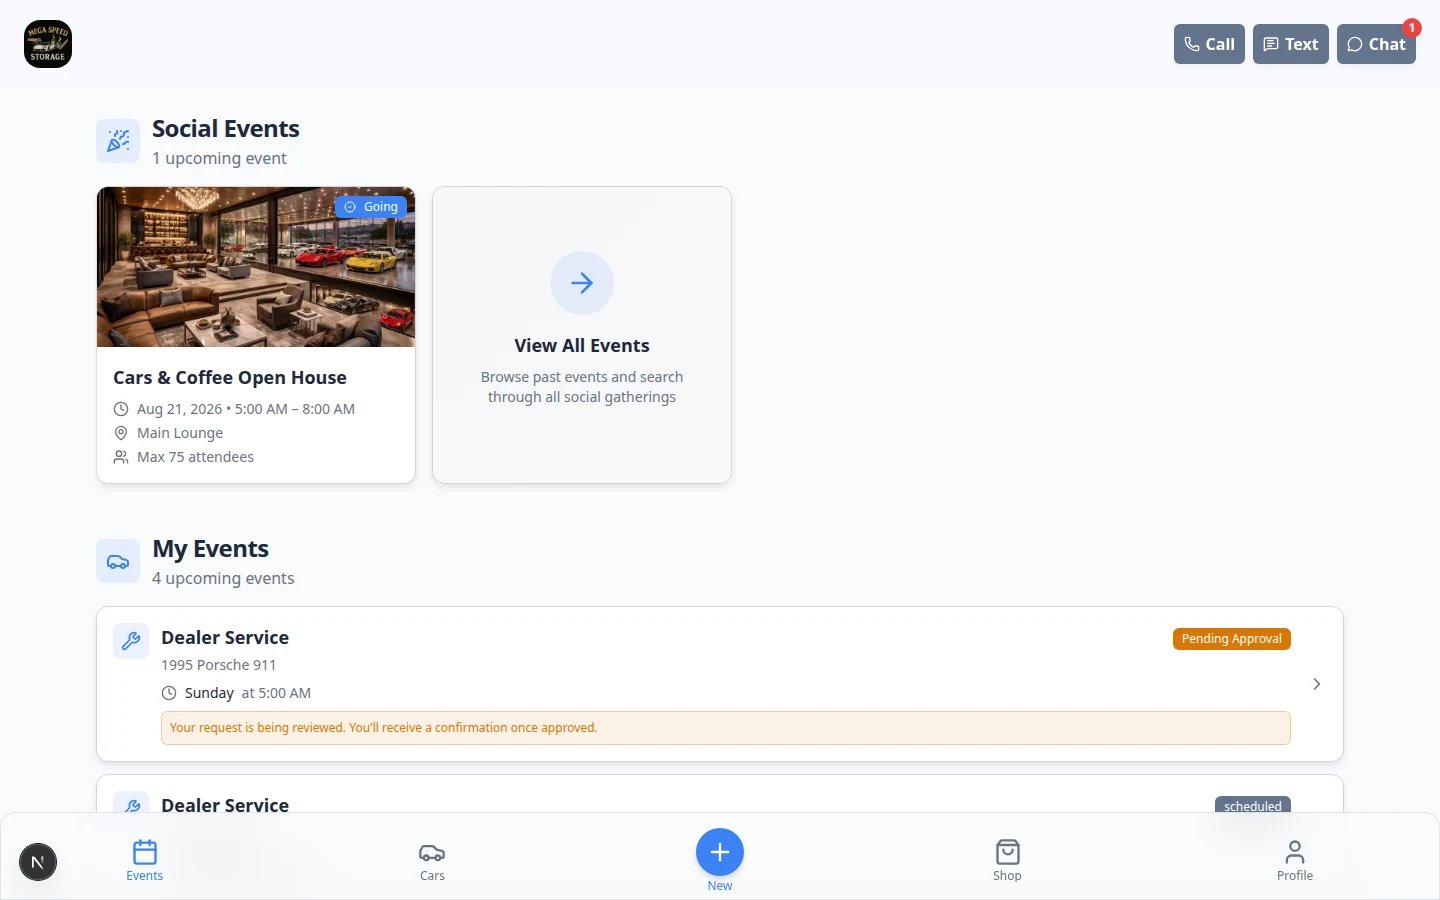
The exact portal sections can vary based on your facility settings. These are the most common areas customers may see.Sections your facility turned offIf the customer does not see Billing, Shop, or Documents, your team may have those areas turned off in Settings > Website & customer app. That is normal—explain only the sections they can see.
Step 6: Show the customer where their cars are
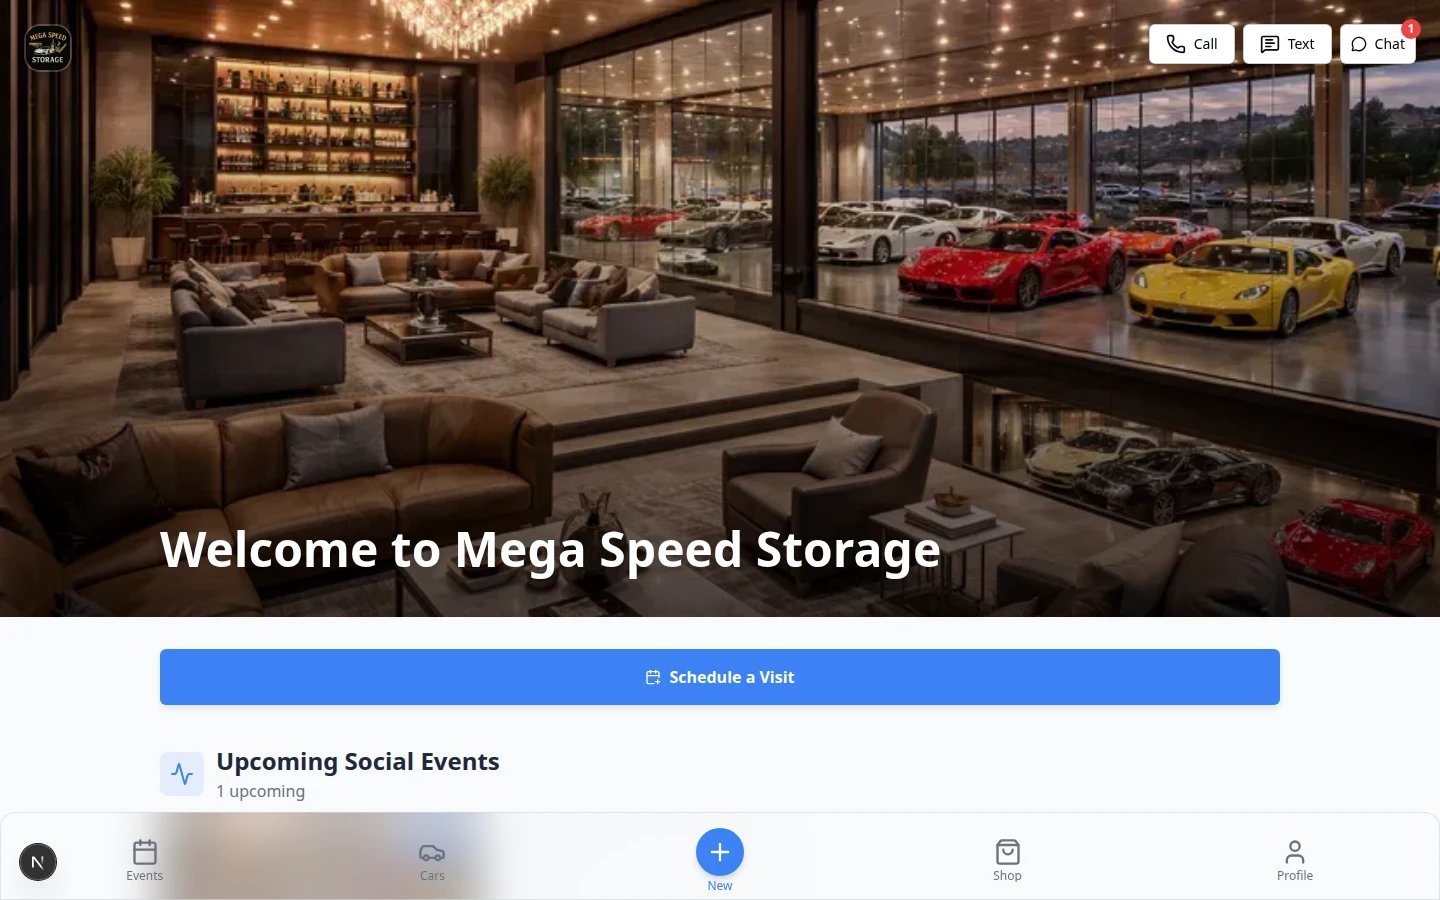
Customers often sign in because they want to see their vehicles. Show them the Cars area first if the main question is about stored vehicles.1
Ask the customer to click Cars
In the customer portal, ask the customer to click Cars.
2
Confirm the right cars appear
The page should show the cars linked to that customer record.
3
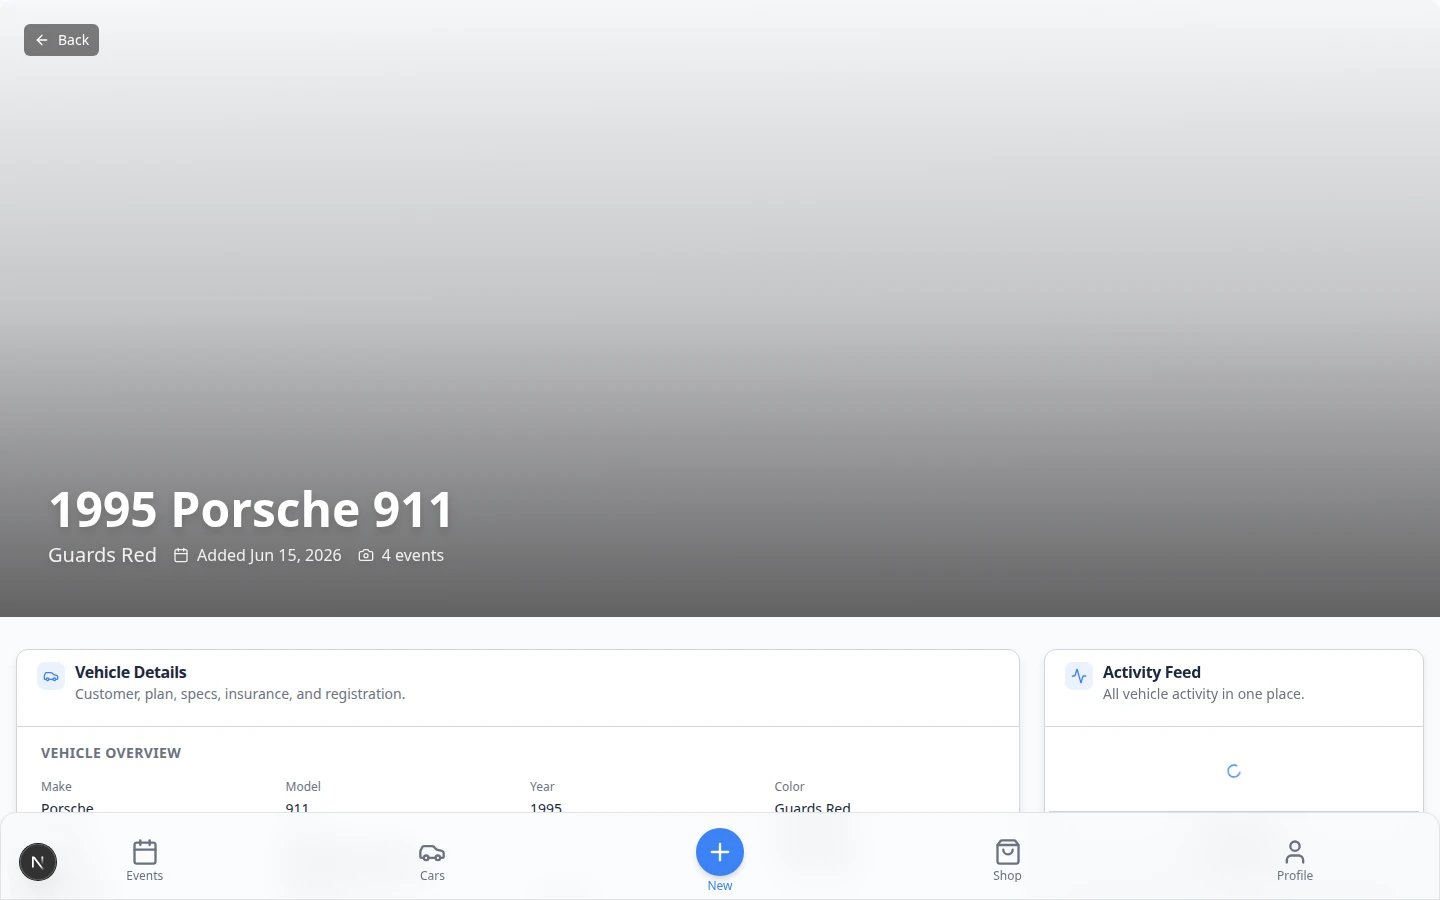
Open one car
Ask the customer to click a car to open the car detail page.
Step 7: Explain billing in simple terms
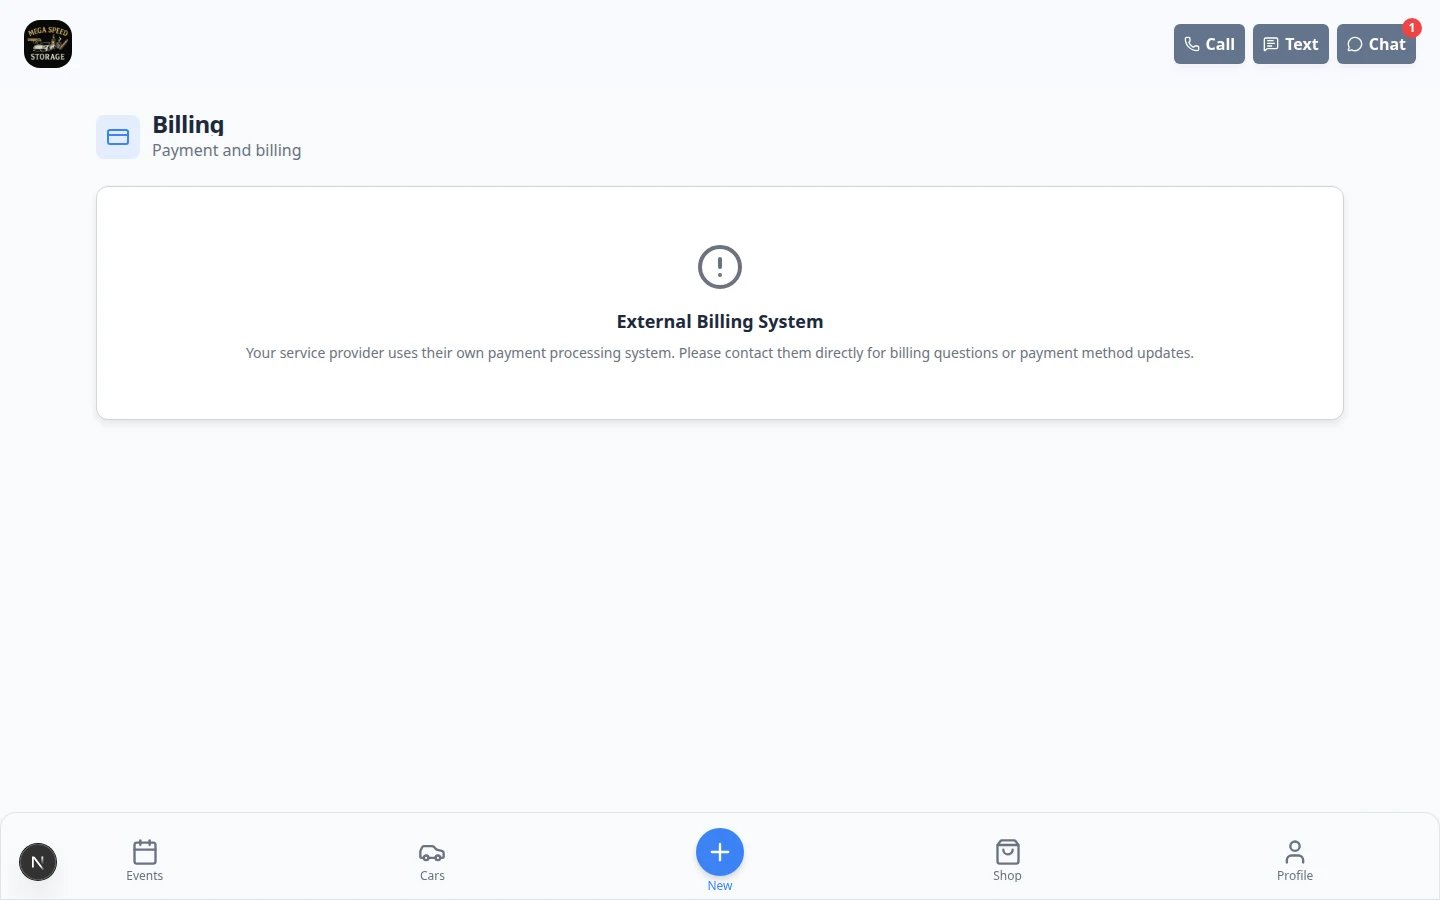
If your facility uses customer billing in the portal, the customer can review billing information without contacting your team.1
Ask the customer to open Billing
In the customer portal, ask the customer to open Billing.
2
Explain what they are seeing
Tell the customer this area may show invoices, payment history, statements, subscriptions, or payment methods depending on your facility setup.
3
Answer payment questions carefully
If the customer has questions about a charge, open their customer record or the related invoice in the staff dashboard before answering.
Step 8 (optional): Show Documents and account settings
If your facility shares contracts, insurance cards, or other files through the portal, ask the customer to open Documents (or My Documents, depending on your menu labels).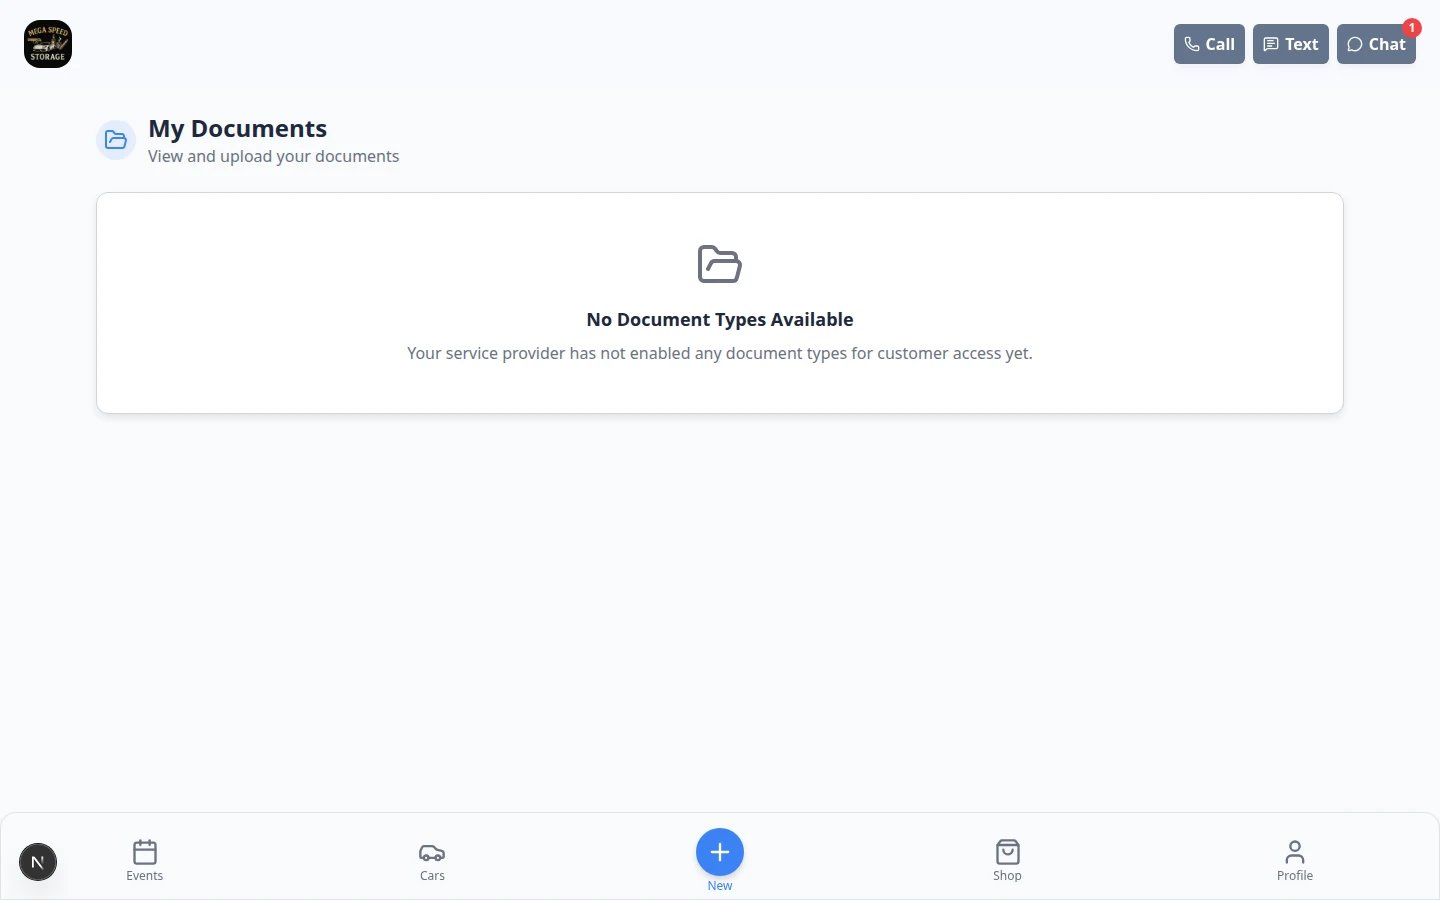
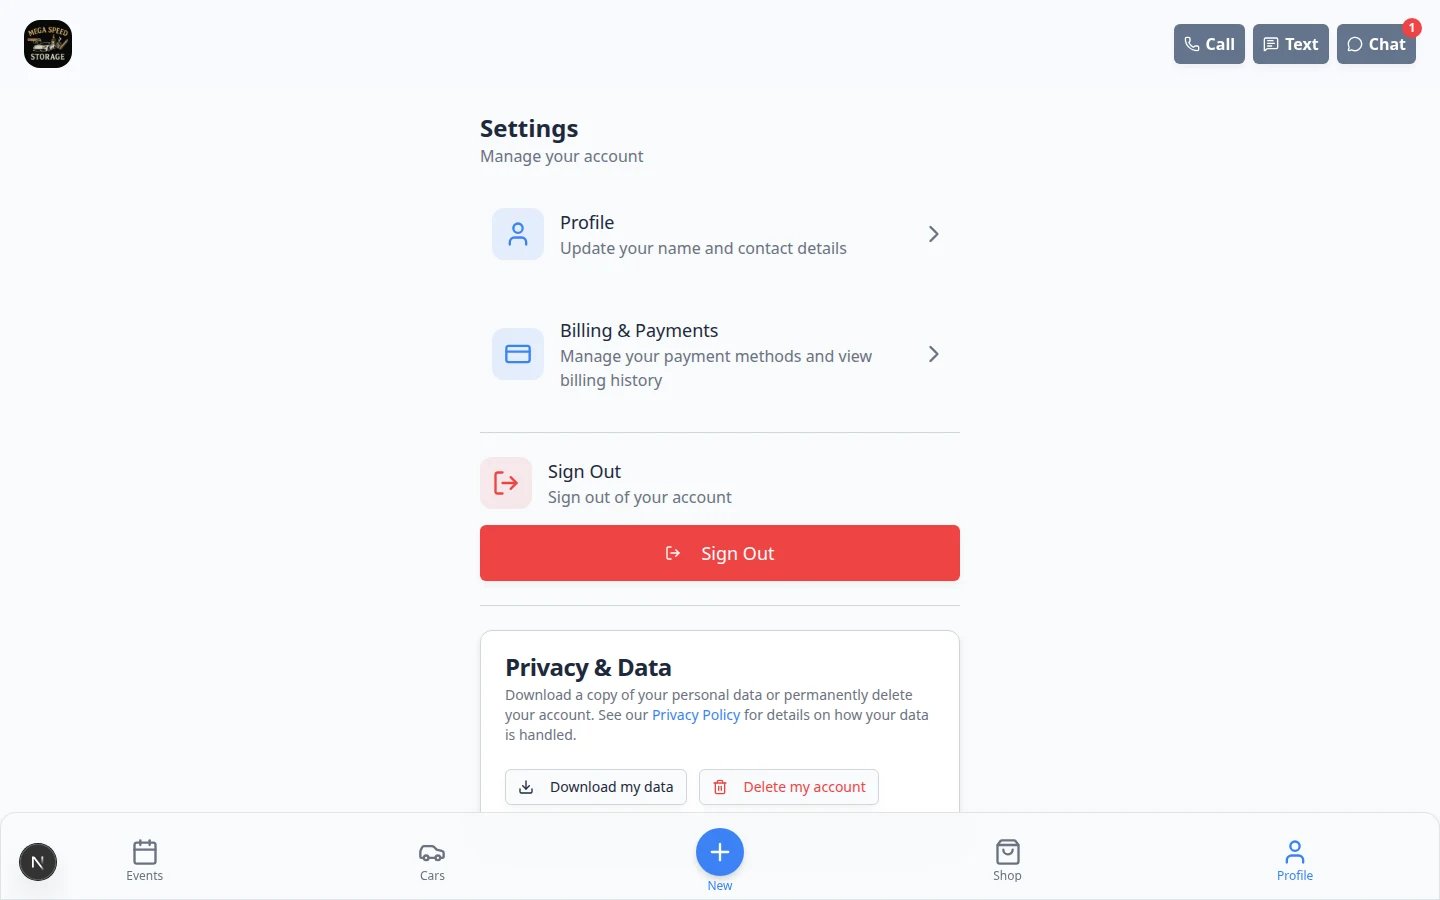
If billing is emptyAn empty billing page usually means there are no invoices, statements, payment methods, or subscriptions connected to that customer yet. Check the customer’s record and your payment settings before telling the customer something is wrong.
Common questions from customers
What to do next
After the customer signs in successfully:- Ask if they can see the cars they expect to see.
- Ask if they found any documents, invoices, or events they needed.
- Invite any additional contacts who should help manage the account.
- Keep the customer record updated so the portal stays useful over time.
- Add a customer
- Link cars and documents to a customer
- Invite a customer to the portal
- Manage additional contacts
- Install the mobile app — walk customers through saving the portal to their phone home screen
Phone script your team can read aloud
Use plain language on the phone. You do not need to sound technical.1
Before they sign in
“I’m sending you an email from our facility right now. Open that email and tap the sign-in button. You do not need a password—the button signs you in directly. If you do not see the email in a minute, check your spam or junk folder.”
2
If they open your website instead
“Go to our customer login page—the link is on our website or in the email I sent. Type the email address we have on file for you, then click Send sign-in link. Use the same email that receives our invoices.”
3
After they sign in
“You should see your cars, upcoming events, and any documents or billing we shared. Tap Cars first if you want to confirm your vehicles are listed. If something is missing, tell me what you expected to see and I will check your account on my side.”
4
If onboarding steps appear
“The portal may ask you to finish a few setup steps—like signing a storage agreement or adding a payment method. Please go through each step in order. When you finish, you will land on the main customer home screen.”
5
Saving the app to their phone (optional)
“If you would like quick access from your phone, you can add our portal to your home screen like an app. I can walk you through that—it takes about a minute. We also have a short guide at Install the mobile app you can text to them.”