Settings
Configure communications
Set up phone, text messaging, email domain, social links, Google Reviews, and notification defaults for your facility.
Communications settings control how your facility reaches customers and how your team receives important updates.
Use this guide before sending portal invites, marketing messages, appointment reminders, invoice emails, or customer texts.
Before you start
- You should be signed in as an admin or manager.
- Know the business phone number your facility wants customers to recognize.
- Know which email domain your facility wants to send from, such as yourfacility.com.
- Have access to your website or domain provider if email verification records need to be added.
- Gather social media profile links and your Google Business Profile information if you use reviews.
Open Communications settings
Go to Settings > Communications.
The page title is Communications.
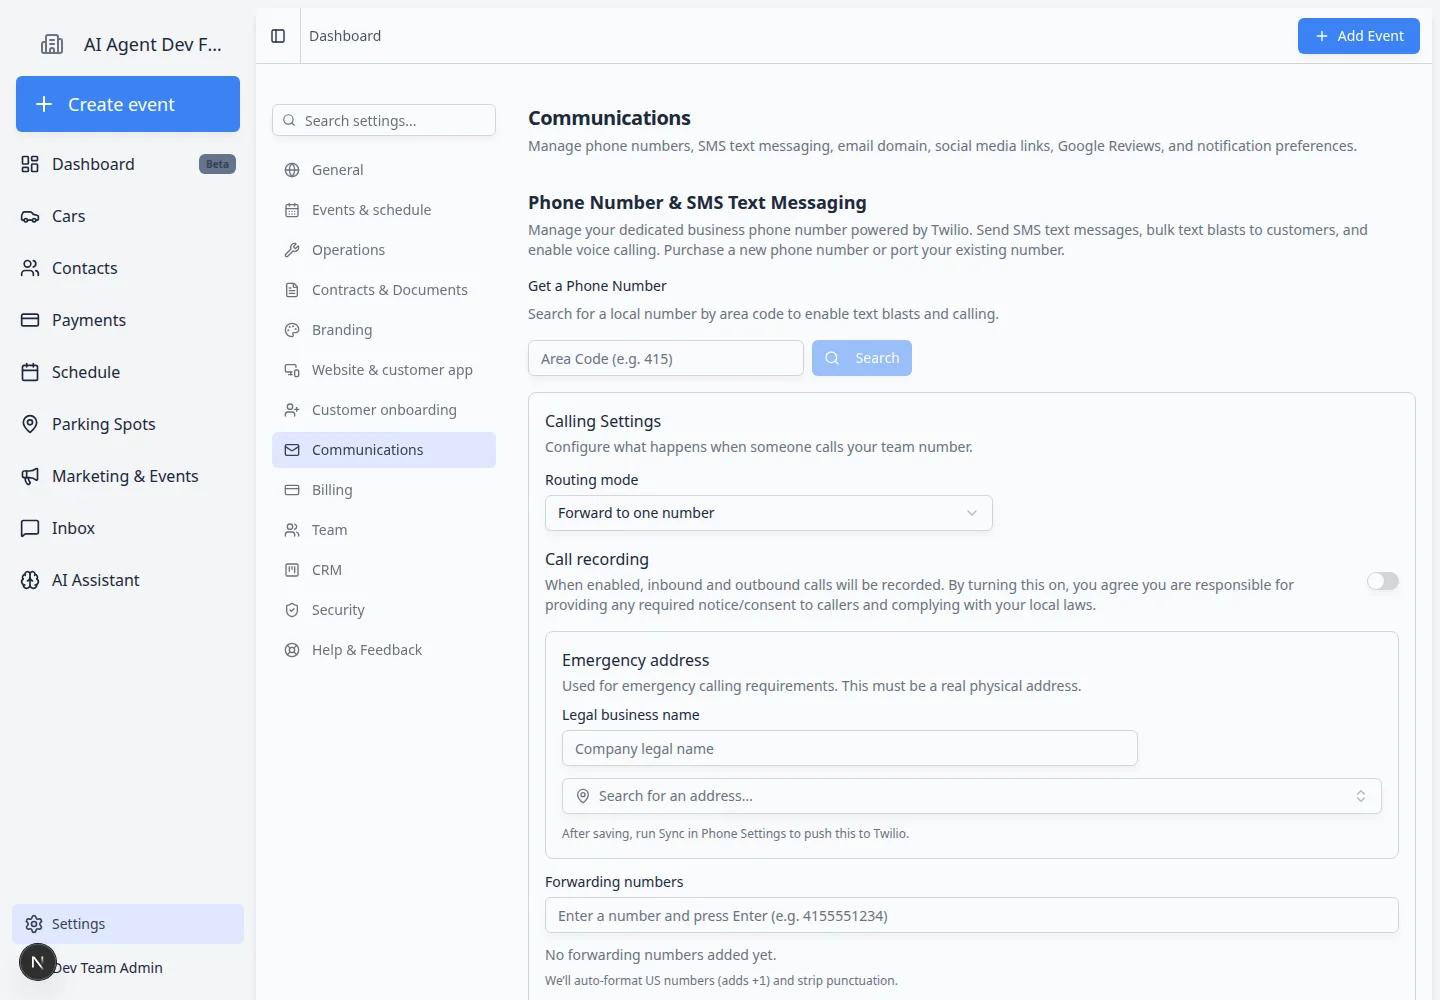
Set up phone and text messaging
Phone and SMS settings help your team send customer text messages and manage facility calling options.
- Find Phone Number & SMS Text Messaging
On Settings > Communications, find Phone Number & SMS Text Messaging.
- Choose the phone number path
Follow the on-screen option to purchase a new number, connect a number, or manage an existing number.
If your facility already uses a business number, ask your manager whether you should keep that number or use a new one.
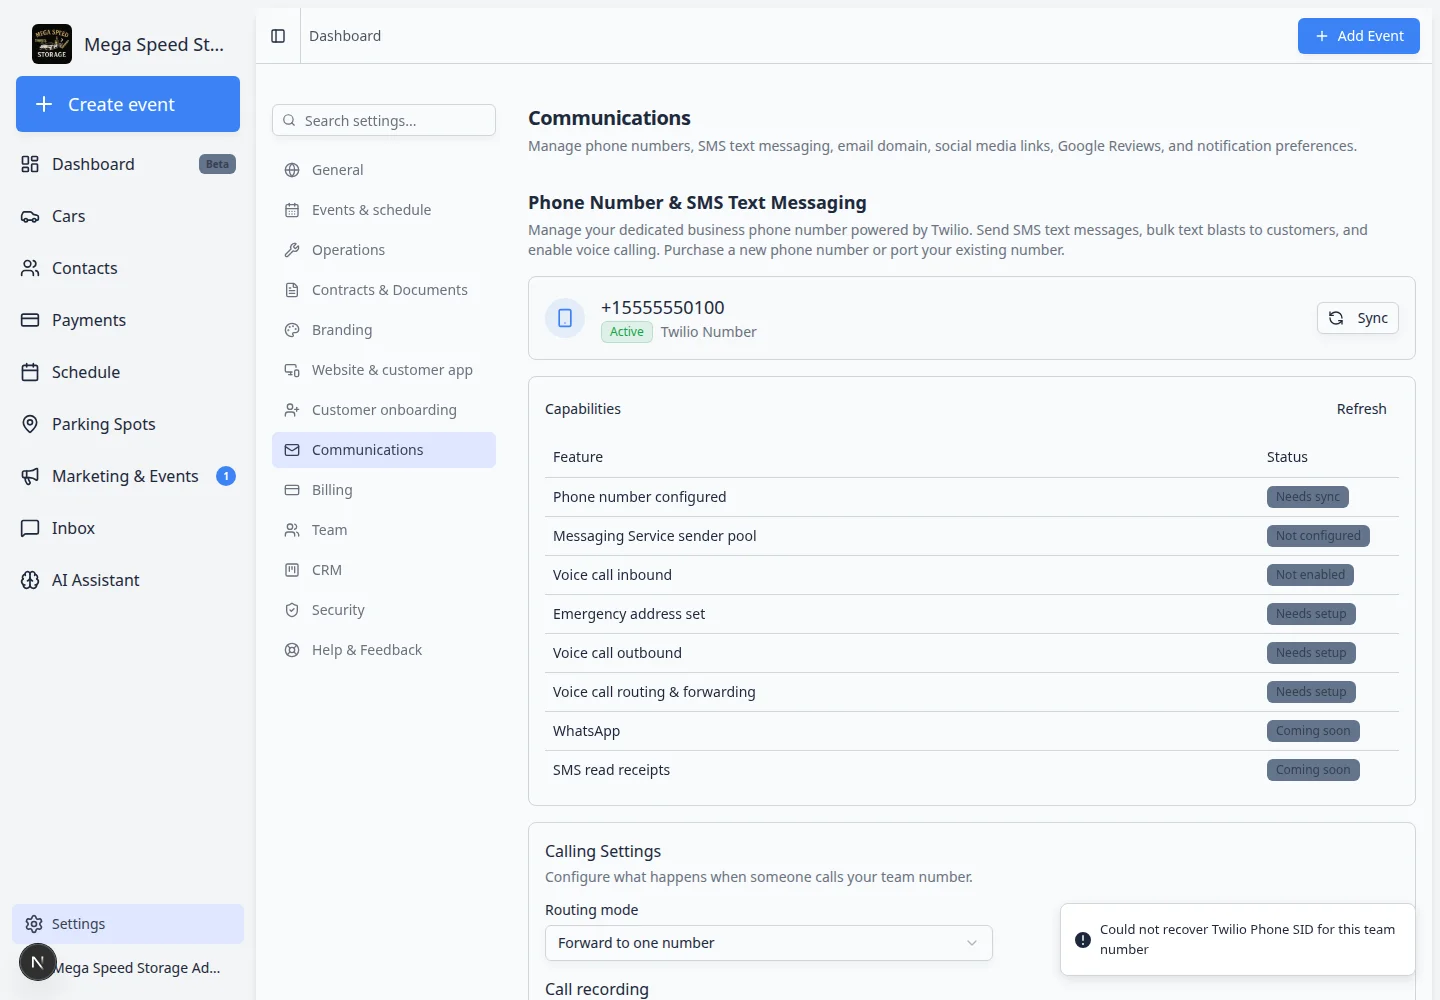
- Review text messaging settings
Confirm which messaging features are enabled for your team.
This can affect customer reminders, bulk texts, inbox messages, and other customer communications.
- Send a small test before using it with customers
If testing is available, send a message to an internal staff phone before sending customer texts.
Expected result
Your team can use the correct phone and text messaging setup for customer communication.
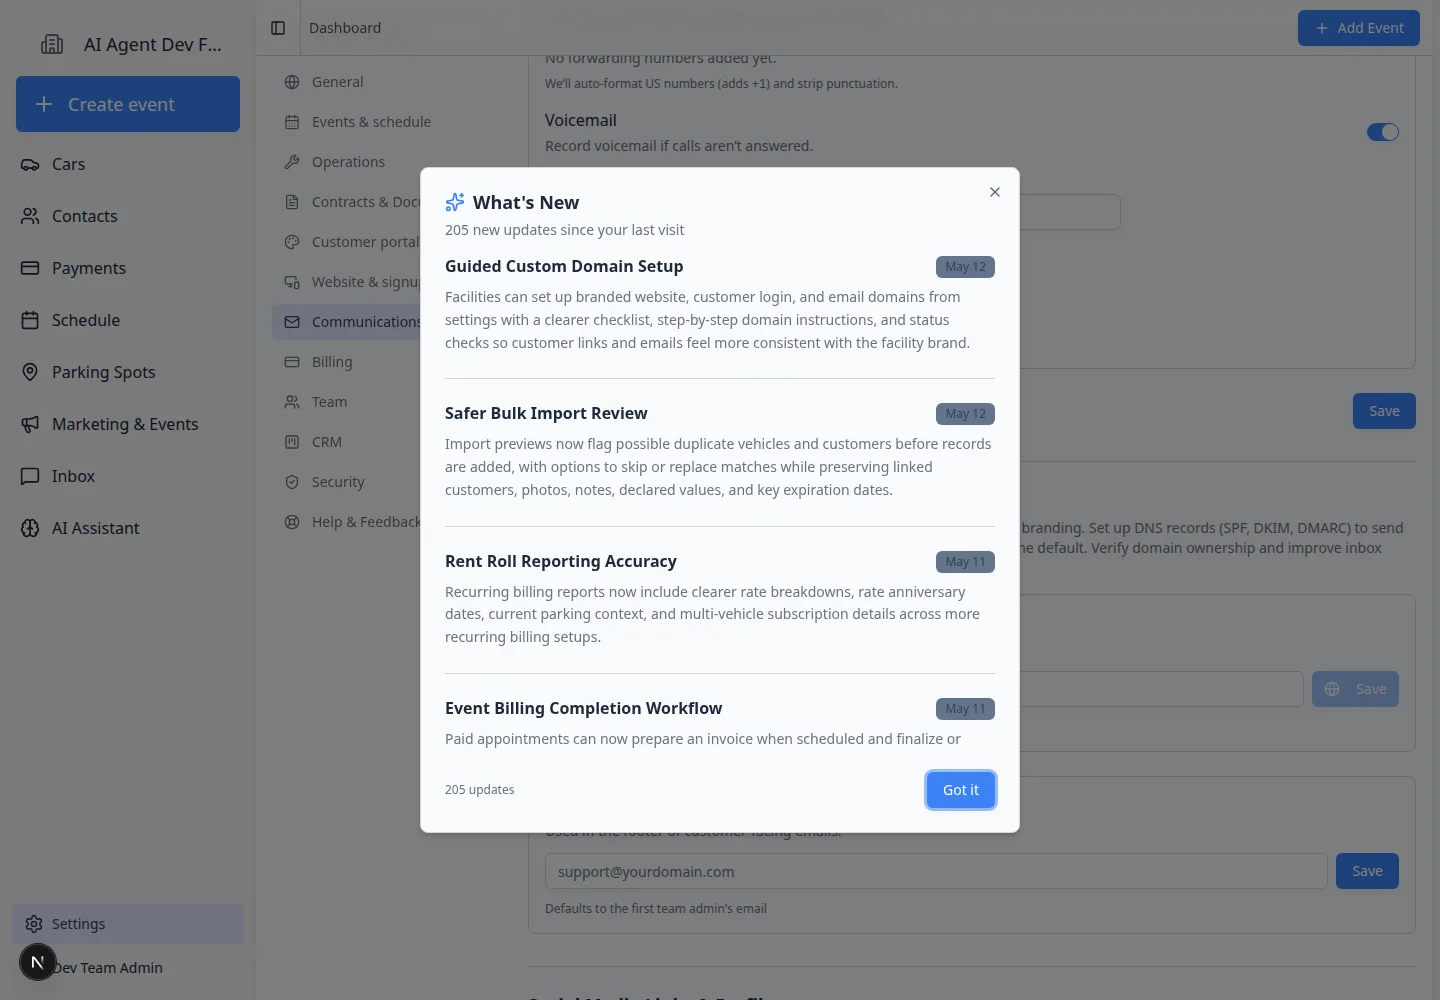
Set up email domain and deliverability
Email domain settings help emails look professional and reduce the chance that important messages go to spam.
- Find Email Domain & Deliverability Settings
Scroll to Email Domain & Deliverability Settings.
- Add or review your sending domain
Follow the on-screen instructions to add your business email domain.
A domain is the part after the @ symbol, such as yourfacility.com.
- Add DNS records if requested
The app may show records named SPF, DKIM, DMARC, or MX.
These records are added where your domain is managed, such as your website host or domain registrar.
- Verify the domain
After the records are added, use the verification option shown on the page.
Domain changes can take time to update. If verification does not work right away, wait and try again.
Expected result
Customer emails, invoice emails, portal invites, and notifications can be sent from a more trusted business email setup.
Add social media links
Social media links can appear on customer-facing pages and email footers.
- Find Social Media Links & Profiles
Scroll to Social Media Links & Profiles.
- Paste profile links
Add the full links to the profiles your facility wants customers to find, such as Facebook, Instagram, LinkedIn, YouTube, TikTok, or X.
- Save and preview customer-facing pages
Save the links, then preview a customer-facing page or email footer when available.
Expected result: Customer-facing pages show the social icons you added.

Set up Google Reviews
Google Reviews settings help route happy customers toward public reviews and collect private feedback from customers who need support.
- Find Google Reviews
Scroll to Google Reviews.
- Connect or choose your Google Business Profile
Follow the on-screen steps to connect the correct Google Business Profile.
- Review how review requests behave
Confirm when customers should be asked for reviews and what happens after they rate their experience.
Expected result: Your facility is linked to the correct Google Business Profile for review requests.
Review notification preferences
Notification preferences control which alerts your team receives.
- Find Notification Preferences & Alerts
Scroll to Notification Preferences & Alerts.
- Turn on the important alerts
Choose the notifications your team needs, such as new customer registrations, bookings, event updates, payment received, or other important activity.
- Keep alerts focused
Avoid sending every alert to everyone. Choose the people who can act on each message.
Expected result: The right teammates get email or in-app alerts without everyone being copied on every message.

What success looks like
- Your team has a clear phone and text messaging setup.
- Your business email domain is added or you know who is completing the domain records.
- Social media links point to the correct public profiles.
- Google Reviews are connected if your facility uses review requests.
- Notification defaults help staff respond without overwhelming them.
Troubleshooting
What to do next
After communications are ready, continue with Set up facility branding and Configure portal and website so customer-facing links and the customer app are ready before you invite customers.