

What you will accomplish
You will turn on Recurring Event when creating a visit so the same work appears on Schedule again and again—without retyping each date by hand. Expected outcome: Future dates show on the calendar automatically. When one visit moves, you can change only that day or the whole series using the prompt the app shows after you save. Use this guide when the same work should happen again and again—weekly storage check-ins, monthly battery service, standing detail appointments, or regular dealer transport runs.When to use recurring appointments
- A customer has a standing weekly or monthly visit (storage check-in, battery service, wash).
- Your team runs the same internal task on a fixed rhythm (bay prep, inventory walk-through).
- You want future dates on Schedule without re-entering each visit by hand.
Before you start
- Know the event type, customer or vehicle, first date, and start time.
- Know how often the work repeats (every week, every two weeks, monthly, and so on).
- Know when the series should stop — many teams use a date three to six months out and extend later.
- Confirm the first appointment time is correct before saving — notifications may use that time.
Create the recurring series
1
Open Schedule and start a new event
Go to Schedule and click Schedule Event.Expected result: The Create New Event form opens.
2
Fill in the normal event details first
Choose the Event type, vehicle or customer, assignee (team member or vendor), date, time, and notes the same way you would for a one-time appointment.See Create an appointment if you need help with those fields.
3
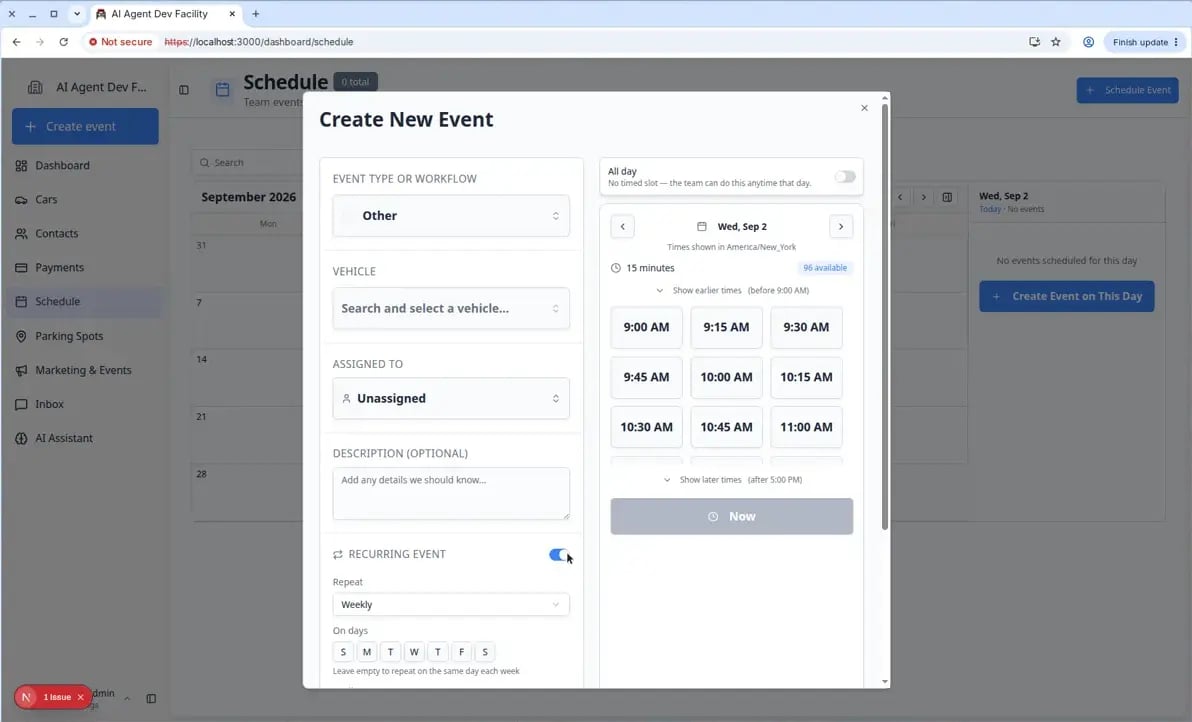
Turn on Recurring Event
Find RECURRING EVENT at the bottom of the left column. Turn the switch on.If the repeating work has no customer arrival time (for example a weekly battery tender walkthrough), also turn on All day on the right. See Create an all-day event.Expected result: Extra fields appear for repeat frequency, days of the week (for weekly repeats), and an end date.
4
Choose how often it repeats
Open the Repeat dropdown and pick the pattern that matches your shop:
- Daily — every day (rare for vehicle storage, but useful for short internal tasks).
- Weekly — same day each week.
- Every 2 weeks — every other week.
- Monthly, Quarterly, or Yearly — longer service cycles.
5
Pick days of the week when needed
For Weekly or Every 2 weeks, tap the day letters (S M T W T F S) for each day the event should happen.Leave the days empty if the event should repeat on the same weekday as the first date you picked.Expected result: Only the days you selected will get events in the series.
6
Set the Until date
In Until, choose the last day the series should run.Why this matters: The series stops creating new events after this date. You can create a new series later if the customer renews.Expected result: Your team knows the repeat pattern has a clear end instead of running forever by accident.
7
Click Create Event
Review the first date, repeat pattern, and end date. Click Create Event.Expected result: The first event appears on the calendar, and future dates in the series are created according to your repeat rules.
Good examples of recurring work
Weekly battery maintenance for stored vehicles — same weekday, same bay, 30–45 minutes.Monthly wash and inspection for VIP storage customers.Standing dealer transport every other Tuesday for a consignment vehicle.Internal bay prep every Friday morning (facility-only event type).
When not to use recurringUse a one-time appointment when the customer books a single visit (one detail, one pickup). Use recurring only when the same work truly repeats on a pattern. One-off reschedules are easier to manage as single events.
See the series on the calendar
After you save, switch the calendar to Week or Month view (open Filters & Settings if you need to change the range).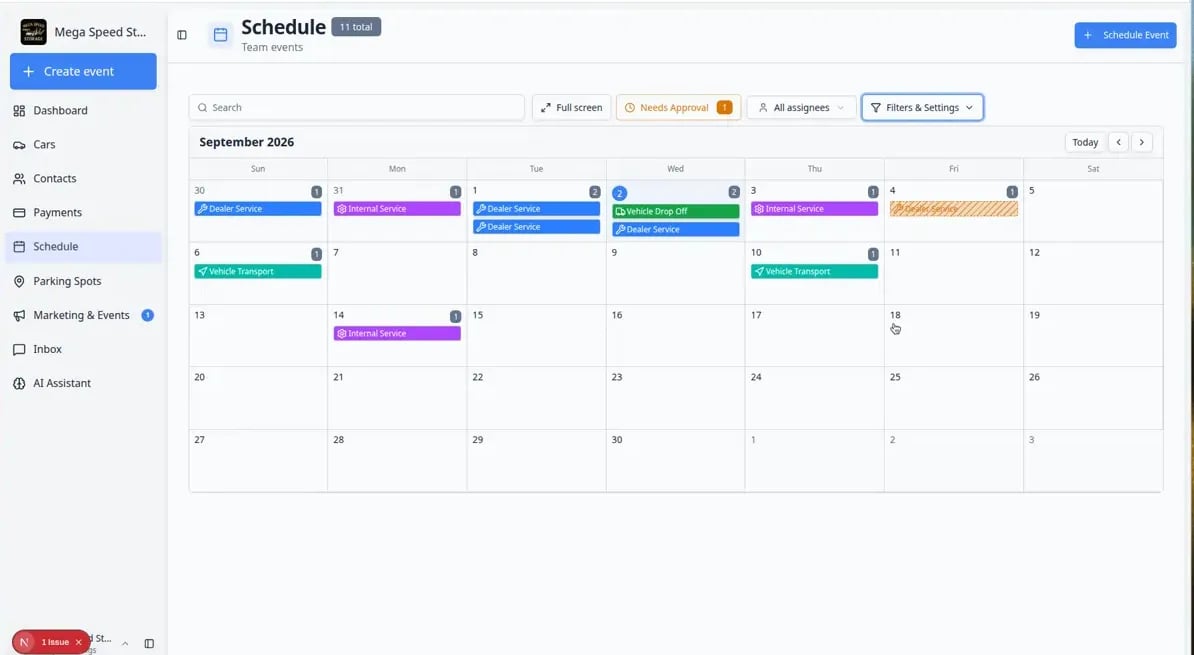
Change or stop one event in a series
Later, if only one date needs to move or cancel, open that event on Schedule and follow Update, assign, or reschedule an event or Cancel or delete a scheduled event.1
Open the occurrence on the calendar
Click the event for the date you want to change (not a different day in the series).Expected result: The event details panel opens for that specific visit.
2
Choose Edit Event or Cancel
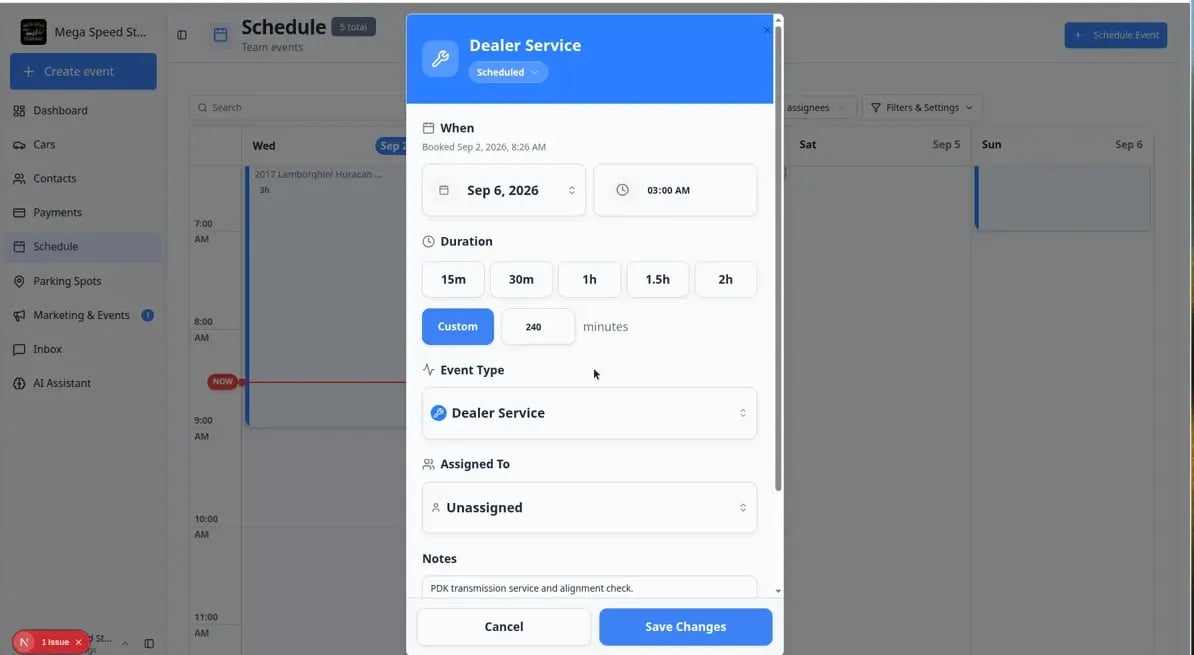
Use Edit Event to move the time, assignee, or notes. Use Cancel when that visit will not happen.Expected result: The app may show a question about the whole series before it saves.
3
Read the recurring event question
After you click Save Changes, a window titled Edit recurring event may appear.It asks whether to change only this event or all events in the series. Read it slowly before you click.Expected result: You understand how many future visits will change before you confirm.
4
Choose Only this event vs All events in the series
- Choose Only this event when one customer visit moved but the rest of the repeat pattern stays the same.
- Choose All events in the series only when the repeat rule itself is wrong (wrong weekday, wrong end date, wrong time for every future visit).
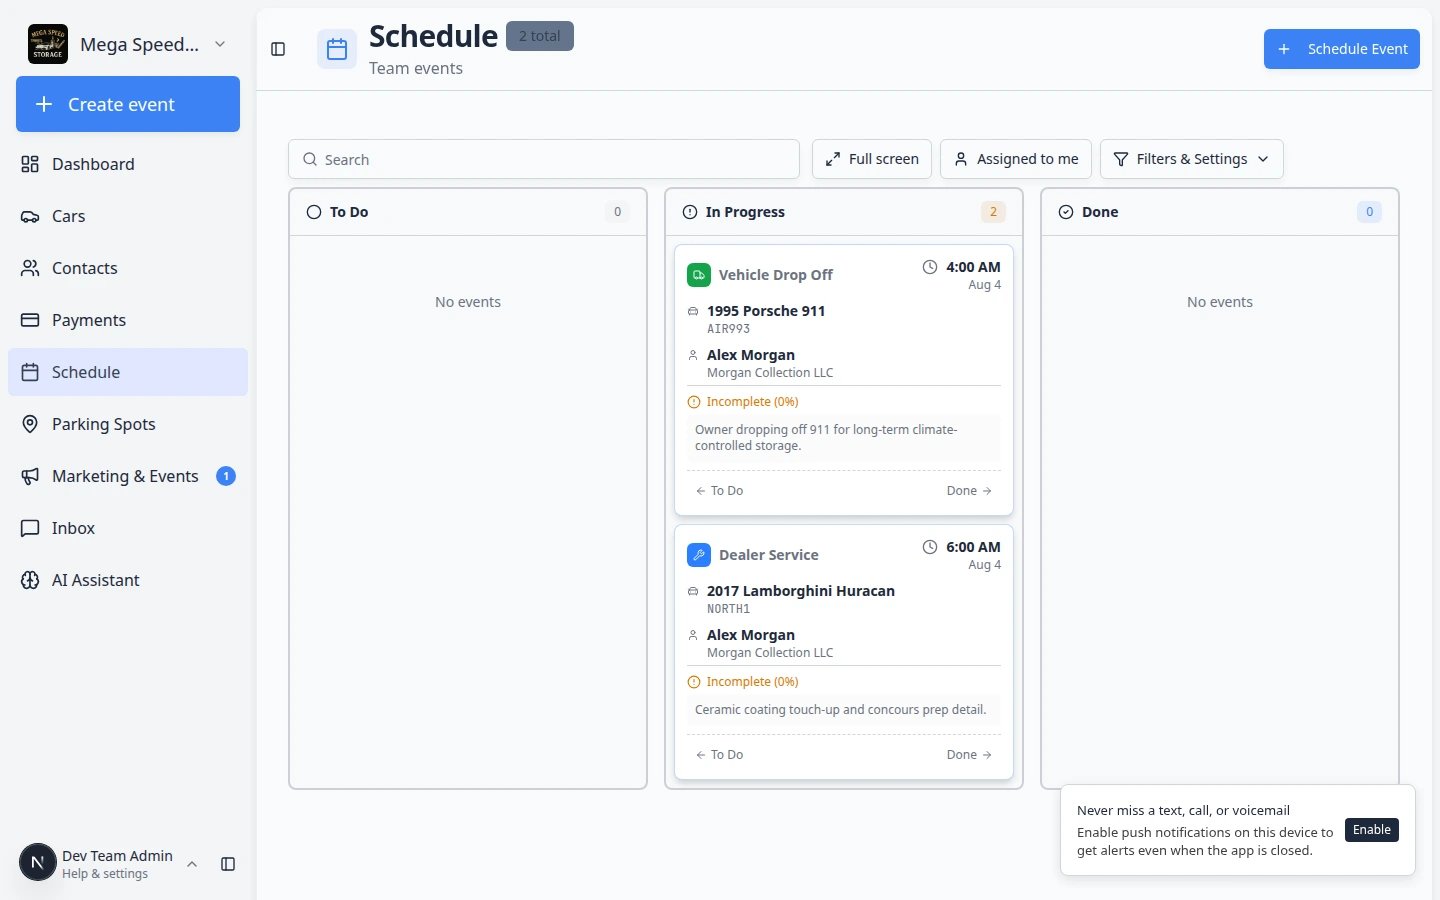
What success looks like
- Future dates in the series appear on Schedule without manual re-entry.
- Each occurrence shows the correct customer, vehicle, and event type.
- Staff can still change a single date without breaking the whole series when plans shift.
Troubleshooting
What to do next
- Repeat work with no arrival time: Create an all-day event.
- Find events quickly with Find and filter scheduled work.
- Track daily completion in Track work in the Progress view.
- Return to Schedule overview.