

What you will accomplish
You will upload a vehicle file, match each spreadsheet column to the correct field, review a preview, and create car records in one batch. When your file includes a customer email or external ID, each car can link to the correct owner automatically. Expected outcome: The vehicles appear on the Cars page with the right year, make, model, and customer links.When to use car import
- You are onboarding dozens or hundreds of stored vehicles at once.
- Customers are already in the system (or you will import customers first on the same page).
- You have a reliable column for Customer Email, External Customer ID, or Composite External ID so cars can link to owners.
- You need to bring in extra details such as insurance dates, tags, declared value, or photo URLs from your old system.
Before you start
- Save your file as CSV, XLS, or XLSX.
- Put each vehicle on one row.
- Include Make, Model, and Year when possible. The system can also try to fill these from a VIN.
- Include Customer Email (or an external ID column) on every row that should link to an owner.
- Know your facility location names if you use more than one building.
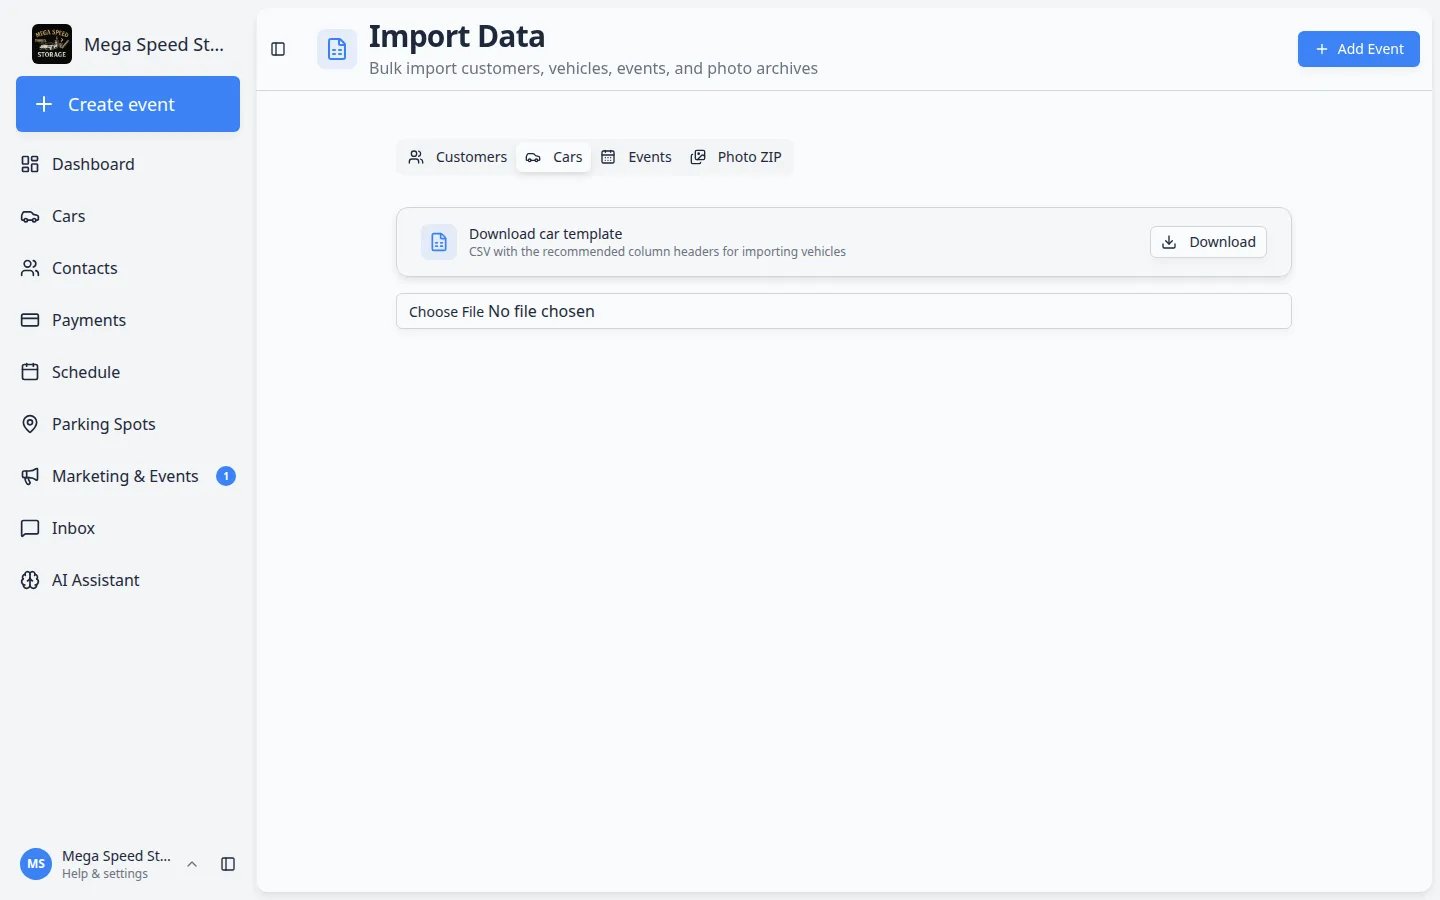
Step 1: Open the Cars import tab
1
Go to Import Data
In the left sidebar, open Import Data, or go directly to Import Data.Expected result: The page title says Import Data with the subtitle “Bulk import customers, vehicles, events, and photo archives.”
2
Choose the Cars tab
Near the top of the page, click the Cars tab (car icon).Expected result: You see Download car template and a file upload area below it.
3
Download the template if you are unsure about column names
Click Download on the Download car template card. Open the file to see recommended headers such as Make, Model, Year, VIN, and Customer Email.
Step 2: Upload your vehicle file
1
Click the file field
Click the upload area below the template card.
2
Choose your spreadsheet
Select your CSV, XLS, or XLSX file from your computer.
3
Wait for the row count
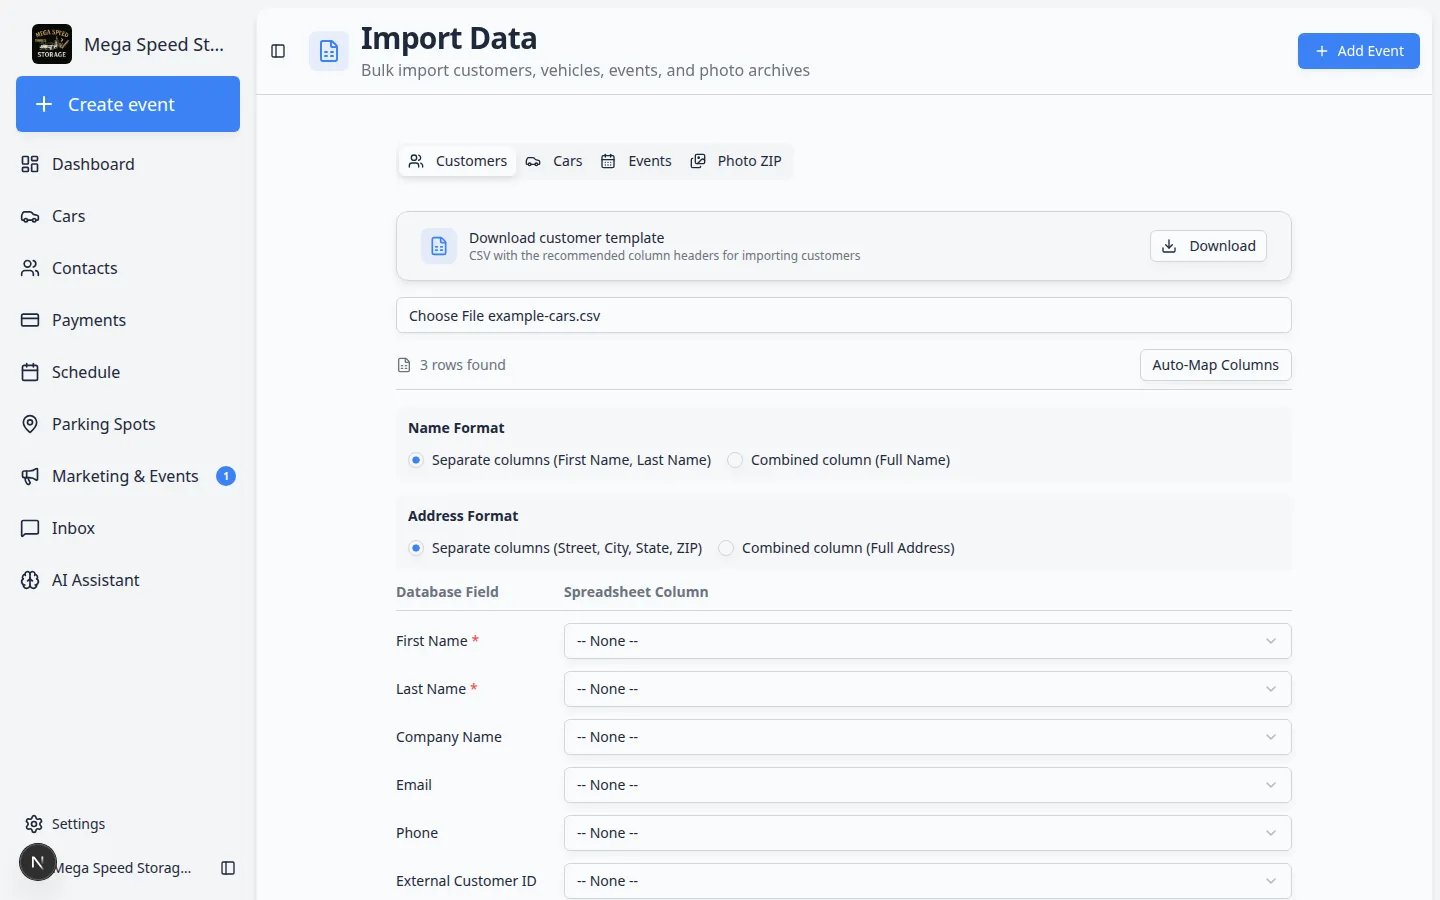
After the file loads, the page shows how many rows were found.Expected result: A mapping area appears so you can connect spreadsheet columns to car fields.
Step 3: Map spreadsheet columns to car fields
“Mapping” means telling the system which spreadsheet column belongs in each car field.1
Click Auto-Map Columns
Click Auto-Map Columns. The system tries to match common header names for you.Why this matters: Auto-map saves time when your columns are named Make, Model, Year, VIN, or Customer Email.
2
Review primary fields
Check each Database Field and the Spreadsheet Column beside it. Fix any wrong matches using the dropdown. Choose — None — if you do not want to import a field.Primary fields include:
- Make, Model, Year, VIN, Color
- License Plate
- Customer Email — links the car to the customer with that email
- External Customer ID or Composite External ID — links using IDs from your old system
- Declared Value and Declared Value Currency
3
Open Advanced vehicle and registration fields when needed
Expand Advanced vehicle & registration fields for insurance dates, registration dates, mileage, trim, key number, tire pressure, and similar details.Expected result: Extra rows appear in the mapping list for the fields you need.
4
Map photo URLs if your file includes them
Expand Photo URLs when your spreadsheet lists image links. You can map multiple photo columns so intake pictures attach to each car during import.
5
Map intake notes and customer linking when needed
Expand Intake notes & customer linking for notes that should appear on the car record or for extra customer match fields.
Step 4: Review before importing
1
Click Review Import
Click Review Import at the bottom of the mapping screen.
2
Check customer links
Look for rows where Customer Email or external ID is missing. Those cars may import without an owner.Why this matters: Billing, contracts, and the customer portal work best when every stored car has a linked customer.
3
Check year, make, and model
Scan a few rows in the preview. If make or model looks wrong, go back and fix the mapping or your spreadsheet.
4
Confirm the import
When the preview looks correct, confirm the import. The system creates the car records.Expected result: You return to a success view or the import page, and the new cars appear on Cars.
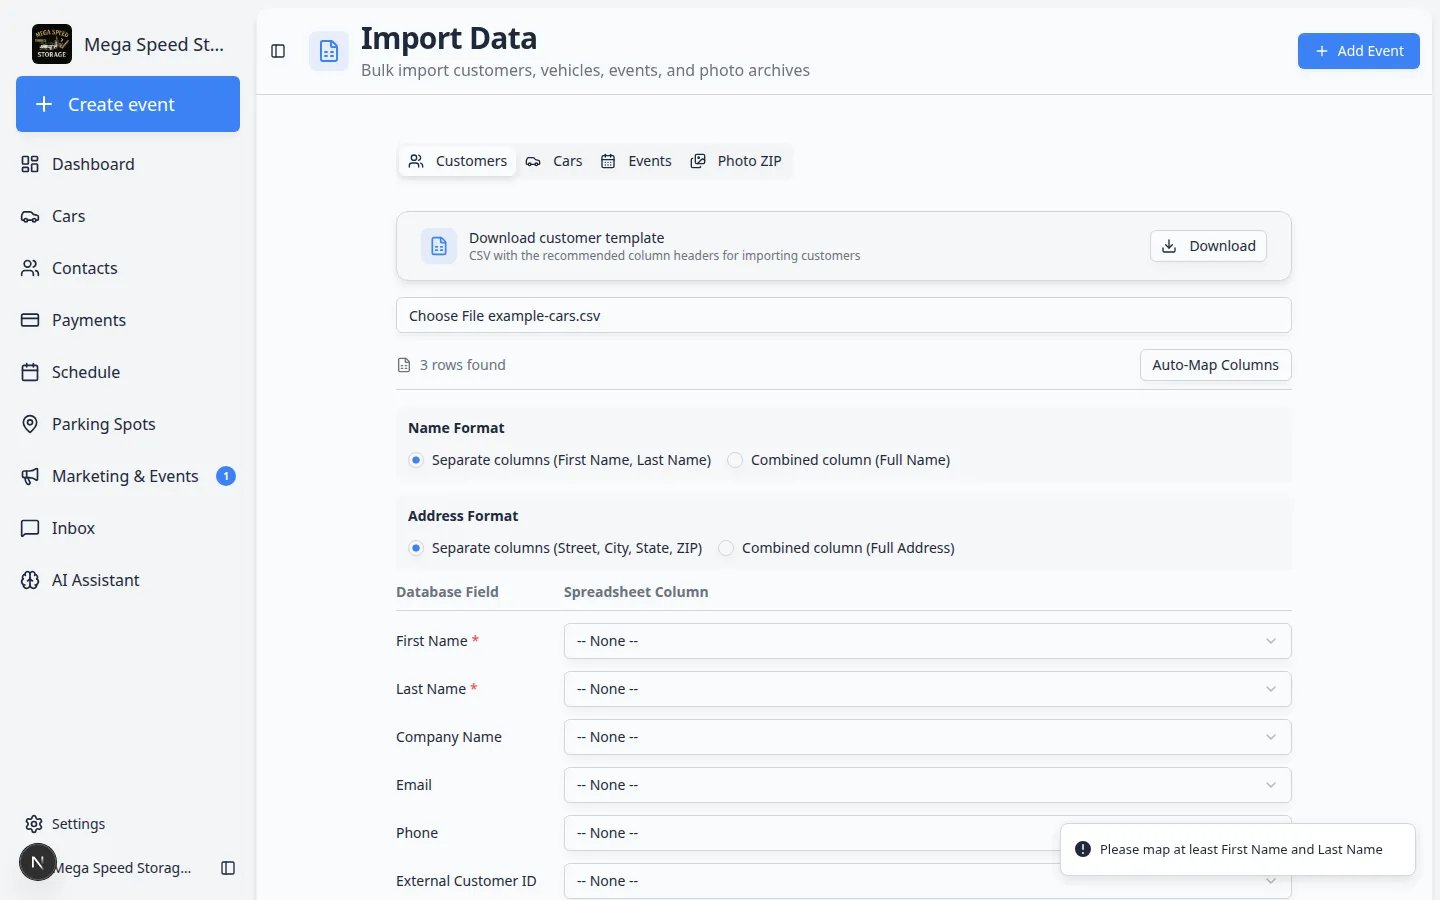
Step 5: Spot-check after import
1
Open the Cars list
Go to Cars and search for a few vehicles from your spreadsheet.
2
Open one car record
Click View on a vehicle and confirm year, make, model, plate, and customer link look right.
3
Check the customer record
Open the linked customer in Contacts and confirm the car appears under Customer’s Cars.
Common mistakes to avoid
- Do not import cars before customers exist if you rely on Customer Email to link owners.
- Do not skip the review screen—even when auto-map looks correct.
- Do not mix up License Plate and VIN columns in the mapping list.
- Do not assume photo URLs will work if the links are private or expired. Test a few rows first.
Troubleshooting
I only need one or two carsFor a single arrival today, Add a car is faster than preparing a spreadsheet.
What to do next
After vehicles are in the system:- Assign parking with Move a car.
- Run intake photos with Start a car session or Manage vehicle photos.
- Add service plans with Assign service plans on a vehicle when your facility uses recurring care packages.