

What you will accomplish
You will add a Custom form section to your public facility page so visitors can fill out a survey or signup form while they are already browsing your website. When you are done, the form appears on your live public page—not only at a separate link. This guide builds on Create and share a custom form. Create and publish the form first, then return here to embed it.Embed vs shareable linkA shareable link opens the form on its own page. An embed shows the same form inside your facility landing page. Use both when you want the form on your website and in emails or QR codes.
When to use an embedded form
- You want open-house guests to answer questions on the same page where they read about your facility.
- You run a car-show interest survey and your main website already links to your public facility page.
- You want fewer steps—visitors should not hunt for a second link.
Before you start
- You already created a form and turned Published on. See Create and share a custom form.
- Public Facility Pages are on in Settings > Website & customer app.
- You can open the Page editor on Website settings (owner or admin access).
Step 1: Open Website settings and the Page editor
1
Open Website & customer app
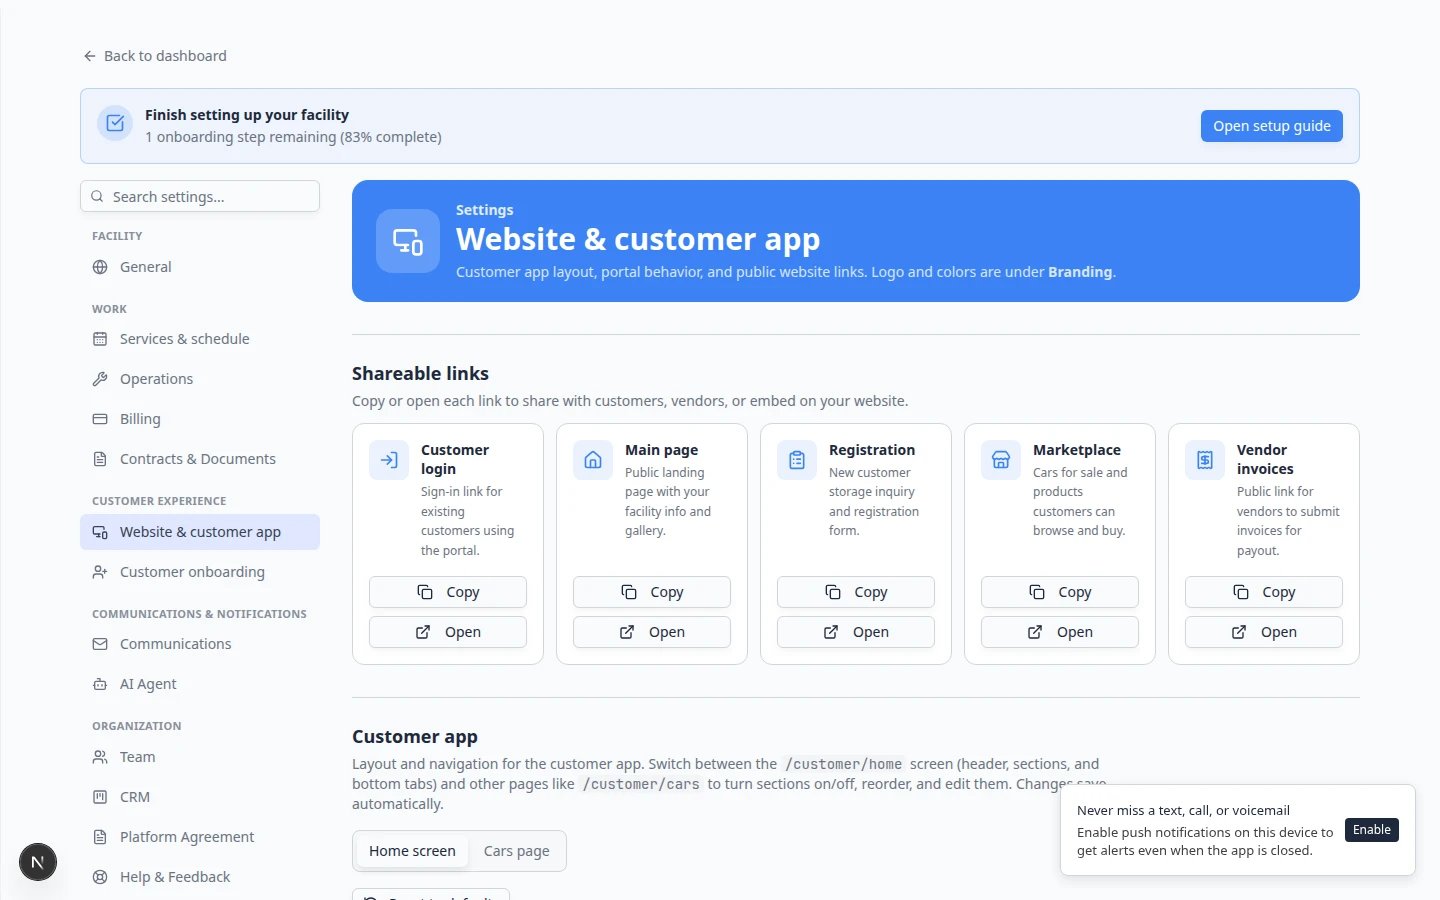
Go to Settings > Website & customer app.Expected result: You see Shareable links near the top and Public website farther down the page.
2
Scroll to Public website
Under Public website, confirm Public Facility Pages is turned on and your Facility slug is saved.Why this matters: The embed only appears on live public pages. A missing slug means customers cannot open your site.
3
Open Page editor
Click Page editor (or Edit page—wording may vary slightly).Expected result: You see a list of page sections you can turn on, off, and reorder—such as About the facility, Photo gallery, and Storage inquiry.
Step 2: Add a Custom form section
1
Add a new section
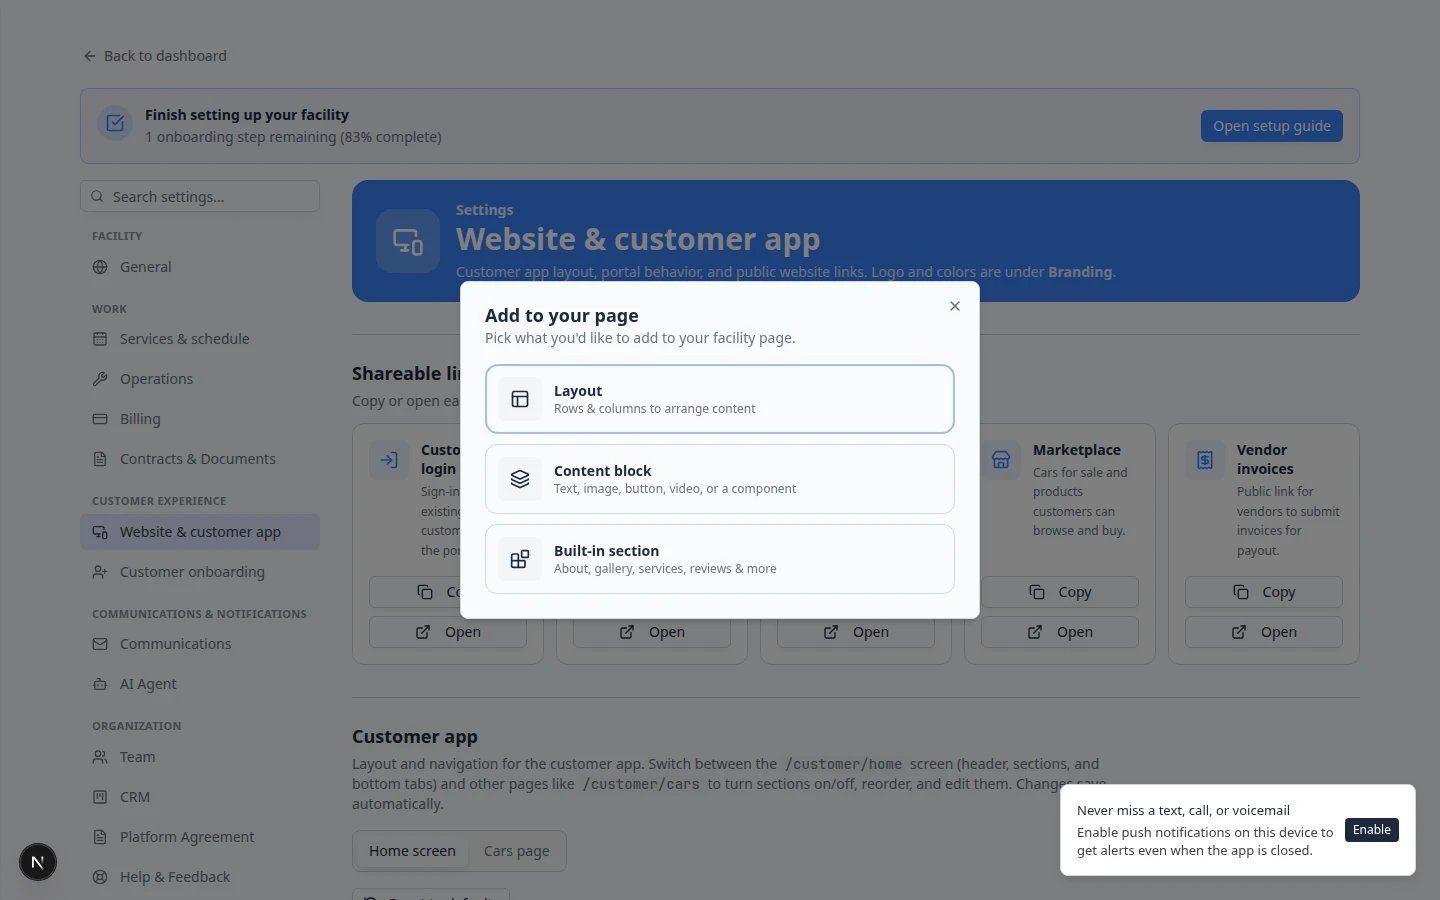
Click Add section (or the + button in the section list).Expected result: A menu shows built-in section types you can add to the page.
2
Choose Custom form
Select Custom form from the list.Why this matters: This section type embeds a form you built under Marketing & Events—not the standard storage registration form (that is a different section).
3
Turn the section on
Make sure the new Custom form row is enabled (toggle on). Drag it to a sensible spot—many facilities place it below About the facility or above Photo gallery.Expected result: The section appears in your page order. Changes save automatically.
Step 3: Pick which form to show
1
Select the section
Click the Custom form row in the Page editor so its settings appear on the right side of the screen.
2
Choose Published form
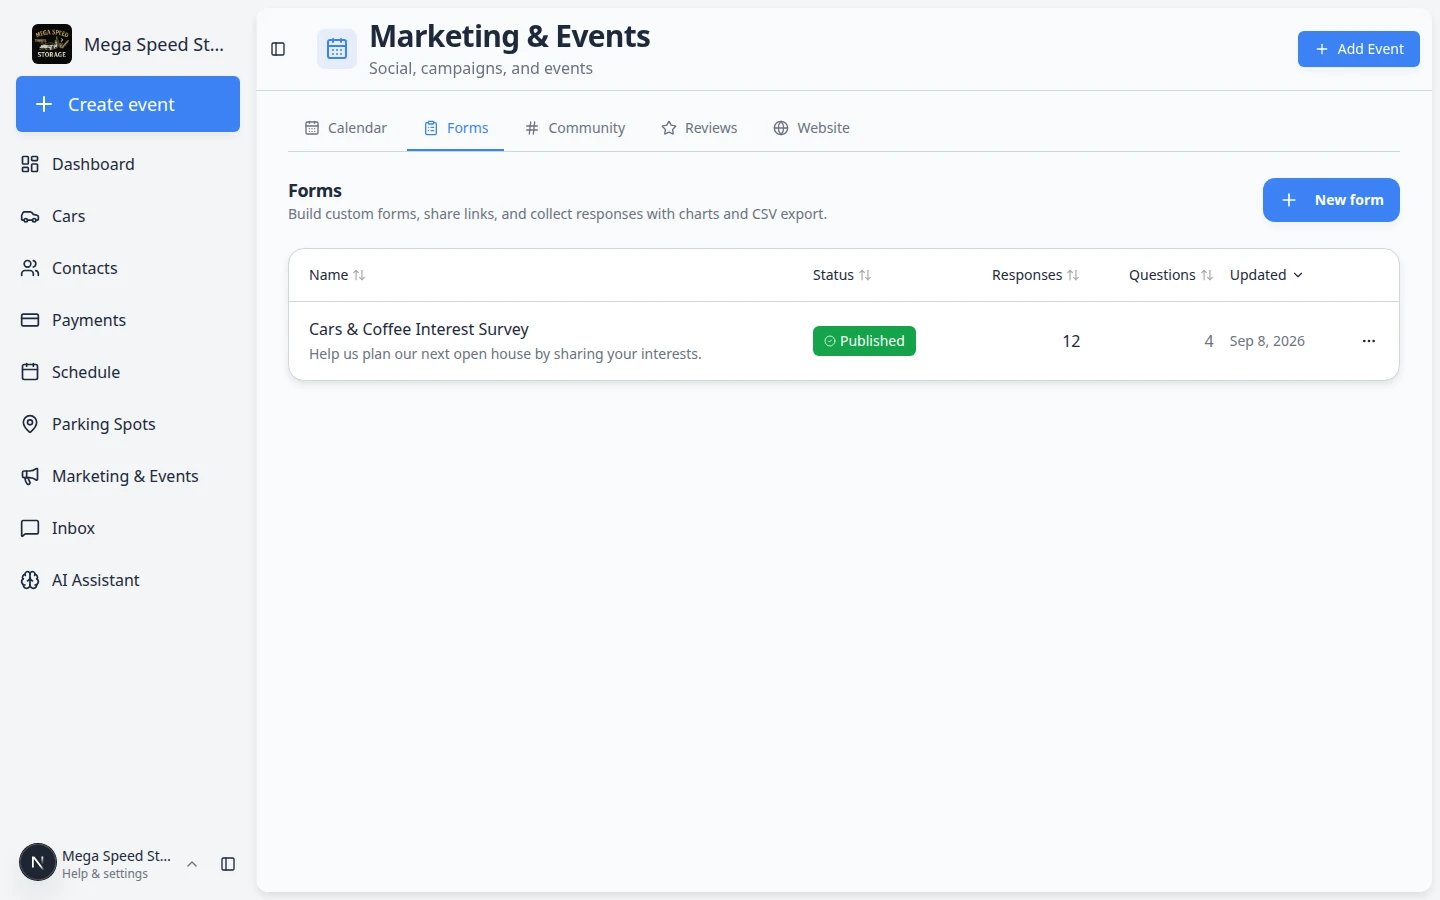
Open the Published form dropdown. Pick the form you want visitors to see—for example Cars & Coffee Interest Survey.If the list is empty, publish a form first on Marketing & Events > Forms, then return here.Expected result: The dropdown shows the form name you selected.
3
Preview the public page
Click Preview or open your Main page link from Shareable links at the top of Website settings.Why this matters: Preview catches wrong forms and long question lists before customers see them.
Step 4: Test the embedded form
1
Open the public page
Copy your Main page link from Shareable links and open it in a private browser window (or on your phone).Expected result: Your facility page loads with the embedded form visible in the section order you chose.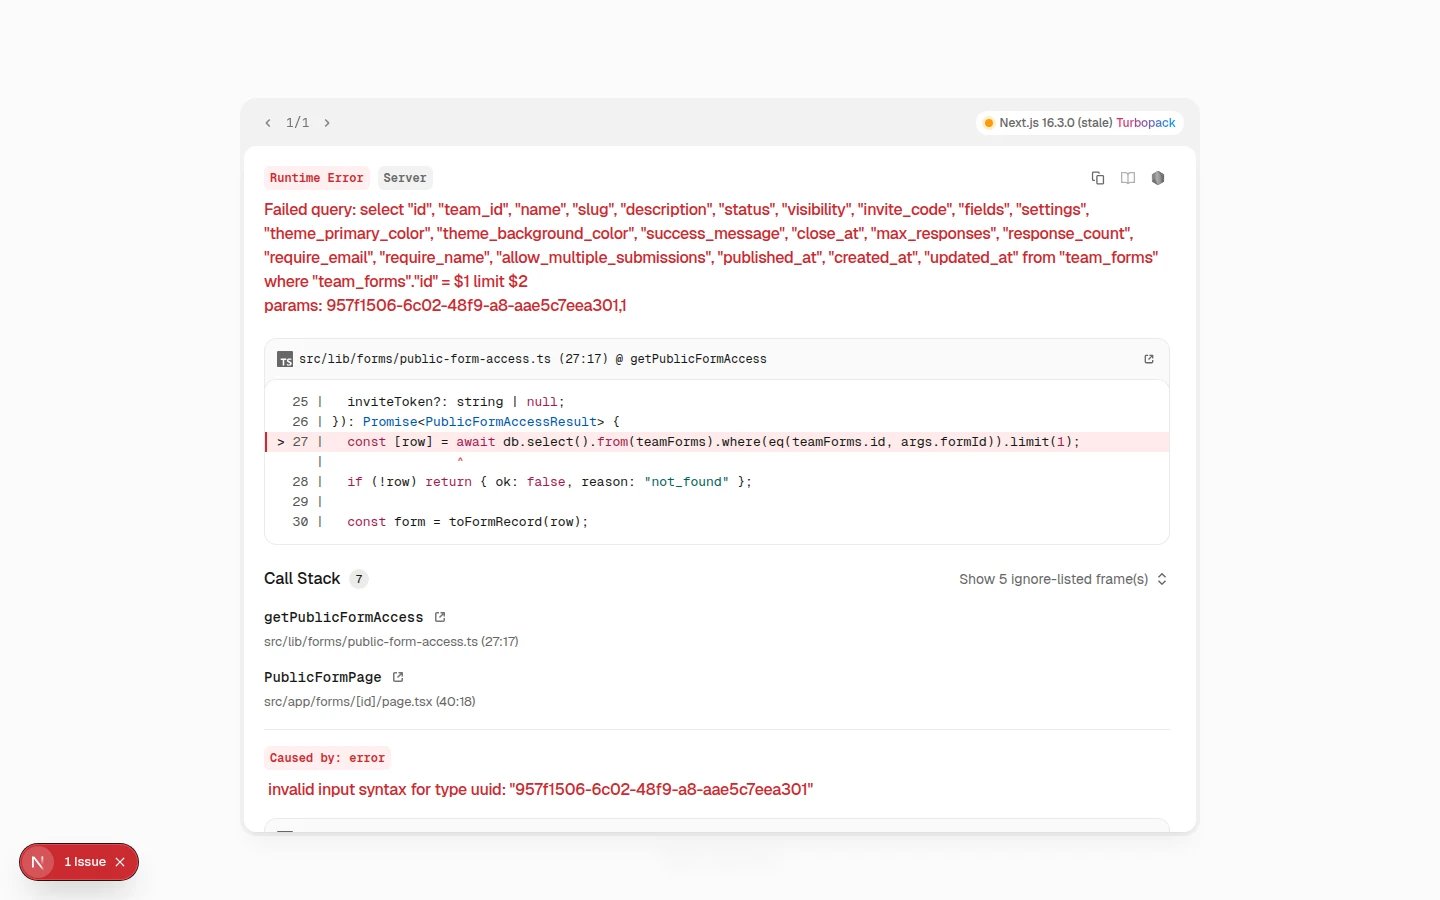
2
Submit a test answer
Fill out every required question and click Submit.Expected result: You see your success message. The test response appears on the form’s Results page. See Review form responses and export.
3
Tell your team which form is live
Share the Main page link with front-desk staff—not the dashboard editor link.Why this matters: Staff should send customers to the same public page you tested.
What success looks like
- The Custom form section is on in the Page editor and points to the correct published form.
- Your public facility page shows the form without asking visitors to sign in (when the form allows anyone with the link).
- Test submissions appear on Results for that form.
- Your team still has the standalone form link from Share for emails and QR codes when needed.
Troubleshooting
What to do next
- Review form responses and export — read answers and download a spreadsheet.
- Review website traffic on your public pages — see if more people visit after you add the form.
- Create a campaign — email customers and link to your main facility page.
- Configure the facility landing page — adjust other sections around your new form.