

What you will accomplish
- Create at least one service plan with a clear name, description, and repeating plan items.
- Assign the plan to vehicles on Cars.
- Confirm upcoming care appears on Schedule.
- Know how to edit, deactivate, or archive a plan when your packages change.
When to use a service plan
Use a service plan when:- A storage tier includes repeating maintenance or inspections.
- Your team tracks monthly washes, battery checks, or fluid top-offs as part of membership.
- You want one label on a car record that explains all included recurring work.
Before you start
- You should be signed in as a team admin or manager.
- Open Settings > Services & schedule and find Service plans.
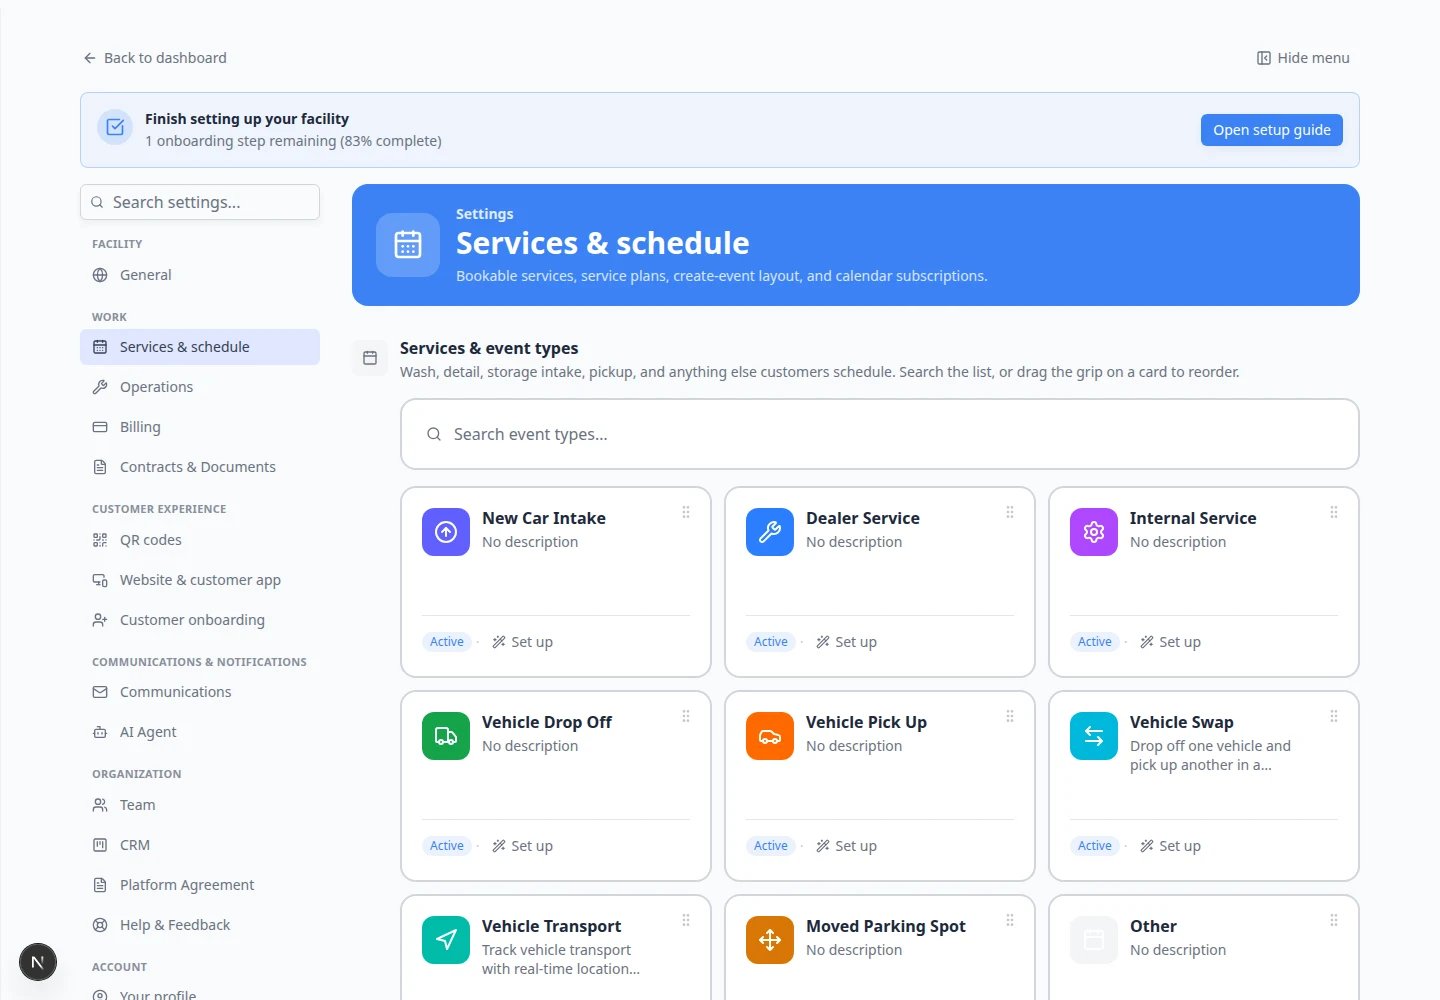
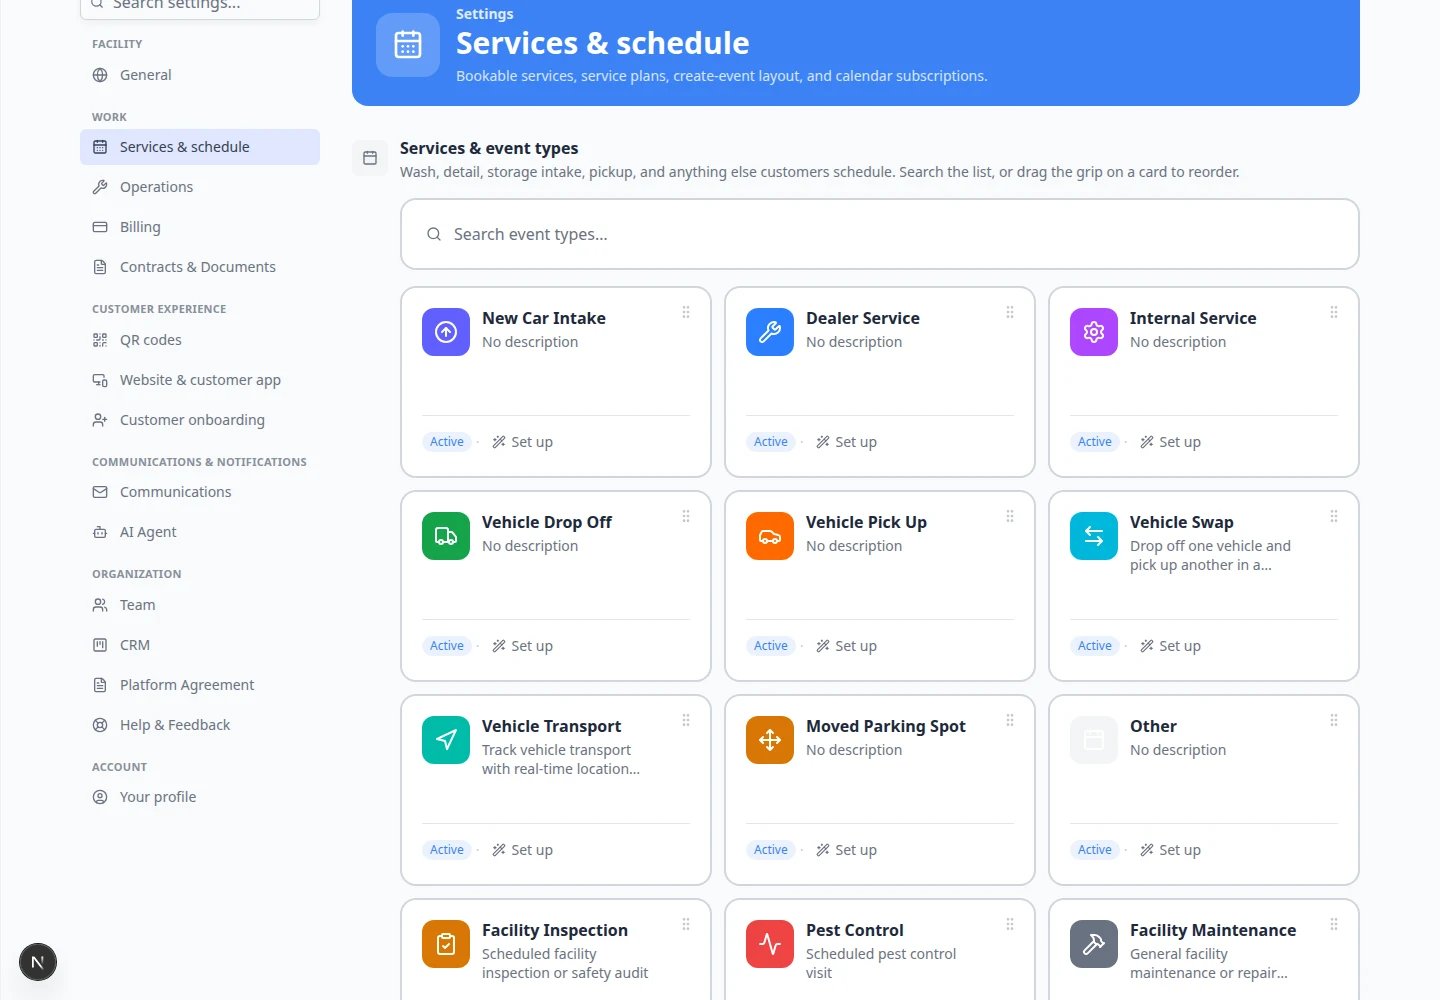
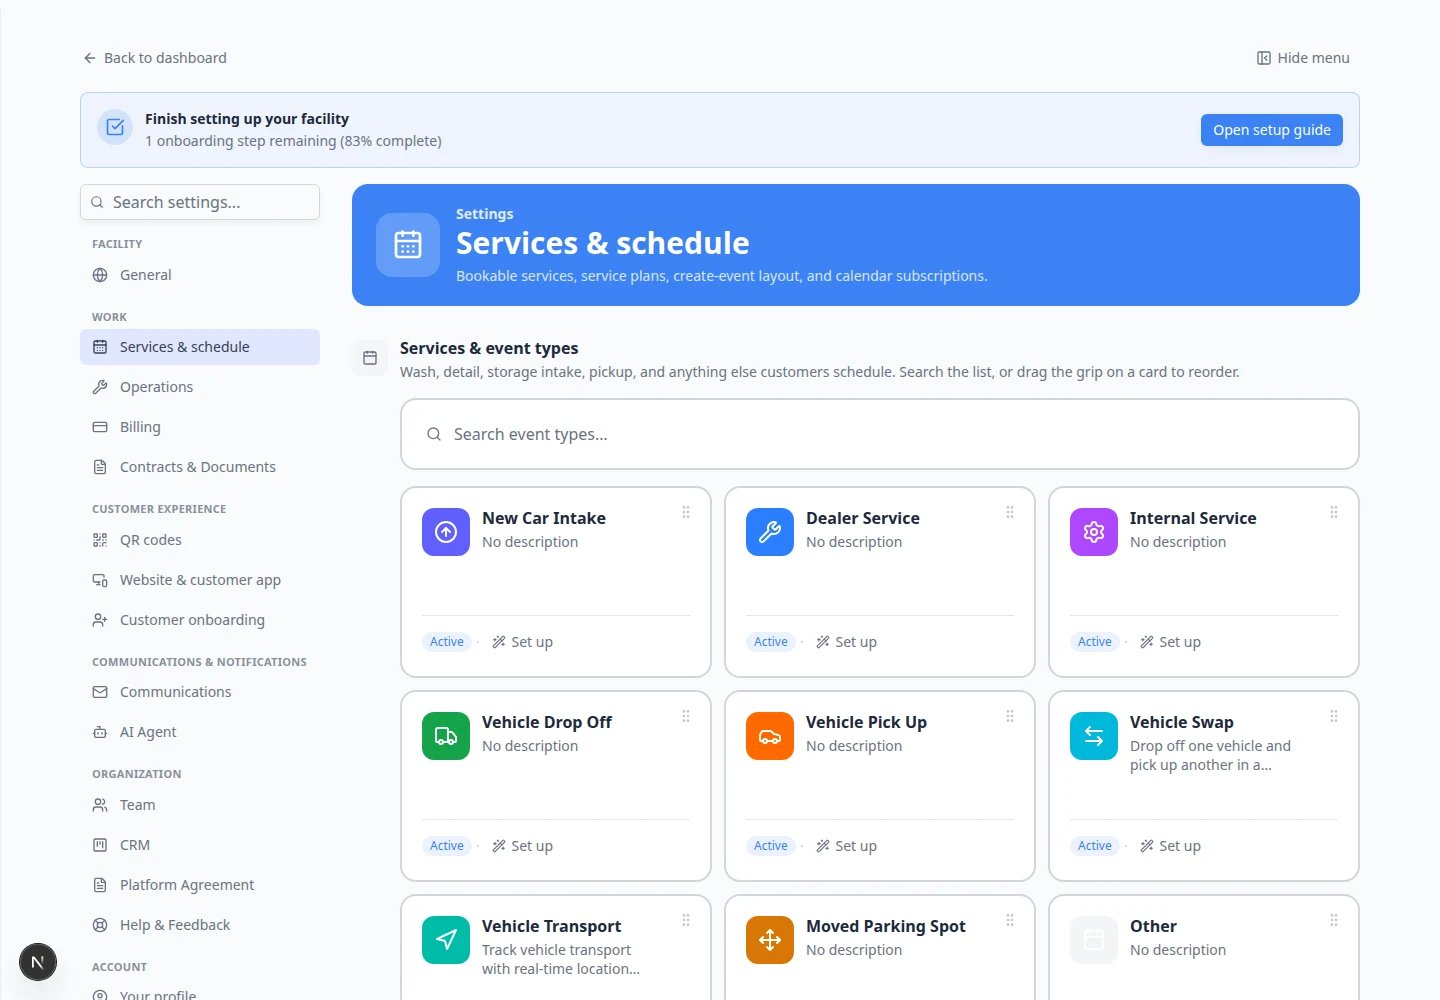
- Confirm services exist in Settings > Services & schedule (for example Internal Service, Dealer Service, New Car Intake).
- Decide the plan name customers and staff will recognize (for example Basic Storage Check or Premium Care Plan).
- If the plan ties to a paid membership price, review Connect payment processing first.
Open the Service plans section
Service plans are managed on Services & schedule — not on Operations — even though they describe recurring vehicle care.1
Open Services & schedule
2
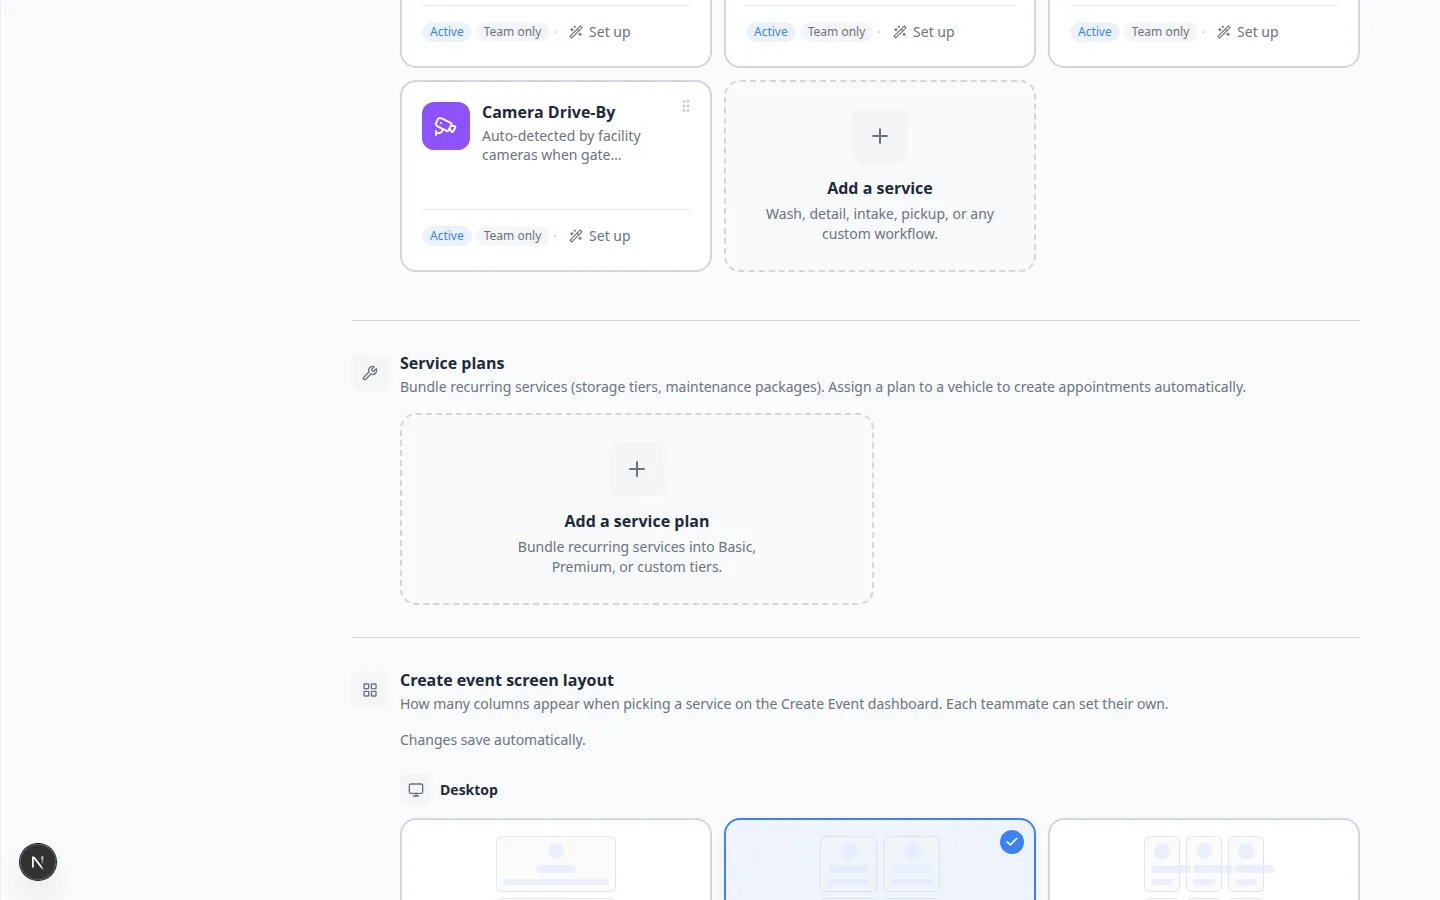
Scroll to Service plans
Scroll down until you see Service plans and the dashed Add a service plan card.Expected result: You see existing plans, or the add card if this is your first plan.
Create a service plan
1
Stay on Services & schedule
Remain on Settings > Services & schedule in the Service plans section.
2
Click Add a service plan
Click Add a service plan.A window titled Create service plan opens.Expected result: You see fields for name, description, active switch, optional linked price, and plan items.
3
Enter the plan name
In Name, type a short label staff will recognize on car records.Good examples:
- Basic Storage Check
- Premium Care Plan
- Climate Storage Plus
4
Add a description
In Description (optional), write one sentence about what is included.Example: Monthly internal service, quarterly dealer service, and yearly intake inspection.Expected result: A new teammate can read the description and understand the plan without asking.
5
Keep Active turned on
Leave Active on if staff should assign this plan to cars now.Turn Active off while you are still drafting. Inactive plans cannot be assigned to new vehicles.
6
Add plan items
In Plan items, click Add item.For each item, set:
- Event type — the kind of work (pick from your event types list).
- Recurring schedule — same options as the Schedule calendar (weekly, monthly, and so on). Leave Until empty for no end date.
- Default start time and Duration — when the first occurrence should appear on the calendar.
7
Click Save
Click Save at the bottom of the window.Expected result: The plan appears in the service plans table with the item count and active status.
Example plan items
A Premium Care Plan might include:- Internal Service — every 1 Month(s)
- Dealer Service — every 1 Quarter(s)
- New Car Intake — every 1 Year(s) (yearly condition review)
Link a plan to billing (optional)
If customers pay for a membership tier that includes recurring care, your admin can connect a linked price on the service plan.1
Finish billing setup first
Complete Connect payment processing and create products in Manage products and services.
2
Edit the plan
On Settings > Services & schedule, open Service plans and click Edit on the plan.
3
Choose a linked price
If your team uses linked prices, select the product price that matches this care package.Expected result: When a customer subscribes to that price, the matching plan can apply to their vehicle automatically.If you do not see linked prices, you can still assign plans manually on each car record.
Assign a service plan to a vehicle
Creating the plan does not automatically attach it to cars. Assign it on each vehicle that should receive that care.1
Open Cars
Go to Cars.
2
Open the vehicle record
Click the vehicle row, then choose View (or open the car from search).
3
Find Service plan on the car page
Scroll to the area labeled Service plan (or service plans) on the vehicle detail page.
4
Choose the plan and start date
Select the plan from the list. Set the start date when recurring care should begin (often the storage start date).Save your changes on the car record.
1
Confirm upcoming work on Schedule
Open Schedule and look one to two weeks ahead for that vehicle.Expected result: You see repeating appointments that match the plan items (for example, monthly internal service on the day you chose).If nothing appears, check that the plan is Active, the car has a start date, and each plan item has a valid event type.
Edit or archive a service plan
1
Return to Services & schedule
Go to Settings > Services & schedule and scroll to Service plans.
2
Click Edit
Click Edit on the plan you want to change. Update the name, description, items, active switch, or linked price. Click Save.
3
Click Archive when the plan should retire
Click Archive when the plan should no longer be assigned to new cars.Why this matters: Archiving keeps history for cars that already used the plan while hiding it from new assignments.
Helpful tips
Start with the plan your team uses most often. A simple plan everyone understands beats a complex plan nobody assigns.Use customer-friendly names if customers may see the plan in the portal or on paperwork. Use the description field to explain work in plain English.After assigning a plan to a few cars, open Schedule and confirm upcoming work looks correct.
Troubleshooting
What to do next
- For recurring care from the Events docs path, see Set up service plans.
- Assign plans to other vehicles from Cars.
- If intake or pickup needs a checklist, set up Create operations workflows.
- For parking layout, continue with Set up parking spots and zones.
- Return to Configure operations settings for the full Operations overview.