Settings
Set up facility branding
Add your logo, colors, and display name so the customer app, emails, invoices, and booking widget look like your facility.
Your facility's branding is how customers recognize you when they open the customer app, read an email, pay an invoice, or use your website booking box.
Use this guide when you are setting up a new facility, refreshing your logo, or making sure customer-facing pages match your shop's look.
What you will accomplish
- Open Settings > Branding.
- Set your facility name and the short name customers see on a phone home screen.
- Upload light and dark mode logos.
- Choose brand colors or apply a theme preset.
- Preview how branding appears before inviting customers.
Before you start
- You should be signed in as a team admin (most branding fields require admin access).
- Have your logo file ready (PNG or JPG works well; square images look best).
- Know your official facility name as customers should see it.
- Decide your main brand color (often the color from your logo or website).
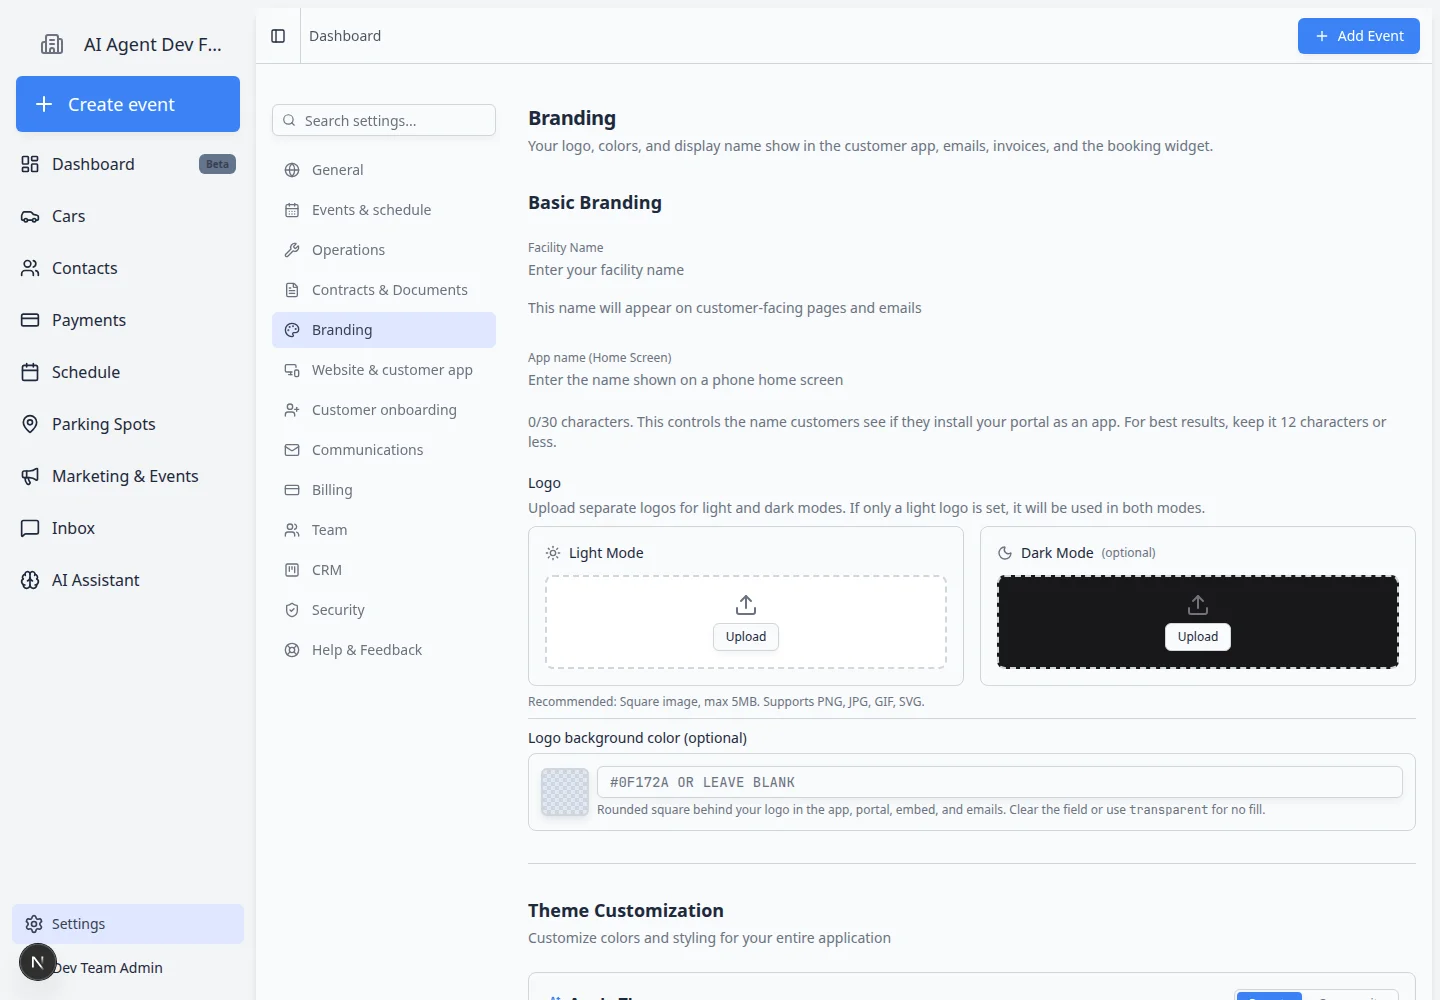
Open Branding settings
- Open Settings
From the Dashboard, click Settings in the left sidebar.
- Choose Branding
In the Settings sidebar, click Branding.
You can also open the page directly at Settings > Branding.
Expected result: The page title is Branding. You see sections for facility name, logos, and theme colors.

Set your facility name and app name
- Enter Facility Name
In Basic Branding, find Facility Name.
Type the name customers should see, such as Mega Speed Storage or Sunset Vault Motor Club.
Click outside the field or press Enter to save.
Why this matters: This name appears on customer-facing pages and emails. A clear name builds trust when customers open links from your team.
- Enter App name (Home Screen)
Find App name (Home Screen).
Type a short name for customers who install your portal as an app on their phone.
Keep it 12 characters or fewer when possible (for example, Mega Speed instead of a long legal business name).
Expected result: The character counter shows how many letters you used (maximum 30).
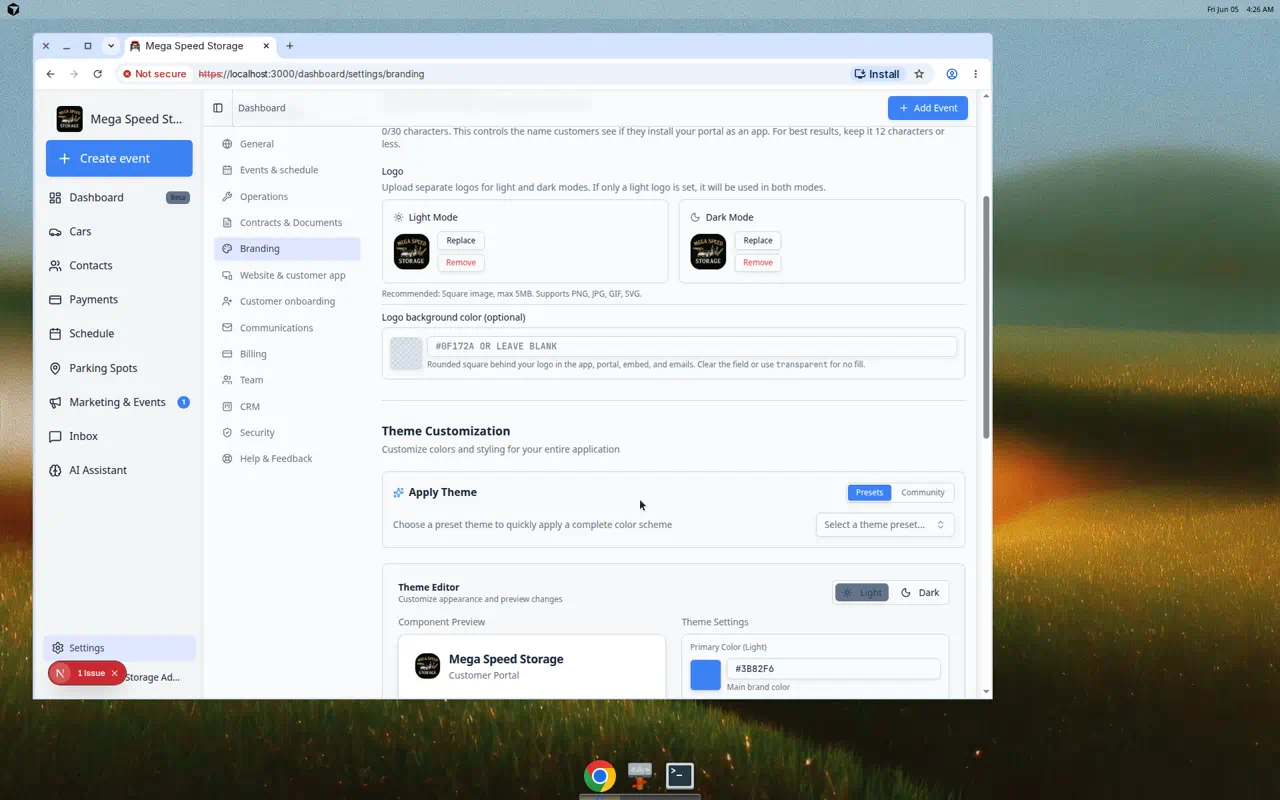
Upload your logo
- Choose Light Mode logo
In the Logo section, find Light Mode.
Click Upload (or Replace if a logo is already there).
Choose your logo file from your computer.
Expected result: A preview of your logo appears in a rounded square.
- Add Dark Mode logo (optional but recommended)
If your logo looks different on dark backgrounds, upload a separate file under Dark Mode.
If you only upload a light logo, the app uses that same file in both modes.
- Set logo background color (optional)
If your logo needs a colored square behind it (common with transparent PNG files), use Logo background color.
Pick a color or type a hex code such as
#0f172a. Leave the field blank for a transparent background.Why this matters: The logo background shows in the customer app, portal, embed widget, and emails so your mark stays readable.
Choose colors and theme
Scroll down to Theme Customization.
- Pick Primary and Secondary colors
Use the color pickers for Primary Color and Secondary Color.
Primary is usually your main brand color (buttons and highlights). Secondary is a supporting color for less important elements.
Expected result: The live preview on the page updates as you change colors.
- Try a theme preset (optional)
Under Apply Theme, open the preset dropdown and choose a ready-made color scheme.
Presets are a fast way to get a polished look without picking every color by hand.
- Choose light, dark, or system mode
Set Theme Mode to Light, Dark, or System (follows the customer's device setting).
Use the preview toggle to see how your branding looks in light and dark mode before you invite customers.
Check your work before going live
- Preview the customer app home
Open Settings > Website & customer app and scroll to Customer app home.
Use the live preview on that page. Confirm your logo, colors, and section order look right on a phone-sized screen.
Expected result: The preview matches how you want customers greeted after sign-in.
- Test the customer login link
On the same page, copy Customer login link and open it in a private browser window (so you are not signed in as staff).
Expected result: You see a customer sign-in page with your facility name and logo—not the staff dashboard.
- Optional: check a draft invoice
If your team sends invoices, open a draft in Payments and confirm your facility name appears correctly.
Why this matters: Branding on invoices builds trust when customers pay online.
Common mistakes to avoid
Troubleshooting
What to do next
- Lay out the customer app and copy public links in Configure portal and website.
- Set up registration and first-login steps in Configure customer onboarding.
- Continue your first-week setup path in Settings overview.