

Start smallYou do not need to finish every setting before your team can begin. Start with your facility details, your customers, and the cars in your care. Those three building blocks support nearly every other workflow.
What you will accomplish
- Sign in and land on the staff dashboard (not the customer portal).
- Understand the best order for first-time setup.
- Use the in-app Setup Guide to track progress.
- Learn where customers, cars, payments, schedule, and help live in the sidebar.
- Add the first customer and car records your team needs for day-to-day work.
- Know which detailed guide to open for invoices, parking, contracts, or appointments.
Before you start
You should have a staff account that can open the dashboard.- You can sign in at your facility’s staff login page (often linked from your welcome email).
- You know who at your facility owns billing, customer communication, and day-to-day operations setup.
- You have your facility name, address, phone number, and public email ready if you will edit settings.
- If you cannot open the dashboard, ask your facility owner or manager to invite you in Settings > Team.
Your first day — seven calm steps
Follow these steps on day one. You can pause between steps. You do not need to finish everything in one sitting.1
Sign in and recognize your home screen
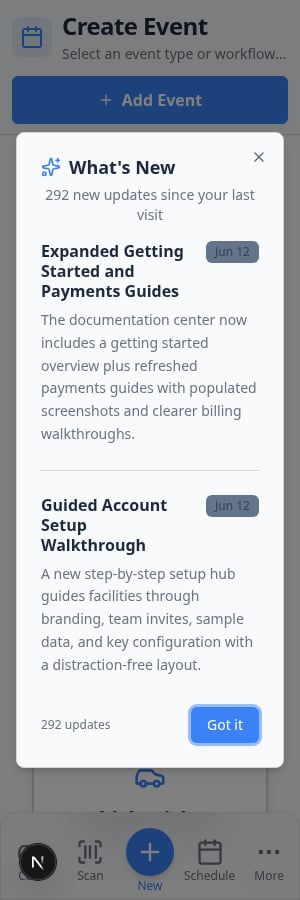
Use the login link your facility gave you. Many staff land on Create event first — a page with large colored cards for starting vehicle work today.Expected result: Your facility name appears at the top of the left sidebar. You are signed in as staff, not as a customer.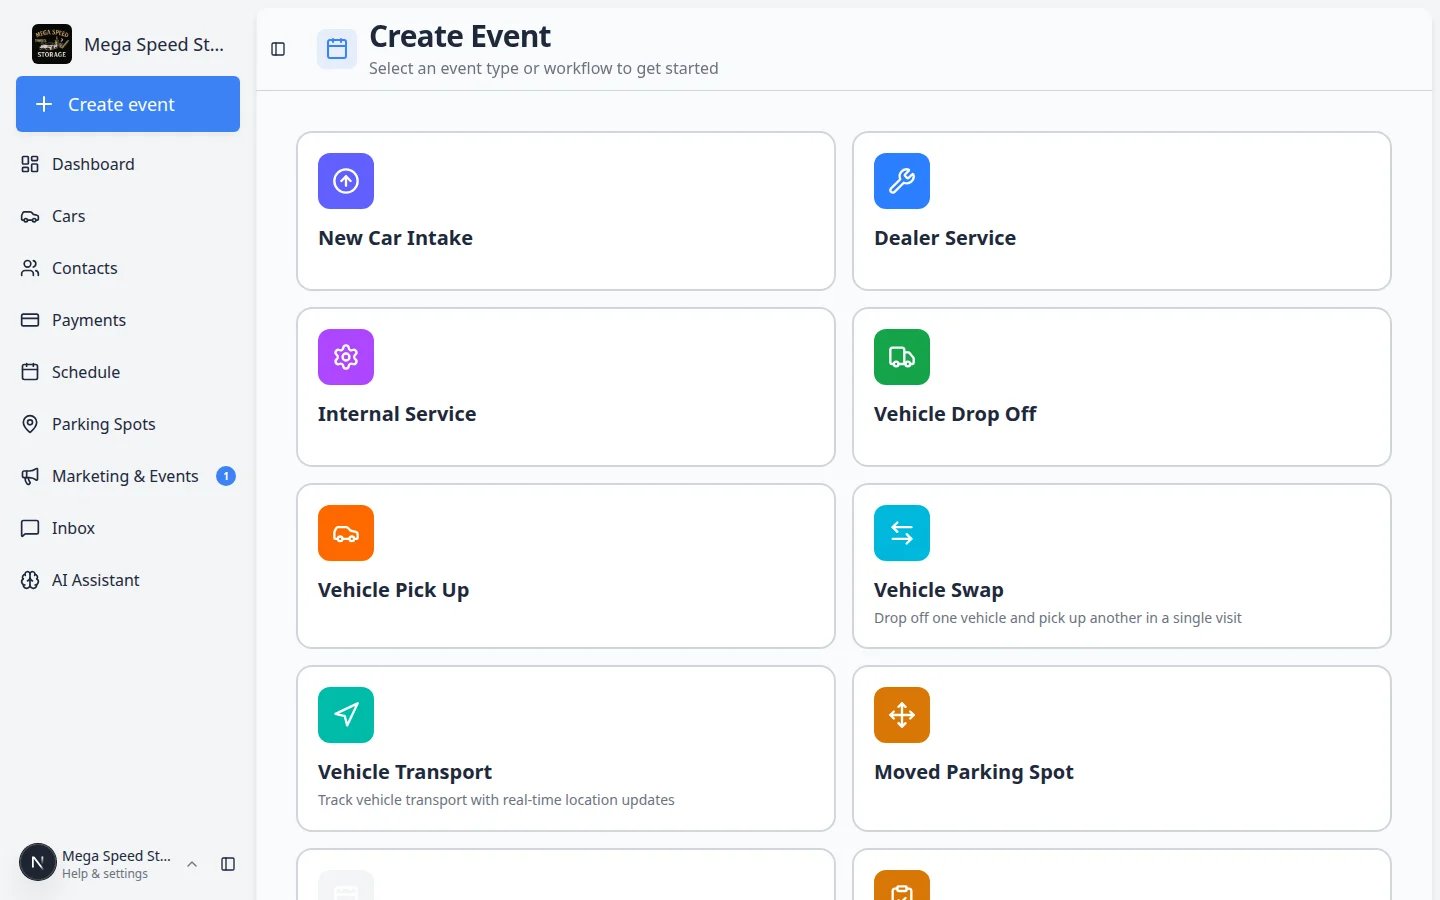
2
Open the Setup Guide
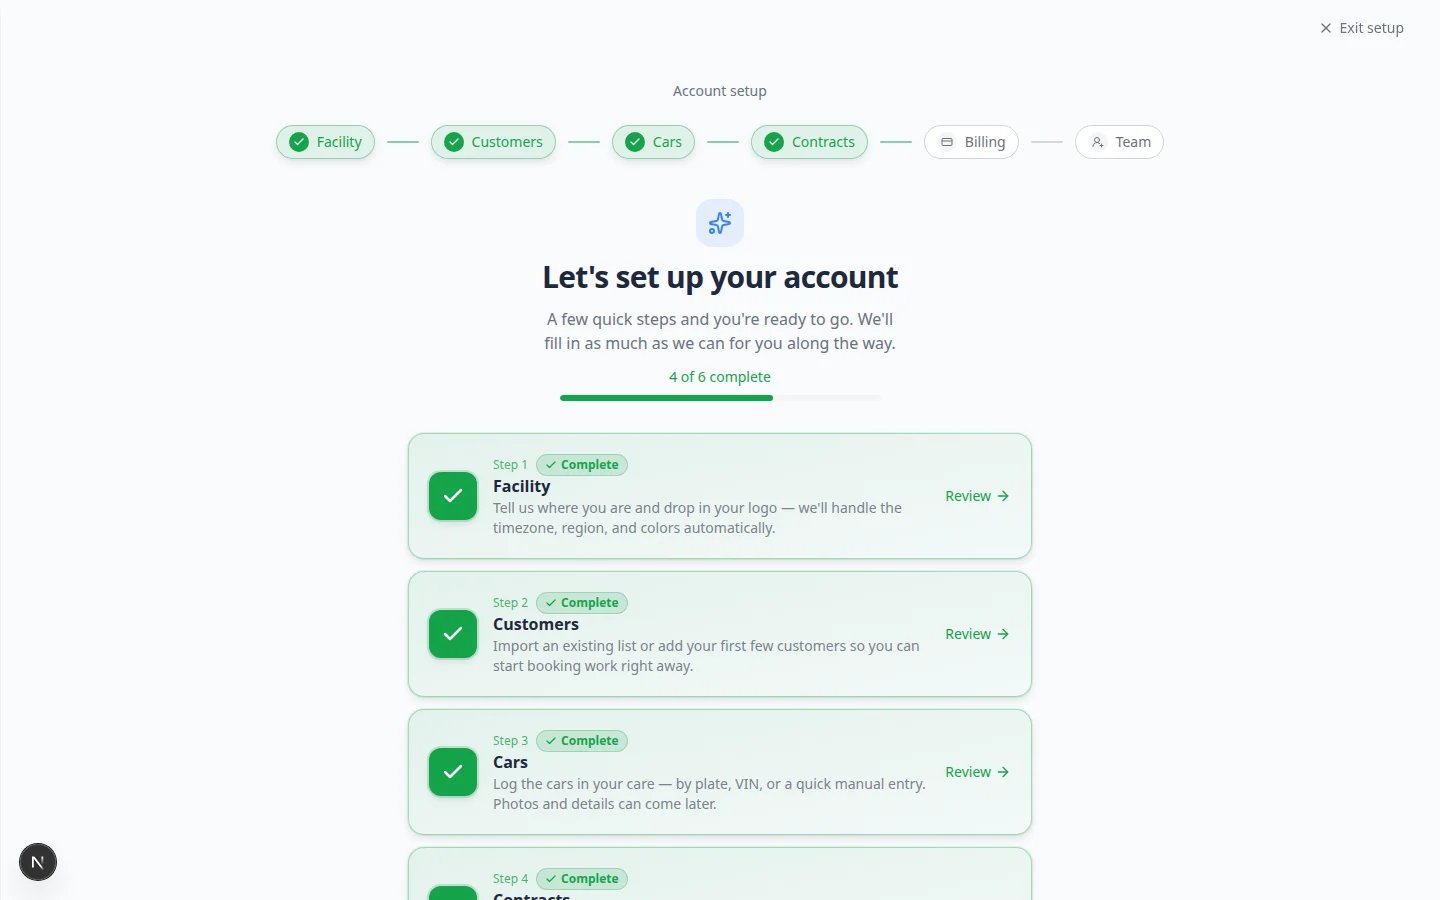
Go to Setup Guide. This page shows six setup cards and your progress (for example, 2 of 6 complete).Why this matters: The Setup Guide is your facility’s to-do list inside the app. Each Set up button opens the correct settings page so you do not have to hunt through menus.Expected result: You can see which setup areas are finished and open any card to continue.For a full walkthrough, read Complete the Setup Guide or Complete the onboarding wizard.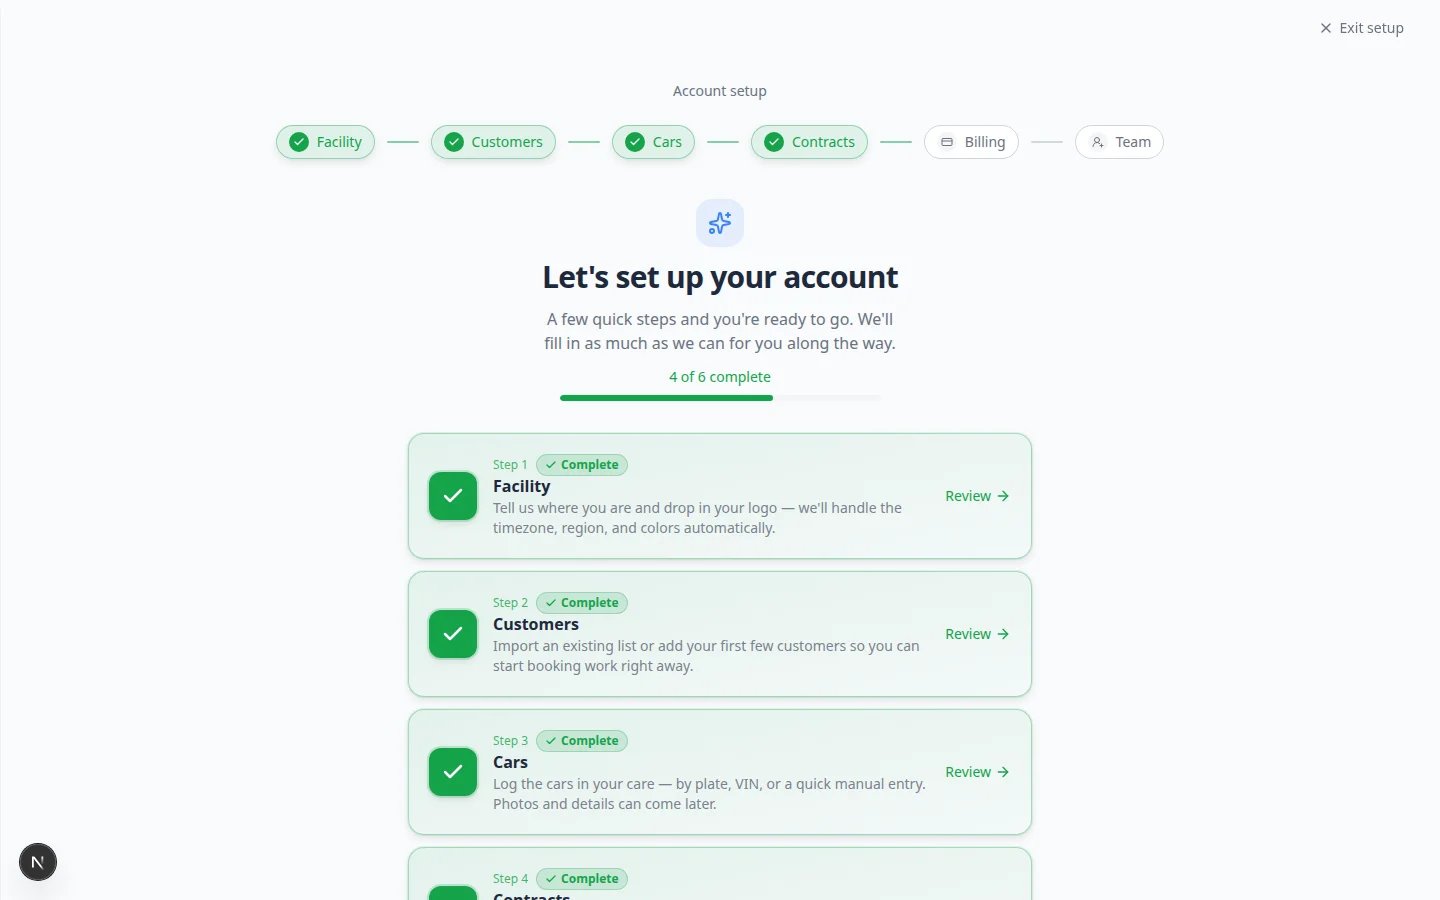
3
Confirm your facility name, logo, and time zone
Open Set up your facility profile and save your Branding (name and logo) and General (time zone and date format) settings.Why this matters: Customers see your name and logo on forms, emails, invoices, and public pages. Correct time zones keep appointments on the right clock.Expected result: Settings > Branding and Settings > General show the business details your customers should see.
4
Add customers before cars
Open Contacts and add the customers your team works with most often.Why this matters: A car record is easier to manage when it is connected to the correct owner from the start.Read Prepare your first customer and car when you are ready to enter real records.If you already have a spreadsheet of customers and vehicles, your manager may use Import Data instead — see Import customers and cars.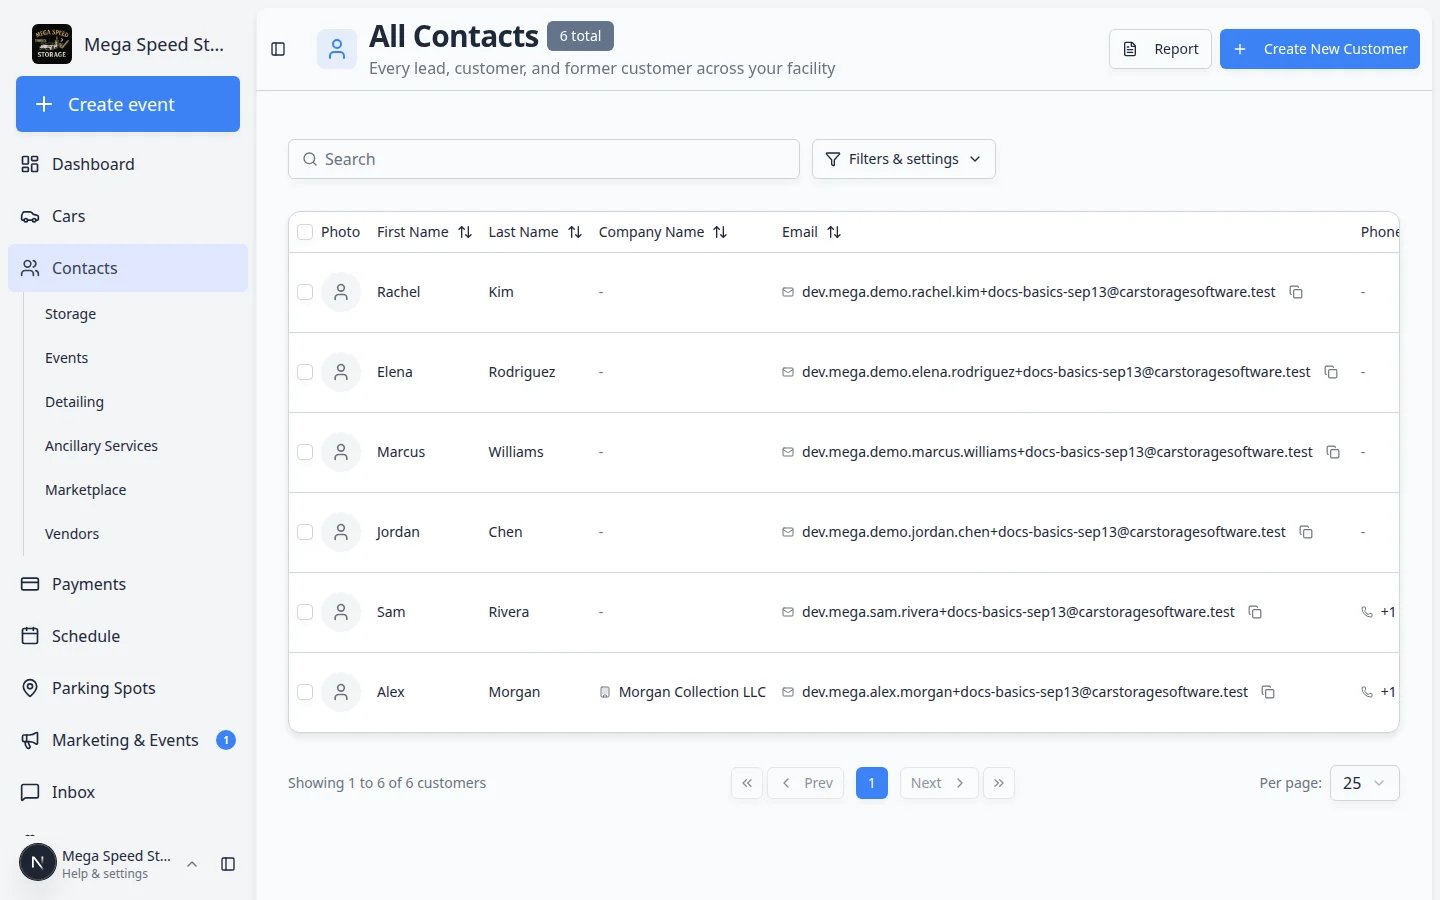
5
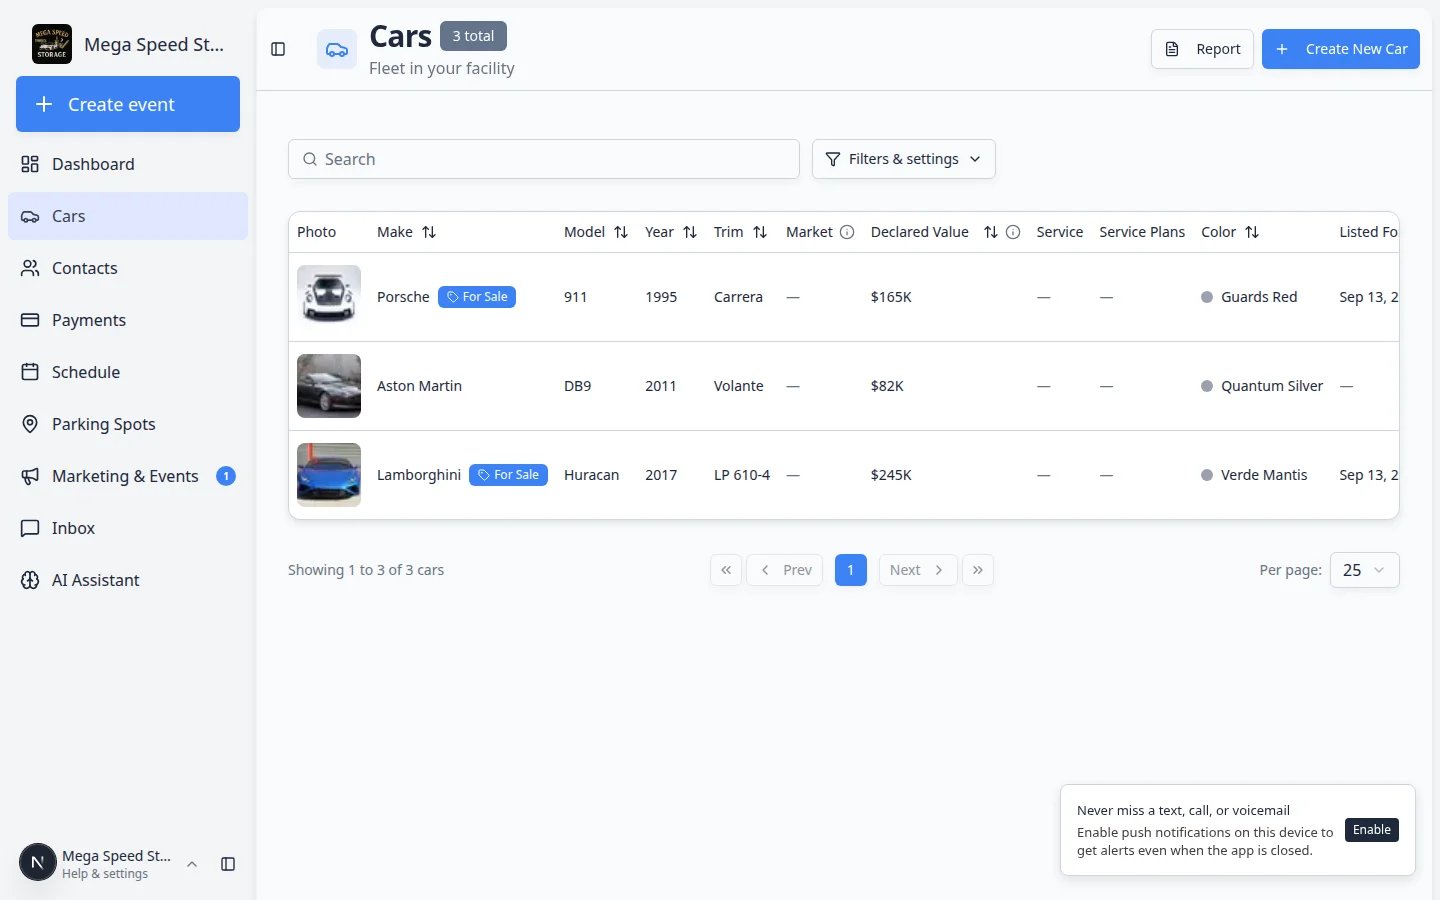
Add cars in your care
6
Learn where daily work lives
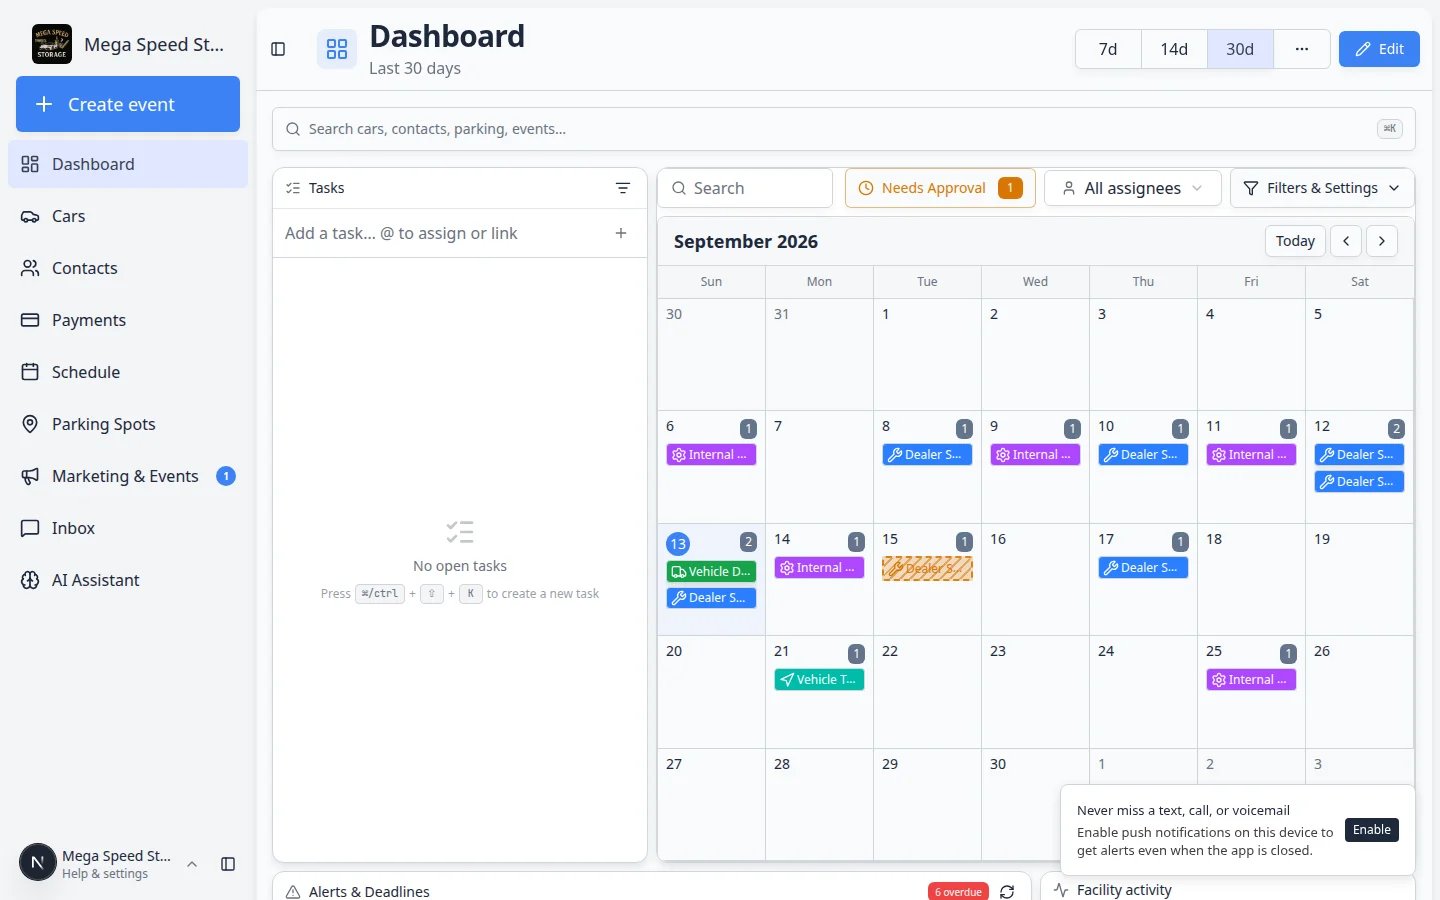
Open Learn the dashboard for a tour of Create event, Cars, Contacts, Schedule, Payments, Parking Spots, Inbox, Marketing & Events, AI Assistant, and Settings.Why this matters: Knowing where to click first saves time and prevents duplicate records — including where customer messages and facility setup live.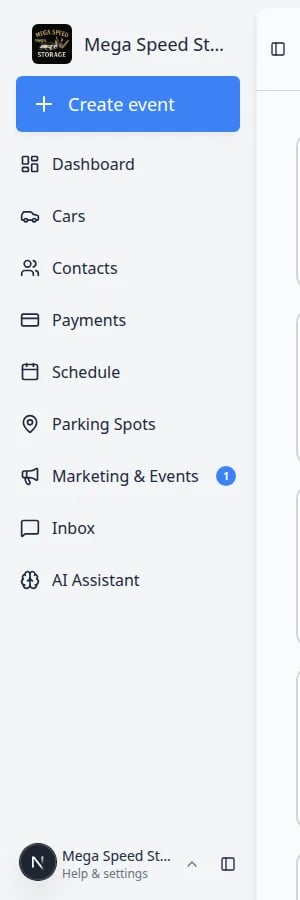
7
Prepare customer-facing work (when you are ready)
If customers need to sign agreements, upload documents, pay invoices, request appointments, or use the customer portal, review those settings before inviting customers.Start with Contracts overview, Payments overview, and Configure portal and website.Expected result: Your manager knows which setup tasks still need an owner (payments, communications, team invites) before customers are invited.
Two home screens — both are normal
The sidebar offers two starting points. Neither is wrong.Create event (Create event) — Large colored cards for starting vehicle work right now (drop-off, detail, pickup). Best for front desk and shop floor.Dashboard (Dashboard, labeled Beta) — A customizable page with widgets for schedule, parking map, inbox, and charts. Best for managers who want one overview screen.
Where to find Setup Guide in the app
The Setup Guide is easy to miss on a phone. Use any of these paths:- Direct link: Setup Guide
- Sidebar: scroll the left menu — Setup Guide often appears below the main work areas.
- From Settings: open Settings and look for a banner or link to setup progress.
Sidebar map — where daily work lives
Use this table when someone asks, “Where do I click for that?”Important words in plain English
Dashboard — The signed-in staff area of the app (addresses starting with
/dashboard). Not the same as the customer portal.Setup Guide — An in-app checklist at Setup Guide that links to the settings pages your facility still needs.Customer record — A person or company in Contacts. Vehicles and billing connect here.Car record — A vehicle in Cars. Every stored or serviced car should have one.Event type — A labeled kind of work (drop-off, pickup, detail) shown as a card on Create event.Portal — The customer-facing website where owners view cars, billing, and documents. Staff use the dashboard; customers use the portal.Basics learning path
After your first day, work through these guides in order:- Complete the Setup Guide
- Complete the onboarding wizard — detailed help for each setup card
- Set up your facility profile
- Use the Create event home page
- Learn the dashboard
- Search your facility quickly
- Prepare your first customer and car
- Install the mobile app — optional, when staff or customers want a home screen shortcut
- Customize your Overview dashboard — optional, when you want one screen for schedule, parking, and inbox
- Cars overview — vehicle records, movement, and sessions
- Contacts overview — customers, portal invites, and tags
- Schedule overview — appointments and calendar work
- Payments overview — invoices, quotes, and recurring billing
- Settings overview — full facility configuration
Common first-day questions
Create event vs Schedule — which do I use?Use Create event when work is starting now (a car just arrived). Use Schedule when you are planning ahead (booking next Tuesday at 2 PM). Many teams use both every day.
The Setup Guide percentage did not change after I savedReturn to Setup Guide and click the circular refresh icon in the Setup Progress card. Some tasks need every required field saved — for example a logo upload on Branding or a chosen time zone on General.
What success looks like on day one
- You signed in and recognize your facility name in the sidebar.
- You opened Setup Guide and know what Set up does.
- You can find Cars, Contacts, and Create event without help.
- Your manager knows which setup tasks still need an owner (payments, communications, team invites).
What to do next
- Still setting up? — Open Complete the Setup Guide and click the first Set up button your manager recommends.
- Ready for real records? — Follow Prepare your first customer and car.
- A car is arriving today? — Read Use the Create event home page.
- Want the app on a phone? — Read Install the mobile app.
- Want the full first-week plan? — Read Getting started overview.