

What you will accomplish
Prospects who open your public facility page will see where you are, when you are open, who to contact, and which social accounts to follow. You will fill in that information once in Settings, then add the matching sections to your page. When this is set up well:- Visitors can find your street address and a map without asking your staff.
- Weekly hours on the website match the hours your team actually keeps.
- A named person (for example Member Services Manager) appears with a work email and phone.
- Social icons appear only after you connect a real account.
When to use this guide
Use this guide after your main facility page is on and you want it to answer everyday questions such as:- “Where are you?”
- “What time do you close on Saturday?”
- “Who should I email about storage?”
- “Do you have Instagram?”
Before you start
- Public Facility Pages is on and your Facility slug is saved. See Configure the facility landing page.
- You can edit Settings > General.
- You know your street address, weekly hours, and at least one public contact person.
- If you want social icons, you can sign in to those accounts from Settings > Communications.
How the pieces fit together
Each built-in section on your website has a source in Settings. You do not type the hours or address inside the page editor.Step 1: Save the facts in Settings
Do this before you add the sections. It takes a few minutes and prevents empty gray boxes later.1
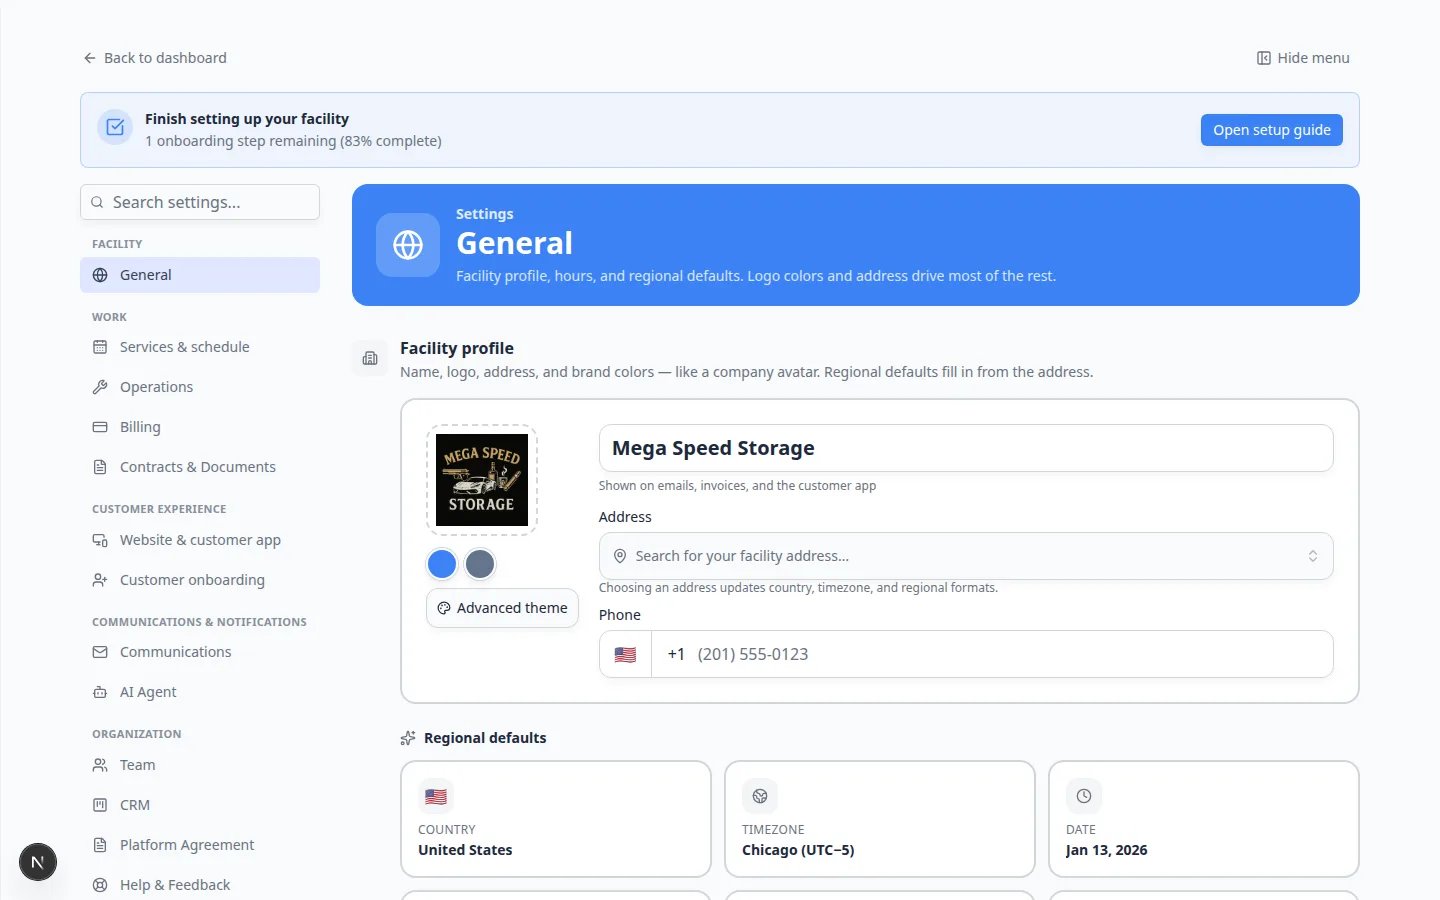
Save your address and phone
Open Settings > General. In Facility profile, click Search for an address. Choose your street, then add the main phone number.Expected result: The facility card shows a real street, city, and phone. That is what Location & map will display.Full steps: Set up general facility settings.
2
Set weekly hours
On the same General page, scroll to Hours of operation. Pick Weekdays (Monday–Friday, 9–5), Open 24/7, or Custom. Click a day card if Saturday or Sunday is different.Expected result: The selected preset has a check mark, and the day cards match what you tell customers on the phone.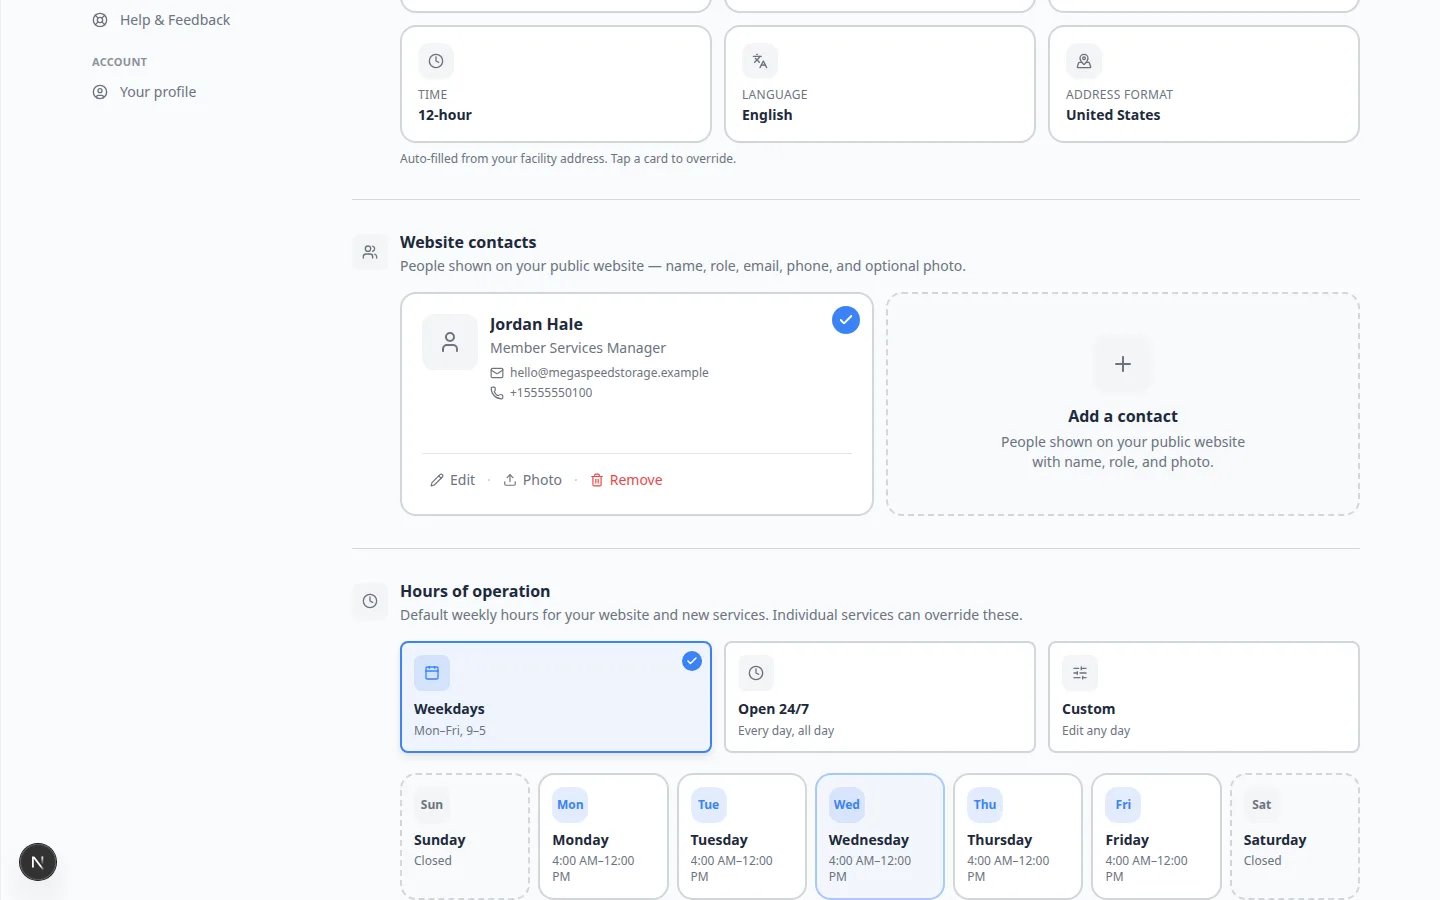
3
Add a website contact
Scroll to Website contacts. Click the dashed Add a contact card. Use a role customers can call, such as Member Services Manager. Add a work email and phone. Leave the person Active (check mark) so they appear on the website.Expected result: A contact card appears with a check mark.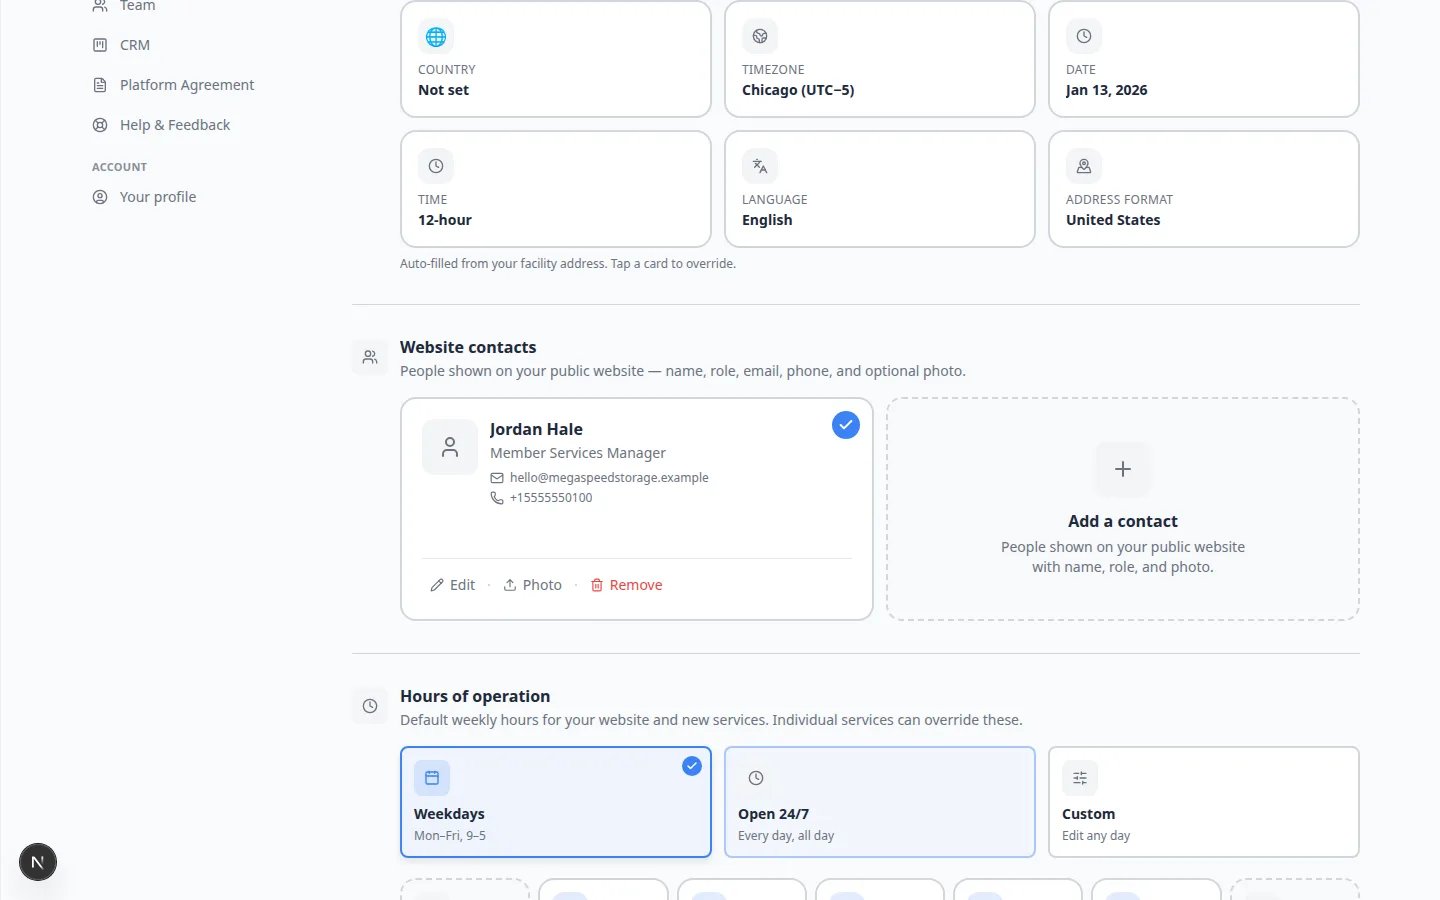
4
Connect social accounts (optional)
Open Settings > Communications and scroll to Marketing. Sign in to the platforms you already use (for example Instagram, Facebook, or Google).Skip this step if you are not ready. Social links stays hidden until at least one account is connected.
Hours live on General, not on the page editorIf you click a section and see Edit hours of operation, Edit facility contact, Edit website contacts, or Connect social accounts, those buttons take you back to Settings. That is expected. You change the facts there, not by typing on the page.
Step 2: Add the sections to your public page
You can add sections in the classic Page editor or in the website editor. Both write to the same website.1
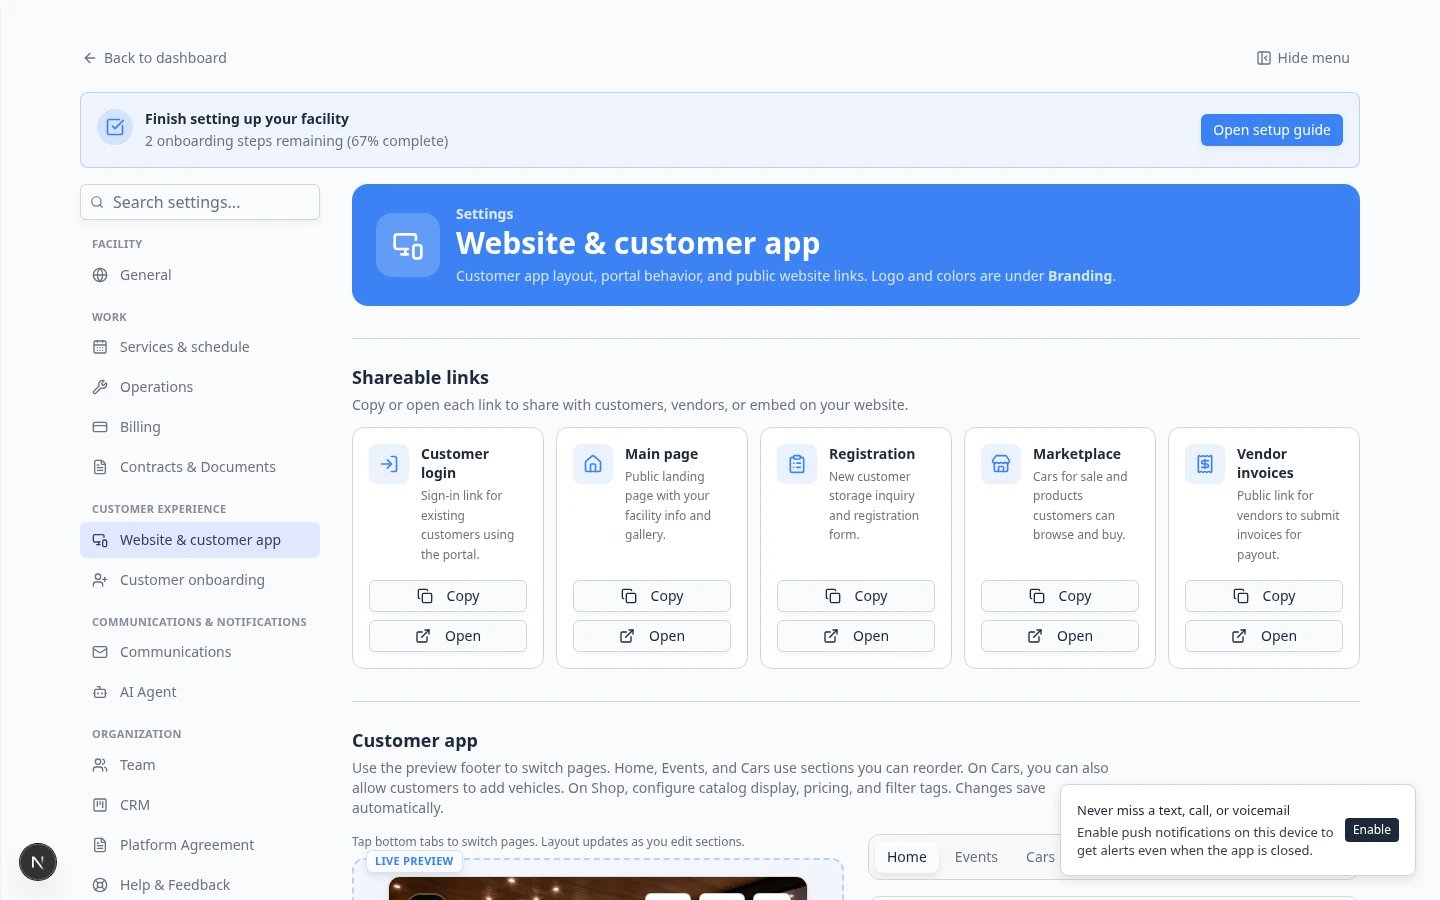
Open Website & customer app
Go to Settings > Website & customer app and scroll to Public website.
2
Open Add section
In the Page editor, click the dashed Add section button, or click the Add tab on the right.Expected result: You see Add to your page with three choices: Layout, Content block, and Built-in section.
3
Choose Built-in section
Click Built-in section. The next screen says Choose a section and lists prebuilt blocks such as Location & map, Hours of operation, Contact people, and Social links.From the Add tab, the same names appear under Built-in sections.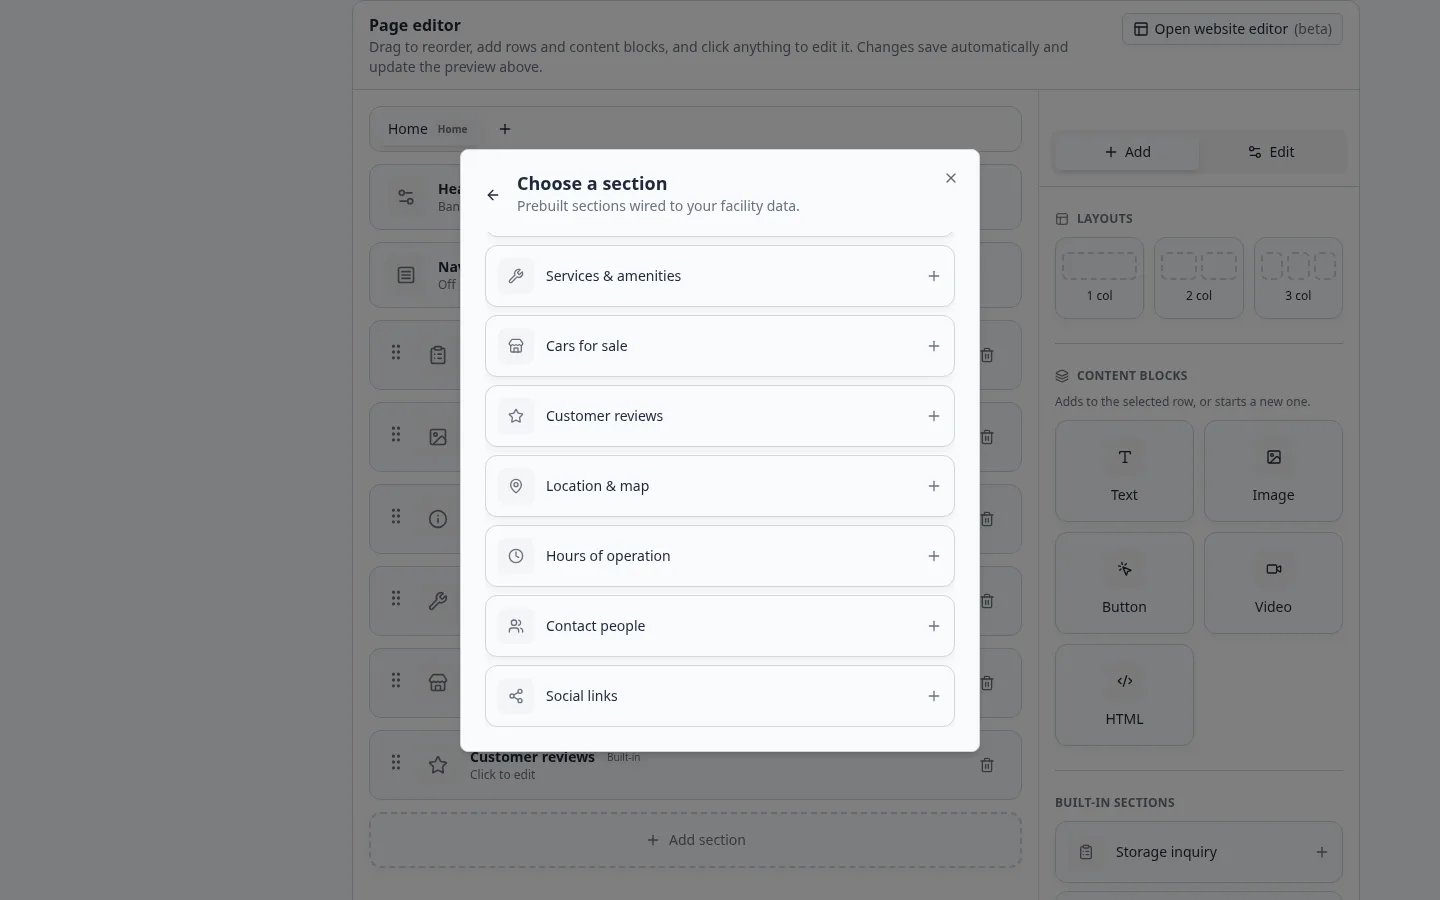
4
Add the sections you are ready to support
Click each section you want:
- Location & map — address, phone, and a map pin
- Hours of operation — the weekly hours you saved on General
- Contact people — the Website contacts you marked Active
- Social links — icons for connected Marketing accounts
5
Drag sections into a friendly order
Use the six-dot handle to move Location & map and Hours of operation near the bottom of the page, after your story and services. Many visitors look for those details after they decide they like the facility.Expected result: The live preview above the editor updates right away.
Prefer the website editor?
If you see Open website editor with (beta) on the Page editor card, you can add the same sections from Manual edit → Add → Built-in sections. Those changes stay in a draft until you click Publish. See Edit your website with the AI website editor.Step 3: Preview like a prospect
1
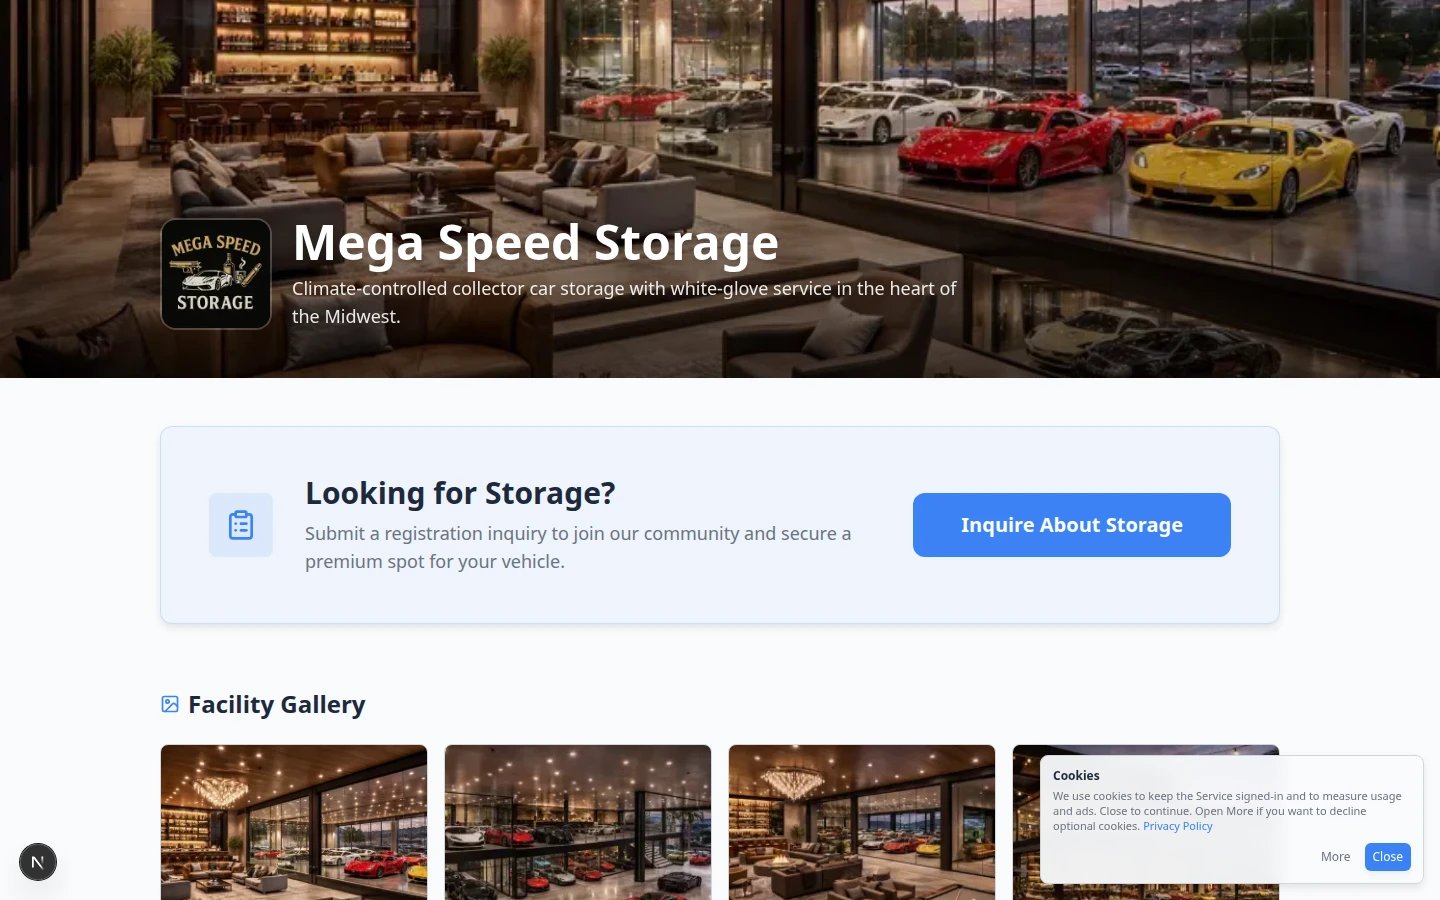
Open Main page
At the top of Settings > Website & customer app, find Shareable links. Click Open on Main page.
2
Scroll to the new sections
Confirm the map matches your building, the hours match the front door, and the contact person is someone who answers the phone.Expected result: No gray hint boxes. If you still see a hint in the editor (for example Hours of operation: hidden until you set opening hours), go back to Step 1.
3
Check a phone-sized screen
Open the same Main page link on your phone, or shrink the browser window. Hours and contact cards should stay readable without sideways scrolling.
Optional: Add a Custom form
Custom form embeds a form you already published in Marketing & Events > Forms. Use it for waitlists, tour requests, or event sign-ups that are not the storage registration form.1
Publish the form first
Create and publish the form in Forms. A draft form will not appear as a choice.
2
Add Custom form
In the Page editor, click Add section → Built-in section → Custom form.
3
Select the form
Click the new Custom form row. Choose the published form. If you are in the website editor and create a form from there, the editor may open the form builder so you can finish the questions.Expected result: The public page shows the form. The gray hint Custom form: no form is selected goes away.
Registration form is differentRegistration form is the storage request form from Settings > Customer onboarding. Custom form is any other published form. Use Set up customer registration for new storage requests.
What success looks like
- Facility profile has a real address and phone.
- Hours of operation match the hours you tell customers.
- At least one Website contact is Active.
- Location & map, Hours of operation, and Contact people appear on Main page (not only in the editor).
- Social links appears only if you connected a marketing account.