Basics
Prepare your first customer and car
Add the first customer and vehicle records your team needs so daily work starts with clean information.
Use this guide when your team is ready to enter real customer and vehicle information for the first time.
Part of the Getting started path — complete Set up your facility profile first when your manager asks for public details to be correct.
Customers and cars should be added early because many other workflows depend on them. A car can be linked to a customer, parking spot, appointment, invoice, contract, photo session, and message history.
What you will accomplish
You will prepare the information you need, add a customer, add a car, and check that the records are easy to find afterward.

Before you start
Gather the information you know is correct. You can add more later.
- Customer name
- Customer email address and phone number, if available
- Vehicle year, make, and model
- VIN or license plate, if available
- Any notes your staff needs to identify the customer or car correctly
Step 1: Search before creating anything
- Open Contacts
Go to Contacts.
Expected result: You should see the customer list.
- Search for the customer
Use the search box or filters to look for the customer's name, email address, or phone number.
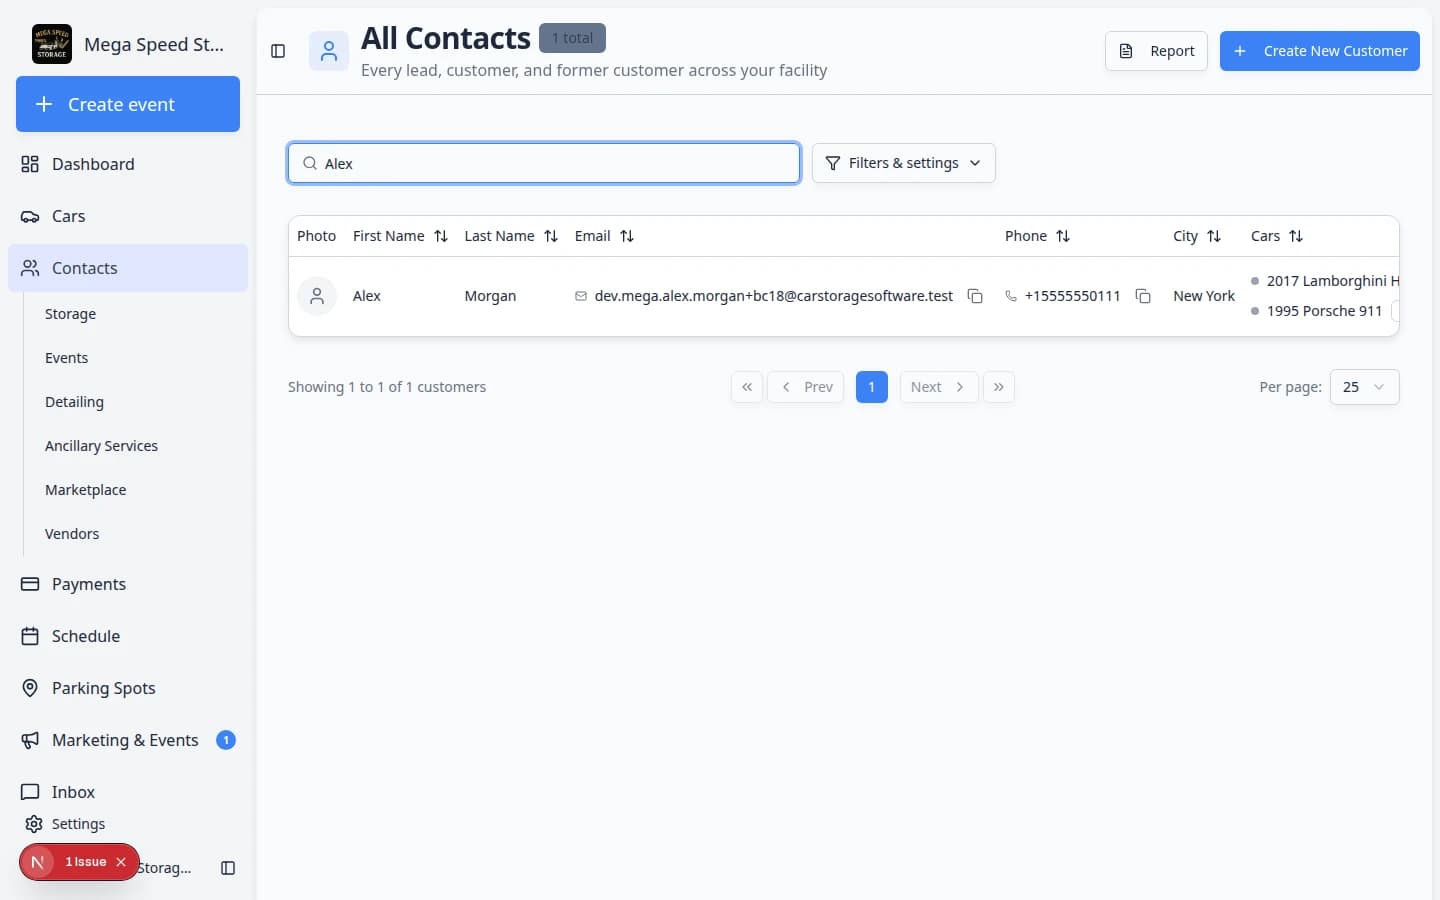
Search before you create. If the customer already exists, open their record instead of making a duplicate. Why this matters: The customer may already exist if another teammate entered them earlier or if they were imported during onboarding.
- Decide whether you need a new record
If the customer already exists, open that customer instead of creating a duplicate.
If you cannot find the customer, continue to the next step.
Step 2: Add the customer
- Click Create New Customer
On Contacts, click Create New Customer in the top-right area of the page.
Expected result: A customer form opens in a dialog window.
- Enter the main contact information
Fill in the customer's name and any reliable contact details you have.
If you do not know an optional field, leave it blank. Do not guess.
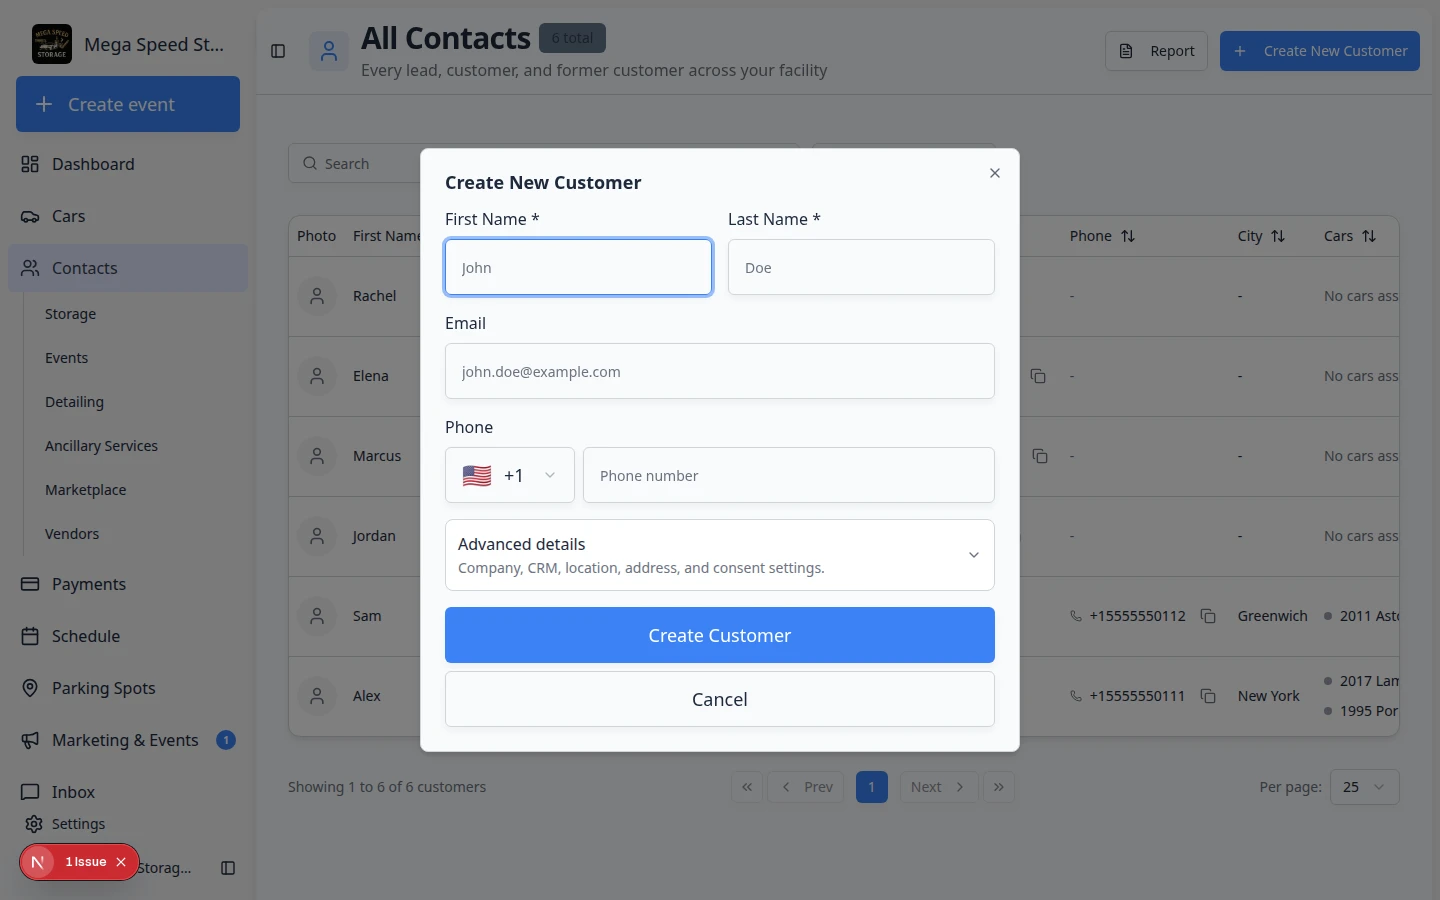
The Create New Customer dialog collects the details your team needs to reach the owner and find the record later. - Save the customer
Review the information, then save the customer.
Expected result: The customer appears in the Contacts list or opens on a customer detail page.
For a more detailed walkthrough, read Add a customer.
Step 3: Add the car
- Open Cars
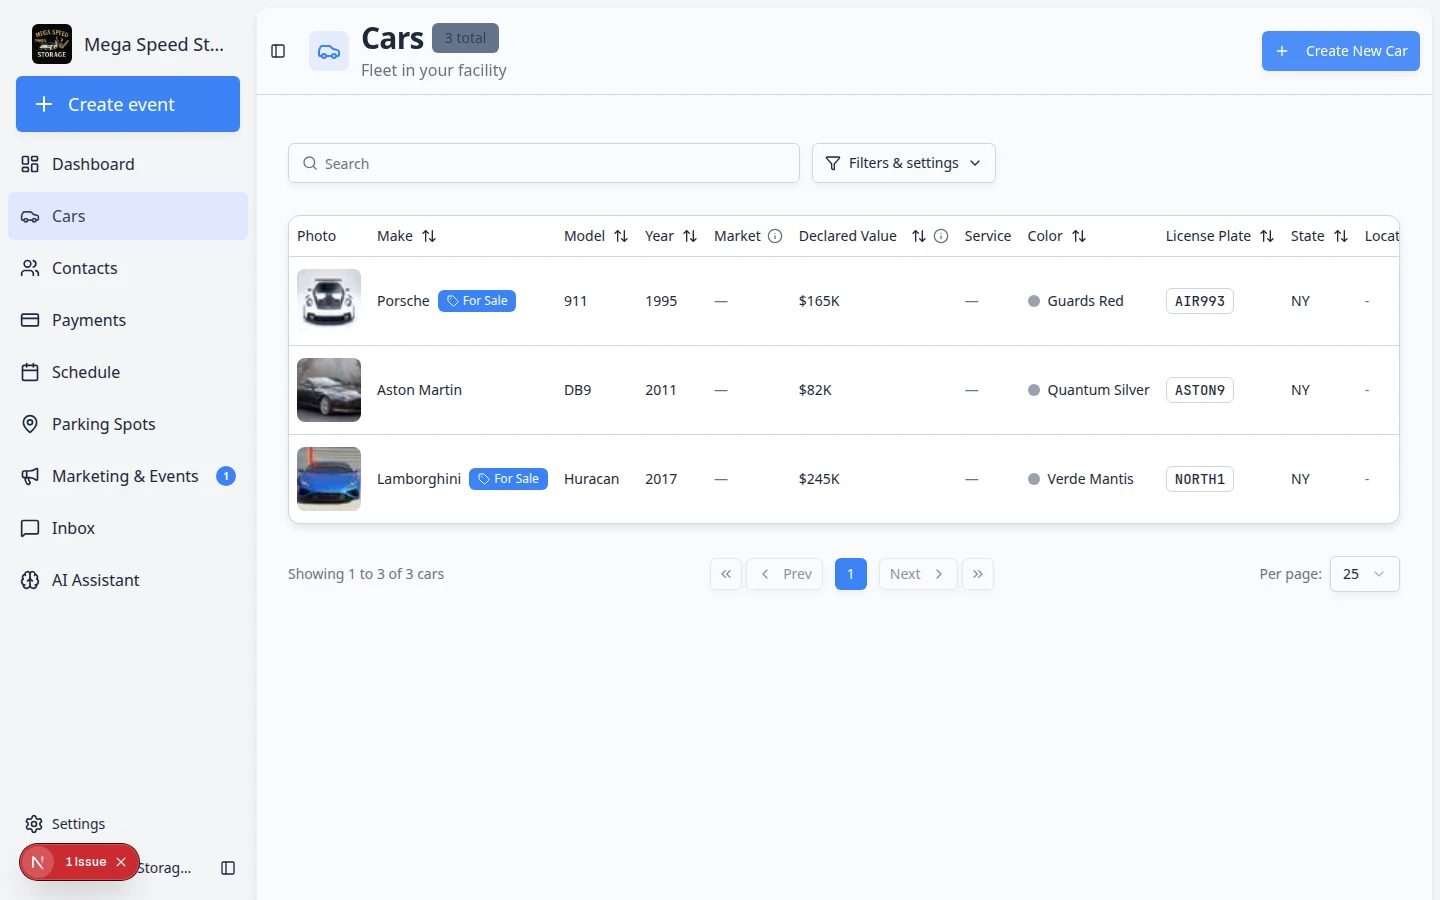
Go to Cars.
Expected result: You should see the vehicle list.
- Search for the car first
Search by make, model, year, VIN, license plate, stock number, or customer name.
Why this matters: A car may already exist if it was imported, added during intake, or created by another teammate.
- Click Create New Car
If the car is not already listed, click Create New Car.
Expected result: The app opens the car creation flow. You may see choices for how to add the vehicle (for example, manual entry or lookup tools your facility uses).

Follow the on-screen steps to enter vehicle details and connect the car to the customer you created. - Enter the vehicle details you know
Add the year, make, model, VIN, license plate, color, and any other details your team uses to identify the car.
If you do not know the VIN or plate yet, enter what you know and return later.
- Connect the car to the customer
Choose the customer you created earlier as the owner or related customer.
Expected result: The car record and customer record are connected.
- Save the car
Review the details, then save.
Expected result: The car appears in Cars and can be found by search.
For a field-by-field walkthrough, read Add a car.
Step 4: Check your work
- Find the customer again
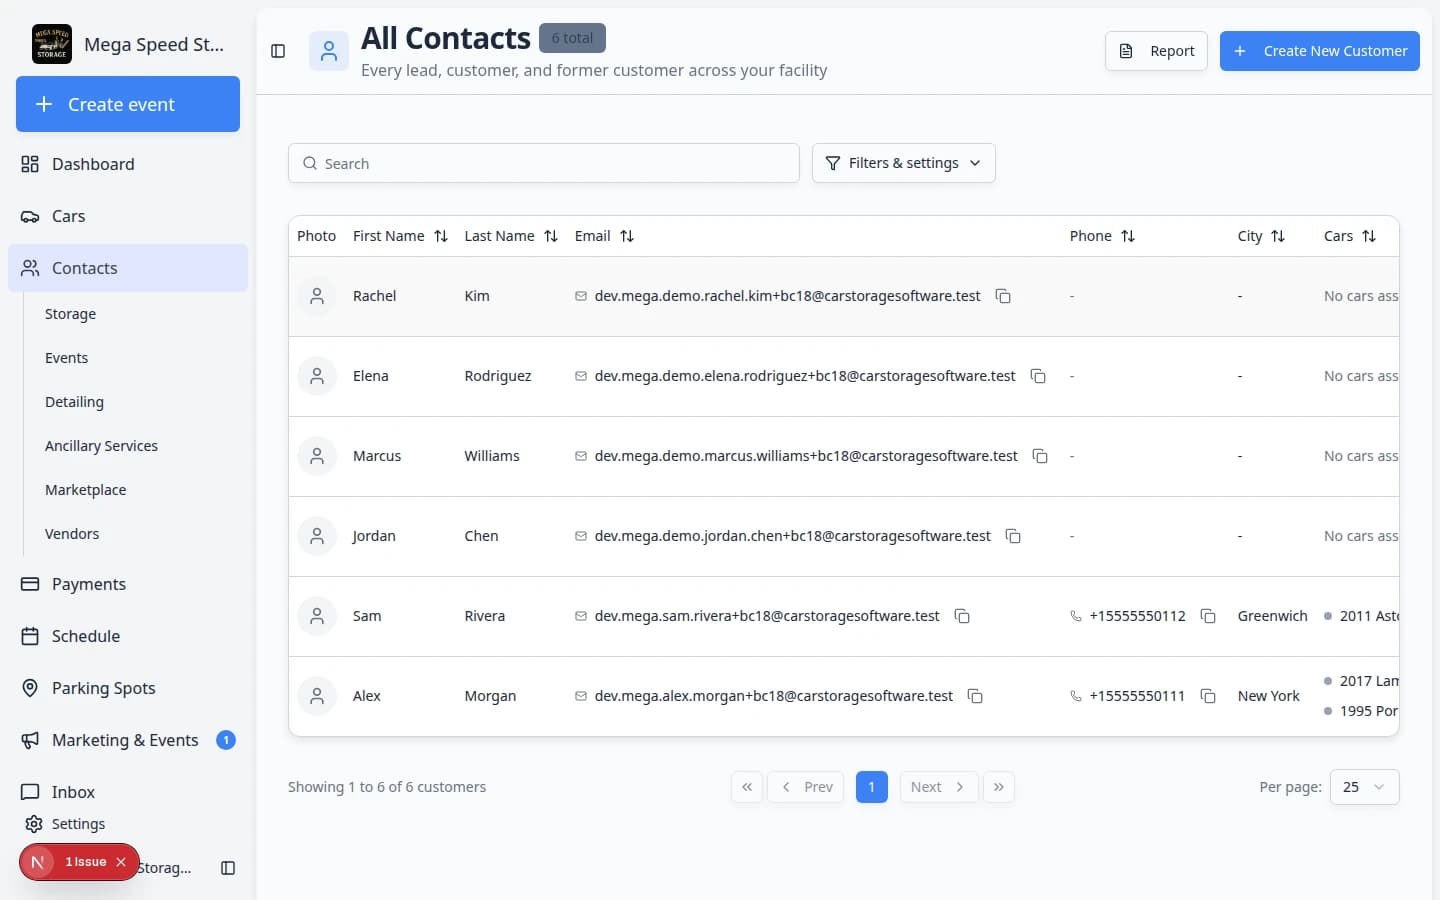
Go to Contacts and search for the customer's name.
Expected result: You can quickly find the customer record.
- Open the customer record
Click the customer name to open their detail page. Scroll to Customer's Cars (or a similar cars section) and confirm the vehicle is listed.
On the customer detail page, linked cars should appear in the cars section so your team knows the connection is correct. Why this matters: This connection helps your team schedule work, collect payments, manage documents, and communicate with the right person.
- Find the car again
Go to Cars and search for the car by make, model, VIN, plate, or customer name.
Expected result: You can quickly find the car record and see the correct customer on the car page.
Common mistakes and how to fix them
What to do next
Once the customer and car are ready, choose the next task:
- Move a car if you need to assign a parking spot or zone.
- Start a car session if you need an intake, inspection, photo walkthrough, or service event.
- Create an invoice if the customer needs to pay.
- Send a contract for signature if the customer needs to sign paperwork.
- Create an appointment if the customer has a visit scheduled.
- Invite a customer to the portal when the customer should sign in online.
Return to Getting started overview for the full onboarding path.