

What you will accomplish
Your team will find each new registration in Contacts, review the customer and vehicle details, decide the next action, and leave a note so the next teammate knows what happened. When you finish this guide, you will be able to:- Find a new registration within a minute using search on All Contacts.
- Confirm the customer typed their email and vehicle details correctly.
- Choose whether to accept, follow up, hold, or decline the request.
- Send a portal invite only when your team is ready.
When to use this guide
Use this guide after someone fills out your public registration form (Set up customer registration). This is useful when prospects request storage from your public facility page and your staff needs to review the request before saying yes, collecting payment, or scheduling a dropoff.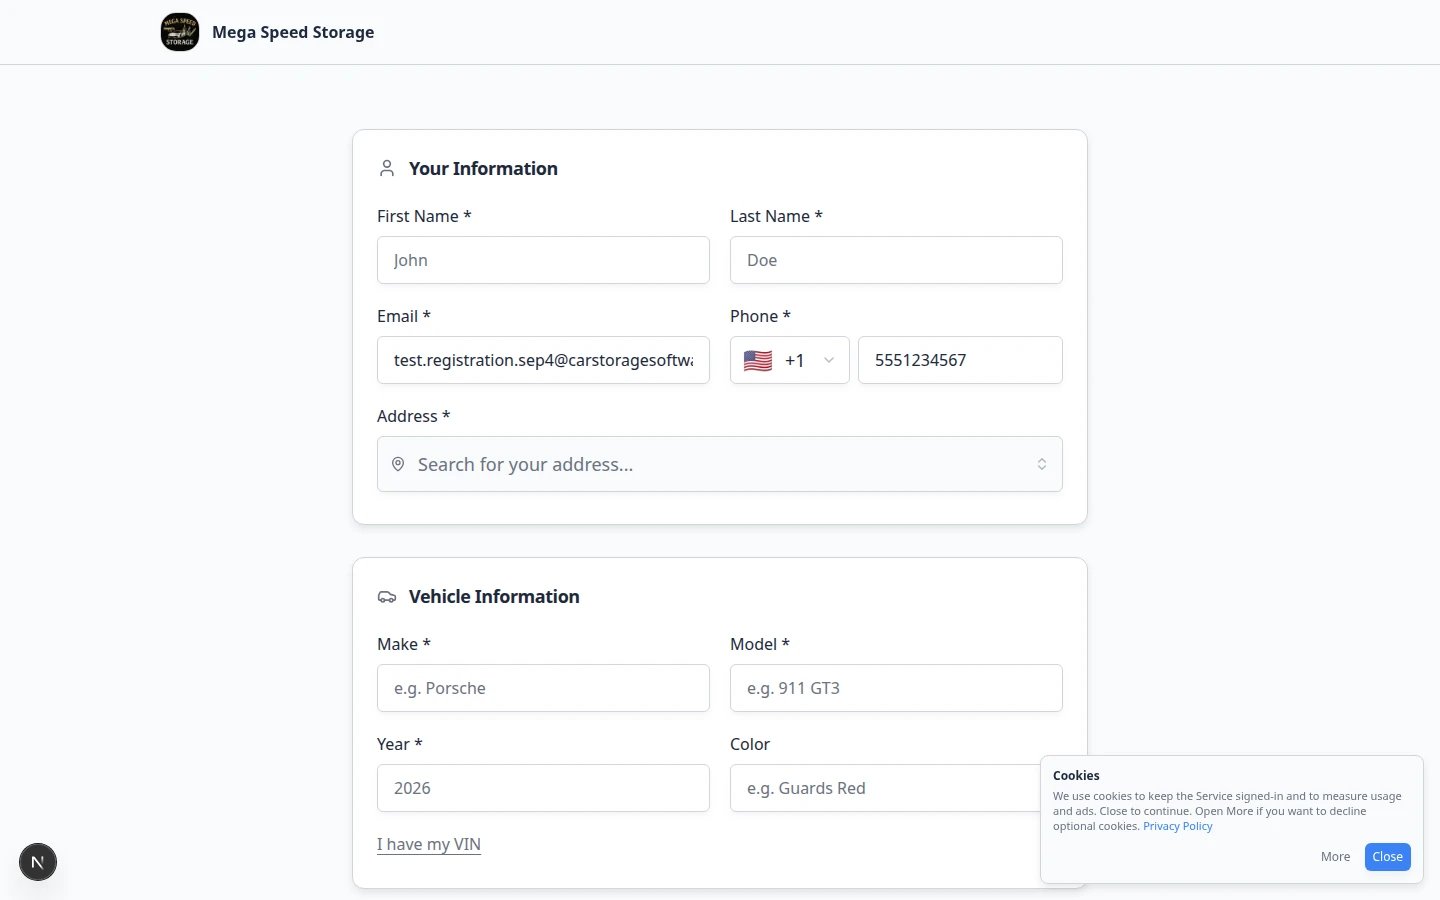
Before you start
- Your registration form is set up in Settings > Customer onboarding and enabled on your public page.
- You know which teammate should review new customer requests.
- Your team has a simple rule for accepting, following up, or declining requests.
- If you plan to collect payment before approval, payment processing is already ready.
Step 0: Check for new registrations each business day
Before you search for one customer by name, scan for anything new.1
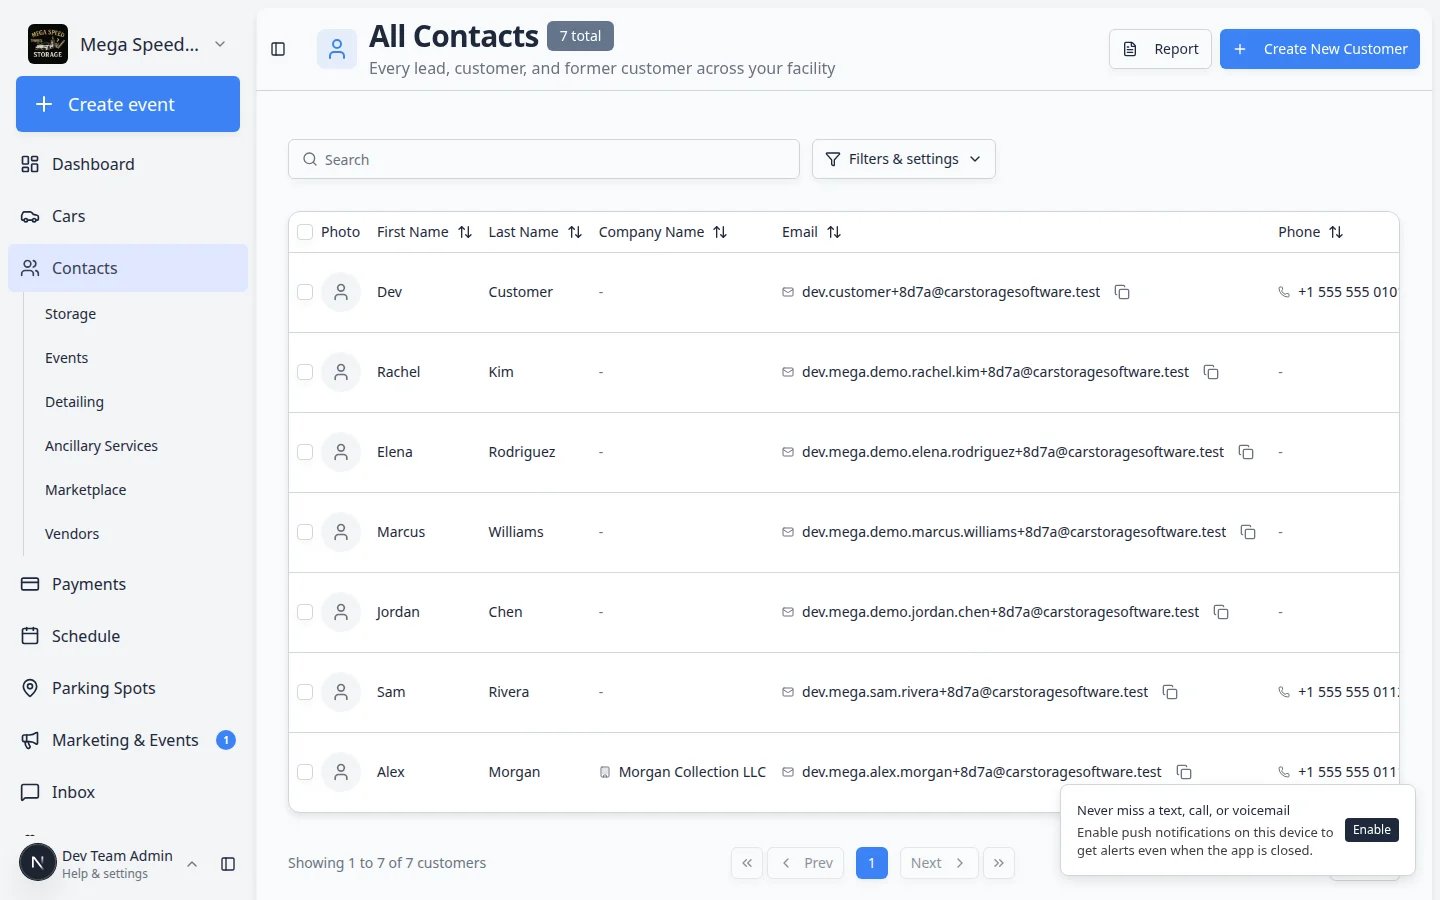
Open All Contacts
Go to All Contacts.Expected result: You see your full customer list—not only one customer type.
2
Sort by newest first
Open Filters & Settings near the search bar. Sort by Created (newest first) if that option is available.Why this matters: Registration requests usually appear at the top when you sort by date. You will not miss a weekend submission on Monday morning.
3
Search when you already know the email
If a prospect says they submitted a form, search by the email they used. Registration records often show Source: Registration on the customer detail page.
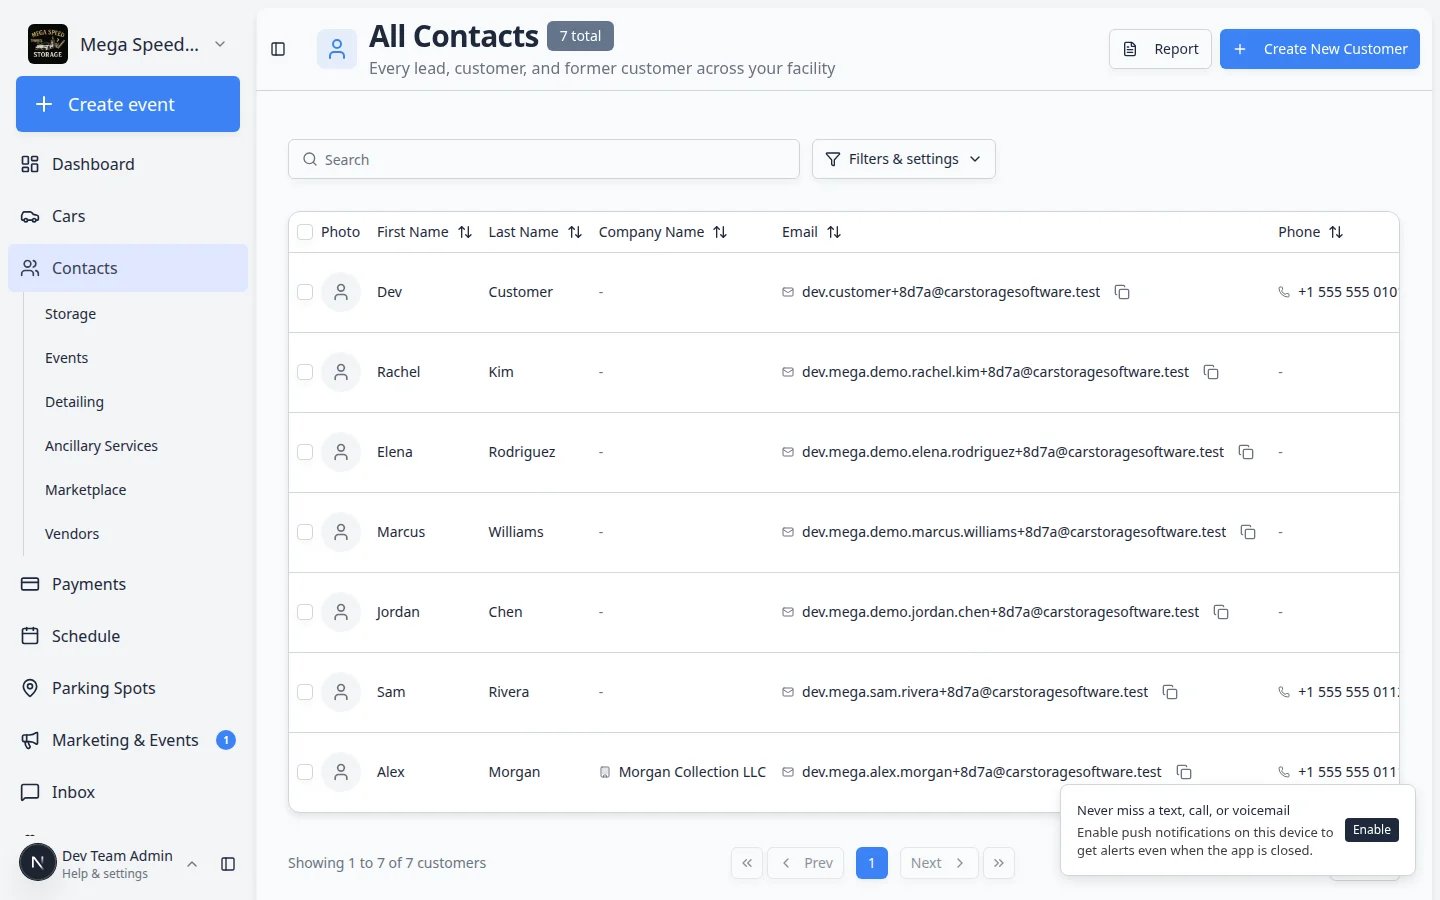
Step 1: Find the registration in Contacts
1
Open All Contacts
In the dashboard sidebar, click Contacts, then All Contacts.You can also go directly to All Contacts.Expected result: You see a table of customer records with columns such as name, email, phone, and cars.
2
Search for the new prospect
Click the Search box near the top of the page. Type one detail you know:
- Email address (fastest when you have it)
- Customer last name
- Phone number
- Vehicle make or model if your form collected vehicle details
3
Confirm you found the right person
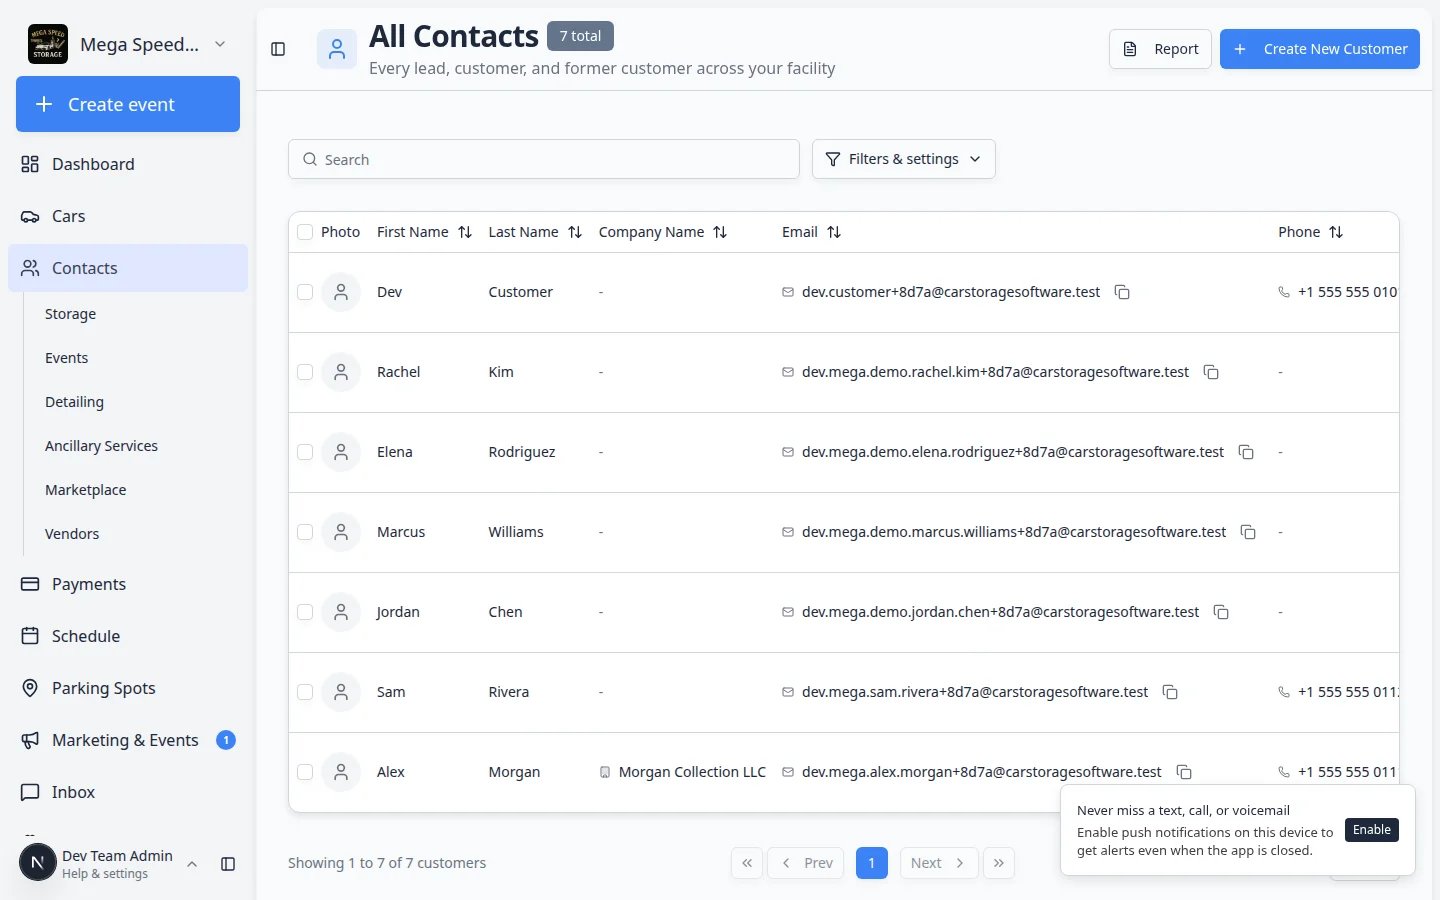
Read the name and email in the search results before you open the record.Expected result: One row matches the person who just submitted the form.
Expected result
You can find the record created from the registration form within a few seconds.Step 2: Open the customer record and review details
1
Open the customer record
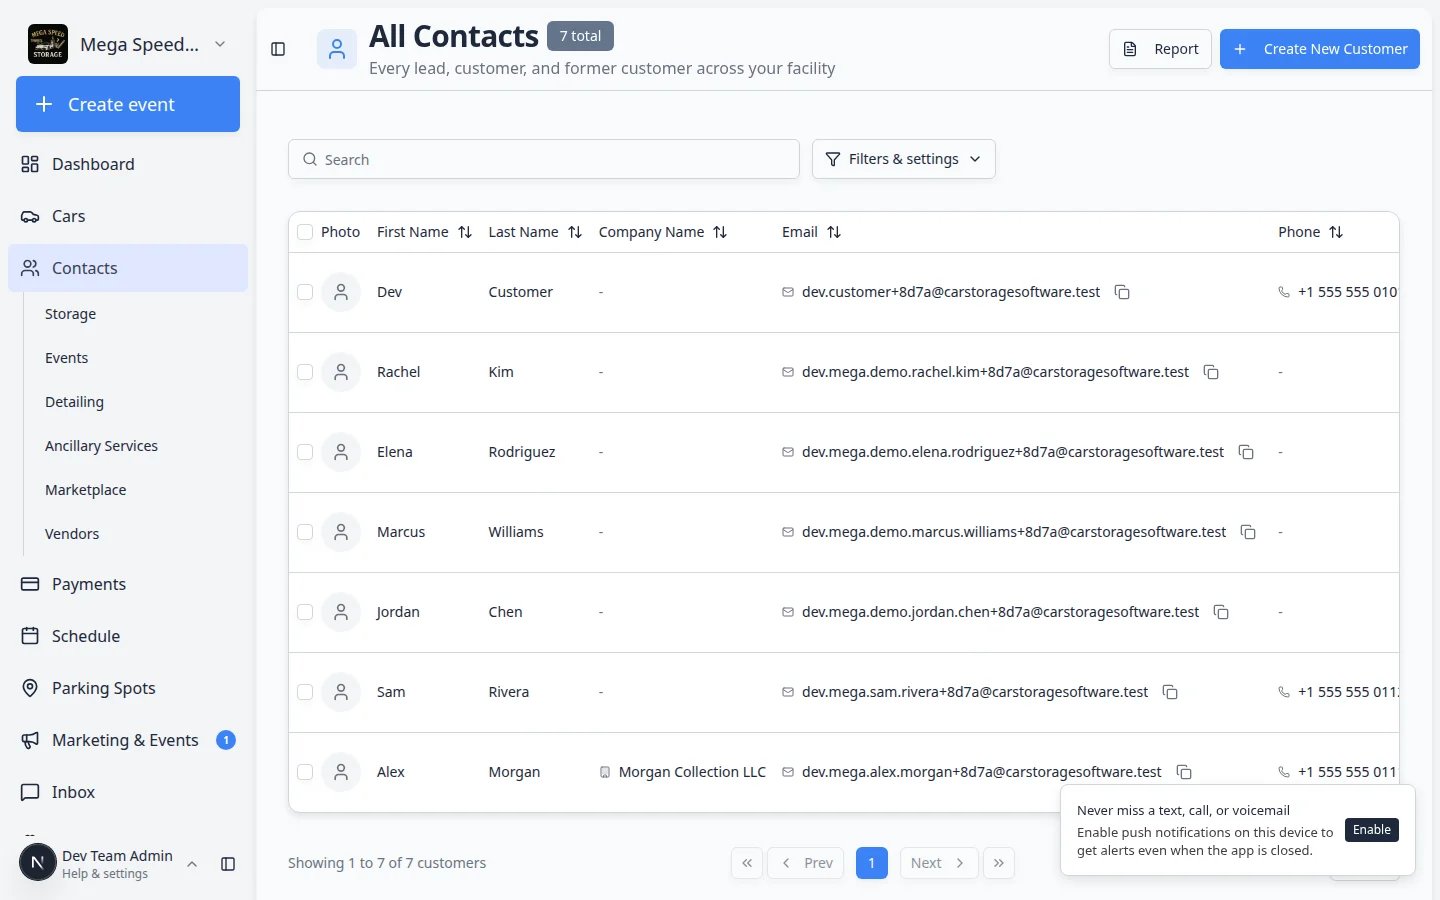
Click the customer name in the table to open the detail page.Expected result: You see Personal & Contact on the left and Activity Feed on the right.
2
Check Personal & Contact
In the left column, confirm:
- Name is spelled correctly
- Email address is complete (no obvious typos)
- Phone number is present if your team will call or text
- Address is present if your facility collects it during registration
3
Look for Source = Registration
On the customer record, find the Source field when your facility shows it. It should say Registration when the record came from your public form.Expected result: You are reviewing a web request—not a customer your team typed in by hand.
- Name is spelled correctly.
- Email address looks complete.
- Phone number is included if your team needs to call or text.
- Address is included if your facility collects it during registration.
Step 2b: Confirm the record came from your public form
Scroll to Activity Feed on the right side of the customer record. Look for an entry near the bottom that says Customer created with a recent time stamp.1
Read the Activity Feed
New registrations usually show Customer created as one of the earliest entries.Expected result: You can tell this person arrived through your online form—not from a manual staff entry.
2
Check linked cars in the same view
If the registration form collected vehicle details, a car may already appear under the customer’s cars list or in the activity timeline.Why this matters: You can review vehicle information without opening a separate search.
Step 3: Review vehicle details
If the form collected vehicle information, check the car record linked to the customer. Review:- Year, make, and model
- VIN or license plate, if collected
- Requested storage or service notes
- Photos or documents, if your form requested them
Expected result
Your team understands what vehicle the customer wants to store, service, sell, or bring to the facility.Step 4: Decide the next staff action
After reviewing the request, choose the next action. Write down your choice in a note (Step 5) so the next teammate knows what happened.1
Accept the request
Use this when the customer is a good fit and your team is ready to move forward. If On complete is set to Save as a lead, they do not have portal access yet—click Send portal invite on the customer record (see Invite a customer to the portal).If Email and start onboarding is selected, they already received a sign-in link when they submitted the form. Your team is notified of the signup in both cases.Expected result: The customer can open their portal after you invite them, or immediately after submit if welcome email is on. Wait until billing and vehicle details look correct before you invite a lead.
2
Ask a follow-up question
Use this when information is missing, unclear, or needs a staff decision.Open Inbox, find or start a conversation with the customer, and send a short message. Example: “Thanks for your storage request. Before we confirm space, can you send the vehicle VIN and your preferred dropoff date?”
3
Place the request on hold
Use this when your facility needs manager approval, available space, insurance details, or payment setup before moving forward.Add a note such as “On hold—waiting for manager approval” or “On hold—no indoor space until July 15.” You do not need a special button—your note tells the team the request is paused.
4
Decline or archive the request
Use this only when the customer is not a fit (wrong vehicle type, outside service area, duplicate submission).Add a short internal note explaining why. If your team uses CRM stages, you may move the customer to Former Customer or a similar stage after you document the reason.
Step 5: Add a short internal note
Before leaving the customer record, add a note that explains what happened. Good examples:Registration received from public form. Customer wants indoor storage for a 2017 Lamborghini Huracan. Called and left voicemail on May 21.
Registration reviewed. Waiting for insurance document before approval.
Expected result
Anyone on your team can open the customer record later and understand the latest status.Step 5b: Turn on registration alerts (optional)
If your team wants an email, text, or push alert when someone submits the public form, configure notifications once so nobody has to watch Contacts all day.1
Open Communications settings
Go to Settings > Communications.
2
Find New Customer Registration Notifications
Scroll to New Customer Registration Notifications. Turn on the channels your team actually reads (email, text, or push).Why this matters: Alerts reduce wait time for prospects. A fast reply often wins the storage deal.
Alerts do not replace reviewNotifications tell you that someone registered. You still open Contacts to review details and decide the next step.
Step 6: Invite the customer only when you are ready
Do not click Send portal invite until your team is ready for the customer to sign in and see their portal.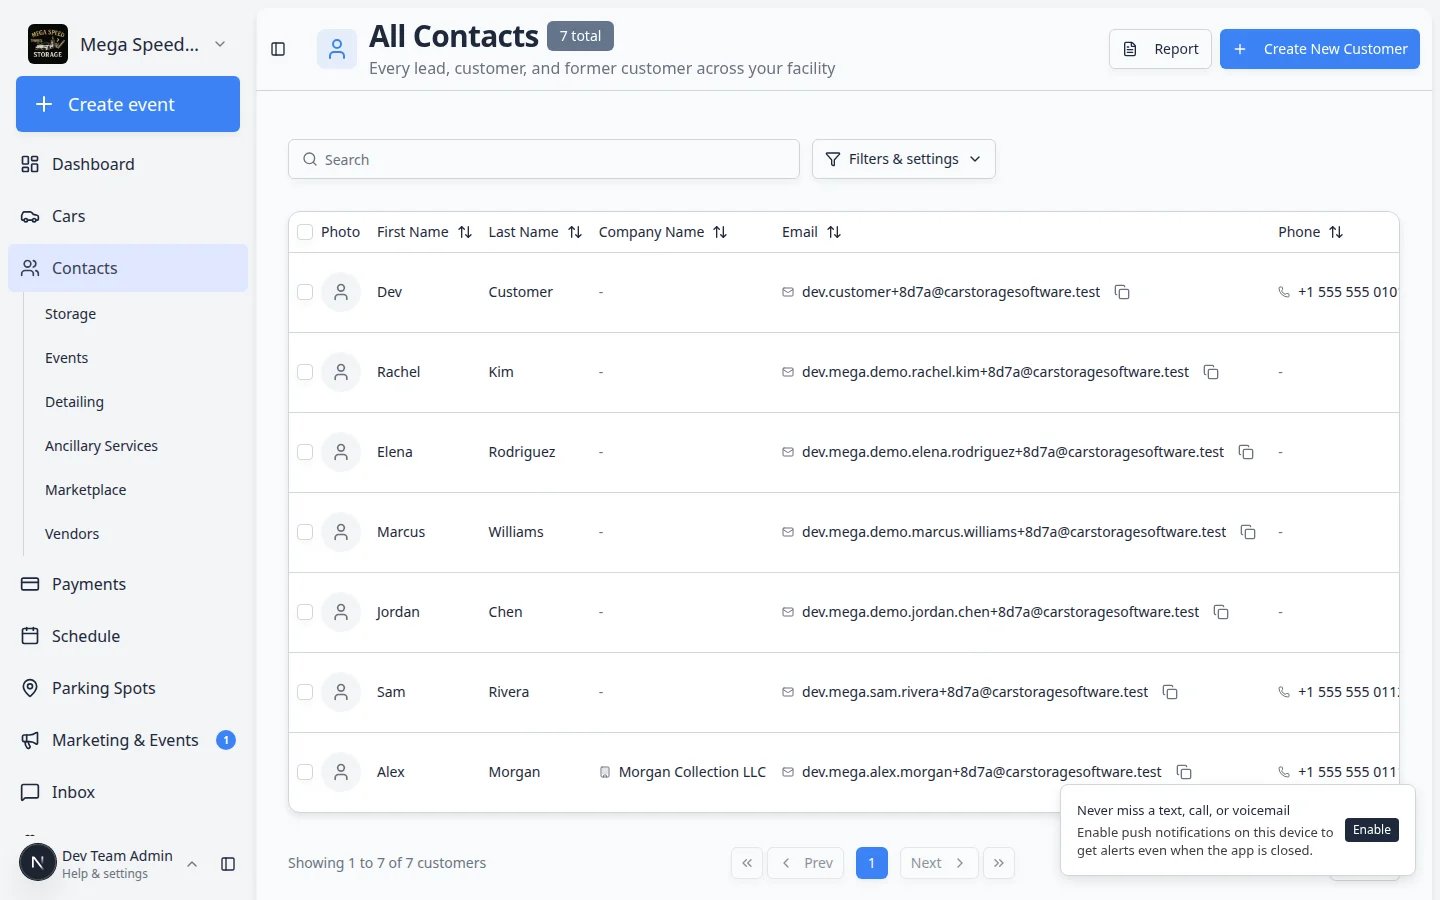
1
Click Send portal invite
On the customer record, click Send portal invite. When Notify the customer? appears, choose Yes to send the invite. Choose No or close the window to cancel without sending.Expected result: The customer receives an email with steps to open the portal. Portal status on the record updates so your team can see the invite was sent.
2
Tell the customer what to expect
Send a short message if needed: “We approved your storage request. Check your email for a link to open your customer portal.”
What success looks like
- The new request appears in Contacts.
- Customer and vehicle details have been checked by staff.
- Your team has decided to accept, follow up, hold, or decline the request.
- An internal note explains the current status.
- The customer receives a clear next step only after staff review.