

What you will accomplish
You will safely cancel a real appointment while keeping history, or delete a mistaken test event, and know which option to choose when a customer calls. There are two different actions:- Cancel Event (Keep in History) keeps a record that the appointment existed and was cancelled. Your team can still see it happened.
- Delete Permanently removes the event from the schedule completely. It will be gone.
When to use this guide
- A customer cancelled by phone or email and the visit should not happen.
- Weather or staffing forced you to stop a visit—but you want a record that it was planned.
- Someone created a test or duplicate event that should never have existed.
- You rescheduled by creating a new appointment and need to cancel the old time.
Before you start
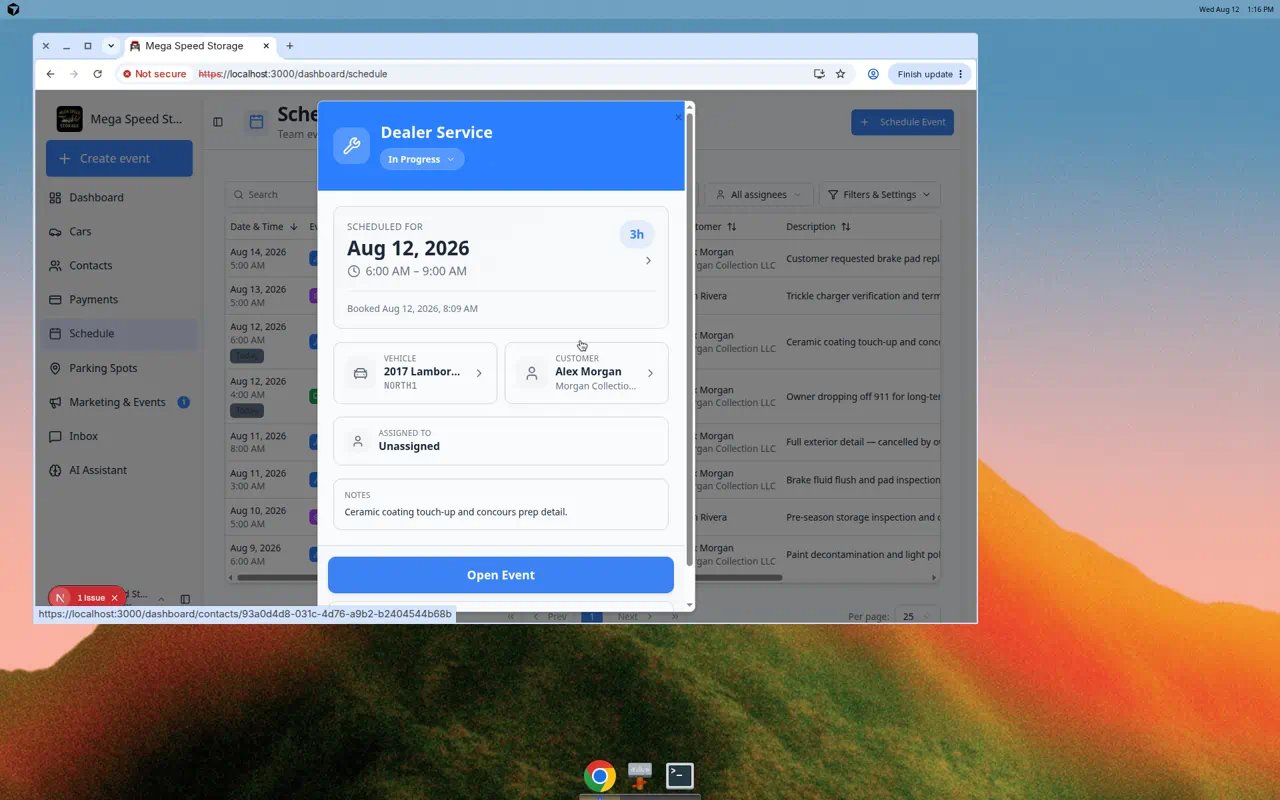
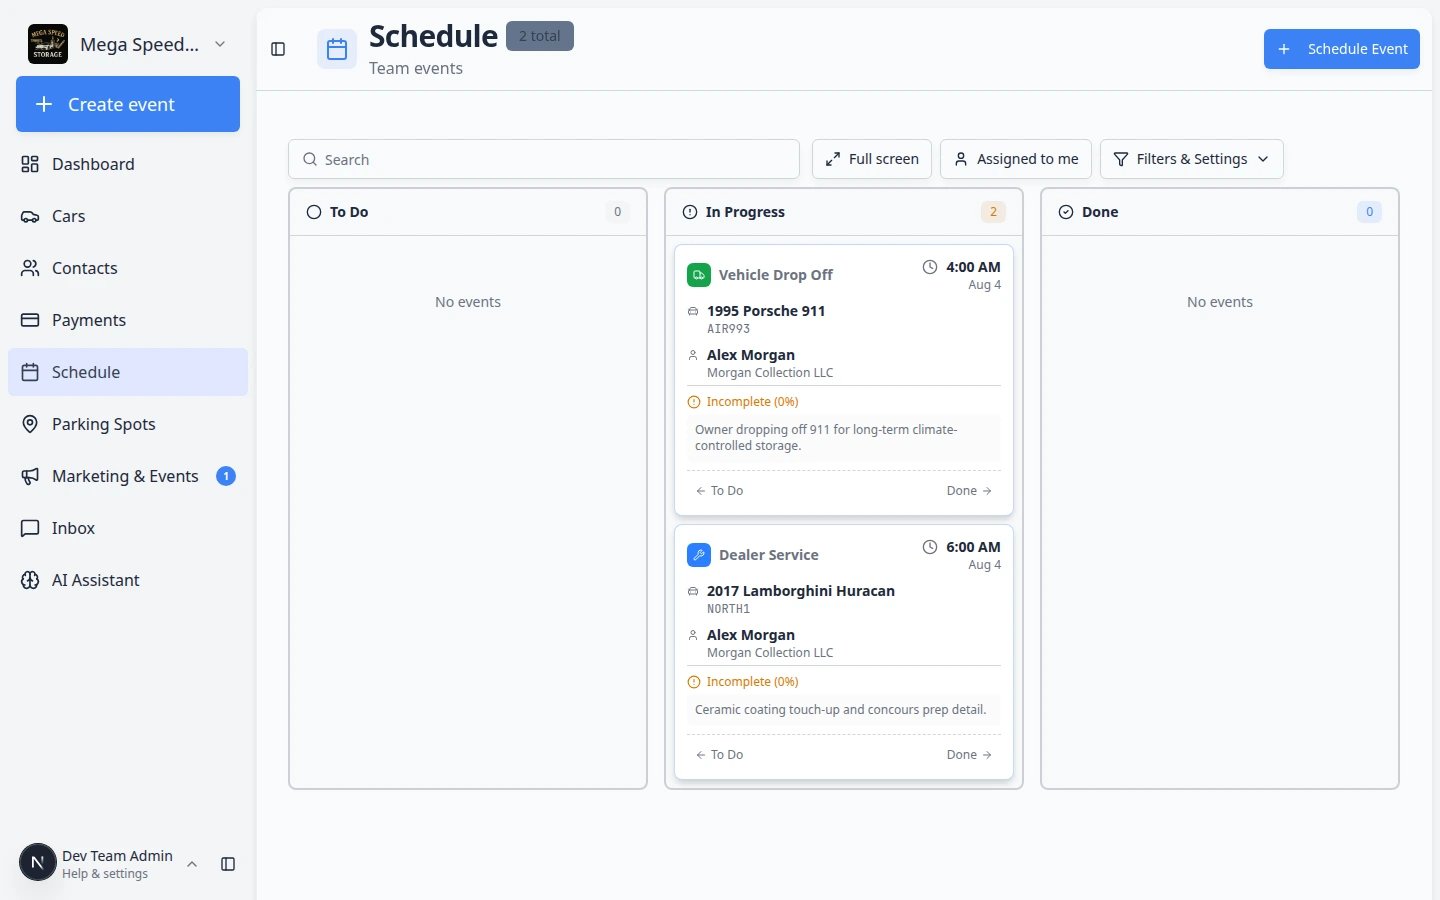
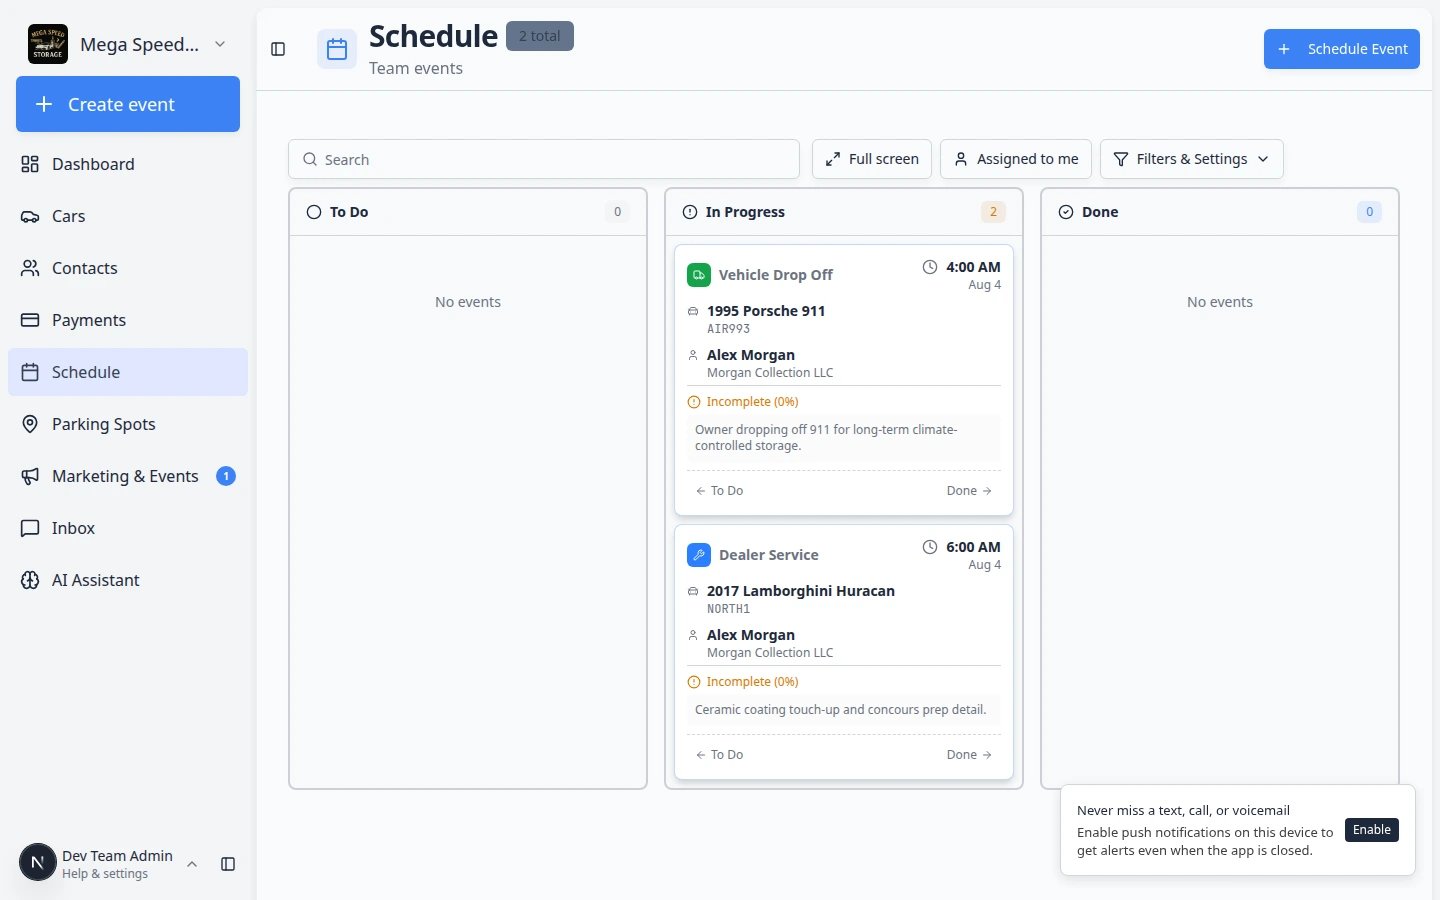
- Open Schedule.
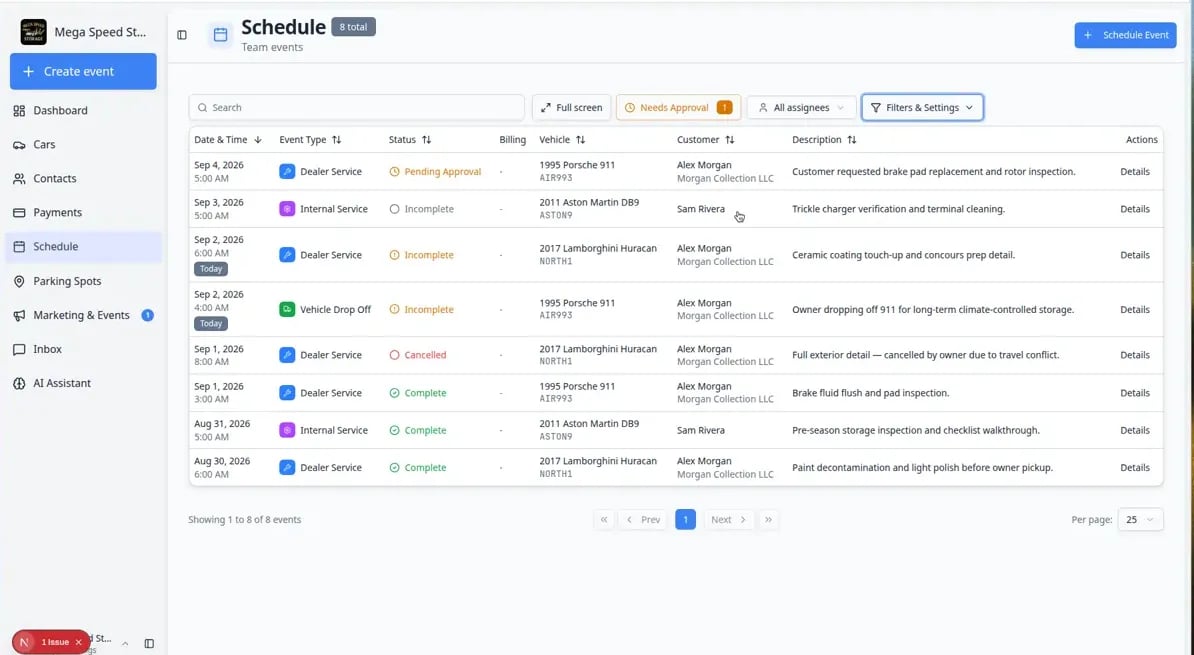
- Find the event you want to cancel or delete. If you are unsure how to find it, see Find and filter scheduled work.
- Confirm the customer, vehicle, date, and time so you do not change the wrong event.
- Know why the event is being cancelled or deleted — you may want to add a reason.
- If the customer expects an update, confirm your team’s notification process before proceeding.
Decide whether to cancel or delete
Choose Cancel Event (Keep in History) when the event was real, but it is no longer happening. Examples:
- Customer cancelled by phone or email.
- Weather delay forced a reschedule.
- Staff member became unavailable.
- Duplicate appointment — a new one was already created at a better time.
- Test event created by mistake.
- Wrong customer was selected.
- Accidental duplicate that was never confirmed.
- Data-entry error.
Cancel an event and keep history
1
Open the event
From Schedule, click the event (or open Details from the table view). The event detail panel opens on the right, showing the customer, vehicle, time, and notes.Expected result: You can read the event title, date, and customer or vehicle before making any changes.
2
Click Edit Event
Click Edit Event in the event details panel. The form fields become editable so you can review or adjust details before cancelling.Expected result: The panel switches to edit mode with save controls at the top.
3
Expand Cancel or Delete Event
Scroll to the bottom of the edit form. Click the red Cancel or Delete Event bar to expand that section.This section stays collapsed until you open it, which helps prevent accidental cancellations.Expected result: You see Reason (optional), Cancel Event (Keep in History), and Delete Permanently.
1
Add a reason
In Reason (optional), type a short explanation of why the event is being cancelled.Example: “Customer requested cancellation by phone” or “Appointment replaced by new time on Friday.”A reason helps the next person understand what happened without needing to ask. Even though it is optional, adding a reason saves time later.
2
Click Cancel Event (Keep in History)
Click Cancel Event (Keep in History). This keeps the record but marks it as cancelled.A confirmation window titled Cancel appointment? appears. It explains that the appointment will stay visible as cancelled.
3
Confirm the cancellation
Read the confirmation message. If it looks correct, click Cancel appointment.If you are not ready, click Keep to go back without changing anything.After you confirm, a window asks Notify the customer? Choose Yes to notify them about the cancellation, or No to cancel without notifying the customer. Team notifications still send. Closing that window leaves the event unchanged.Expected result: The event stays in your history with a Cancelled status. It no longer counts as active work on the calendar, but your team can still find it when needed.
The confirmation window usually shows:
- Title: Cancel appointment?
- Message: This will keep the appointment visible as cancelled.
- Buttons: Keep (go back) and Cancel appointment (complete the cancellation)
Delete an event that should not remain
1
Open the event
From Schedule, click the event you want to remove completely (or use Details in table view).
2
Click Edit Event
Click Edit Event to open the edit form.
3
Expand Cancel or Delete Event
Scroll down and click the Cancel or Delete Event bar to expand it.
4
Add a reason if helpful
Add a reason so admins understand why the event was removed. Example: “Created for wrong customer — duplicate of event #234.”
5
Click Delete Permanently
Click Delete Permanently. This action cannot be undone.
6
Confirm the deletion
A window titled Delete event? appears. Read it carefully. It warns that this action is permanent.Click Delete only if you are sure this event should be removed from all records. Click Keep if you changed your mind.Expected result: The event disappears from the active schedule and cannot be recovered.
What happens after canceling or deleting
- A cancelled event is kept as a record and shows a Cancelled status. Your team can still find it in history if questions come up later.
- A deleted event is removed from the active schedule and cannot be recovered.
- Completed events may not be available for cancellation — they already have a final status.
- Recurring events may ask whether you want to cancel or delete only one occurrence or the whole series.
Common mistakes to avoid
Troubleshooting
Status changes may ask for confirmationIf you change status from the event panel before cancelling (for example moving from In Progress back to Scheduled), the app may show a Change status? window. Read it before you confirm. See Track work in the Progress view.