

What you will accomplish
You will add or change the large banner photo at the top of the car page, open the full photo gallery, and know how quick photos from Add → Quick photo appear on the record. Expected outcome: Teammates recognize the car in Card view on Cars, and you can find intake or damage images in the gallery without searching email.When to manage photos on a car
- The car arrived without going through Create New Car → With Photos.
- You need a better thumbnail for the Cars list or customer portal.
- Staff took extra pictures during a visit and want them on the permanent record.
- You are reviewing damage or condition and need to find images from past events.
Before you start
- The car record exists on Cars.
- You have image files on your device or can take new photos with your camera.
- For formal intake with guided angles, consider Start a car session or Add a car with With Photos instead.
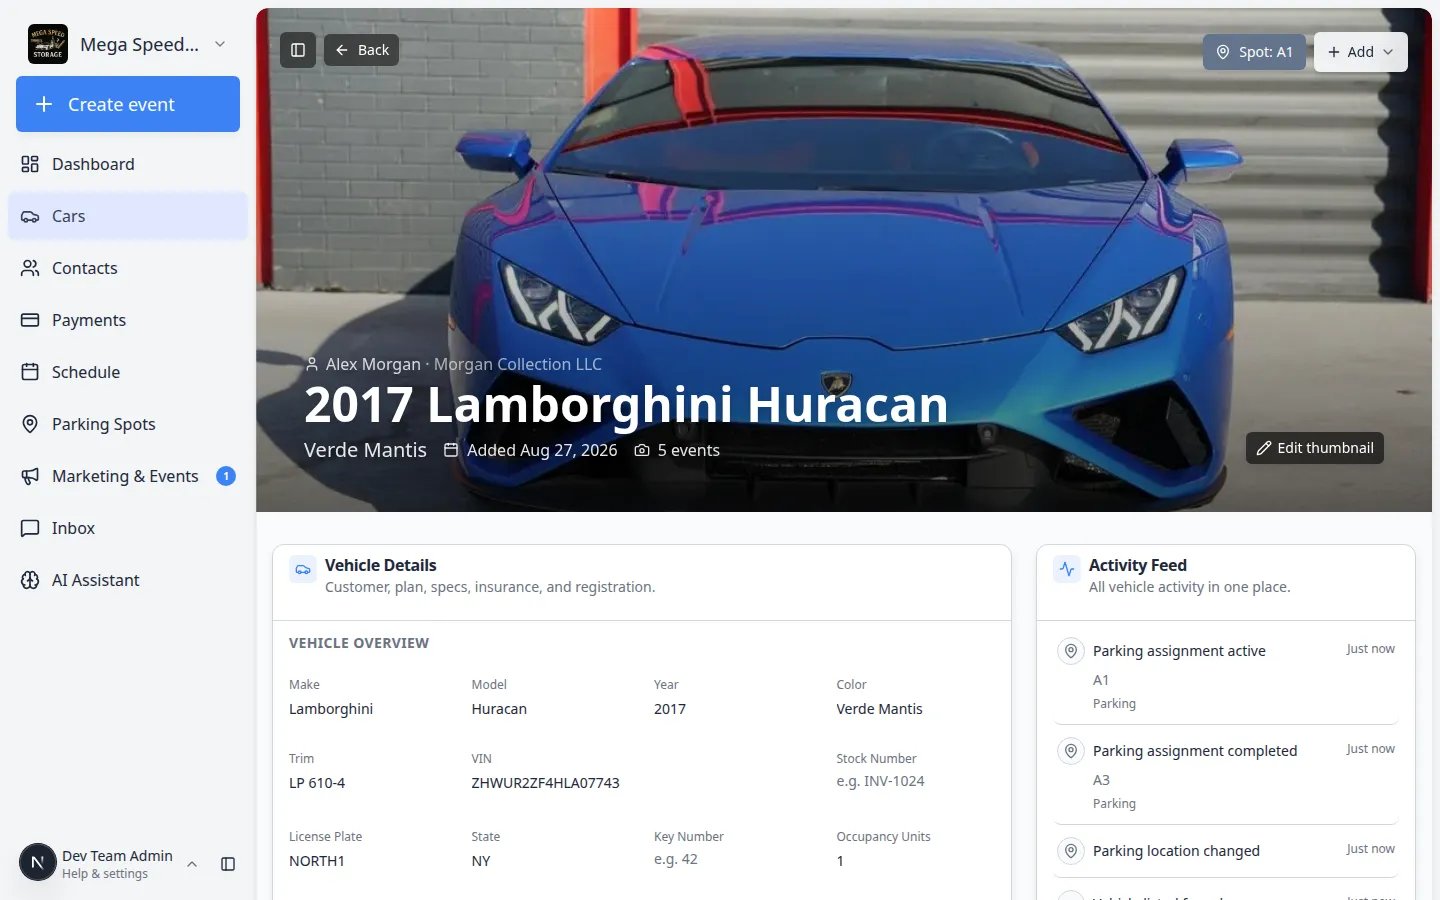
Understand where photos live on the car page
Step 1: Set or change the banner photo
1
Open the car record
Go to Cars and open the vehicle.
2
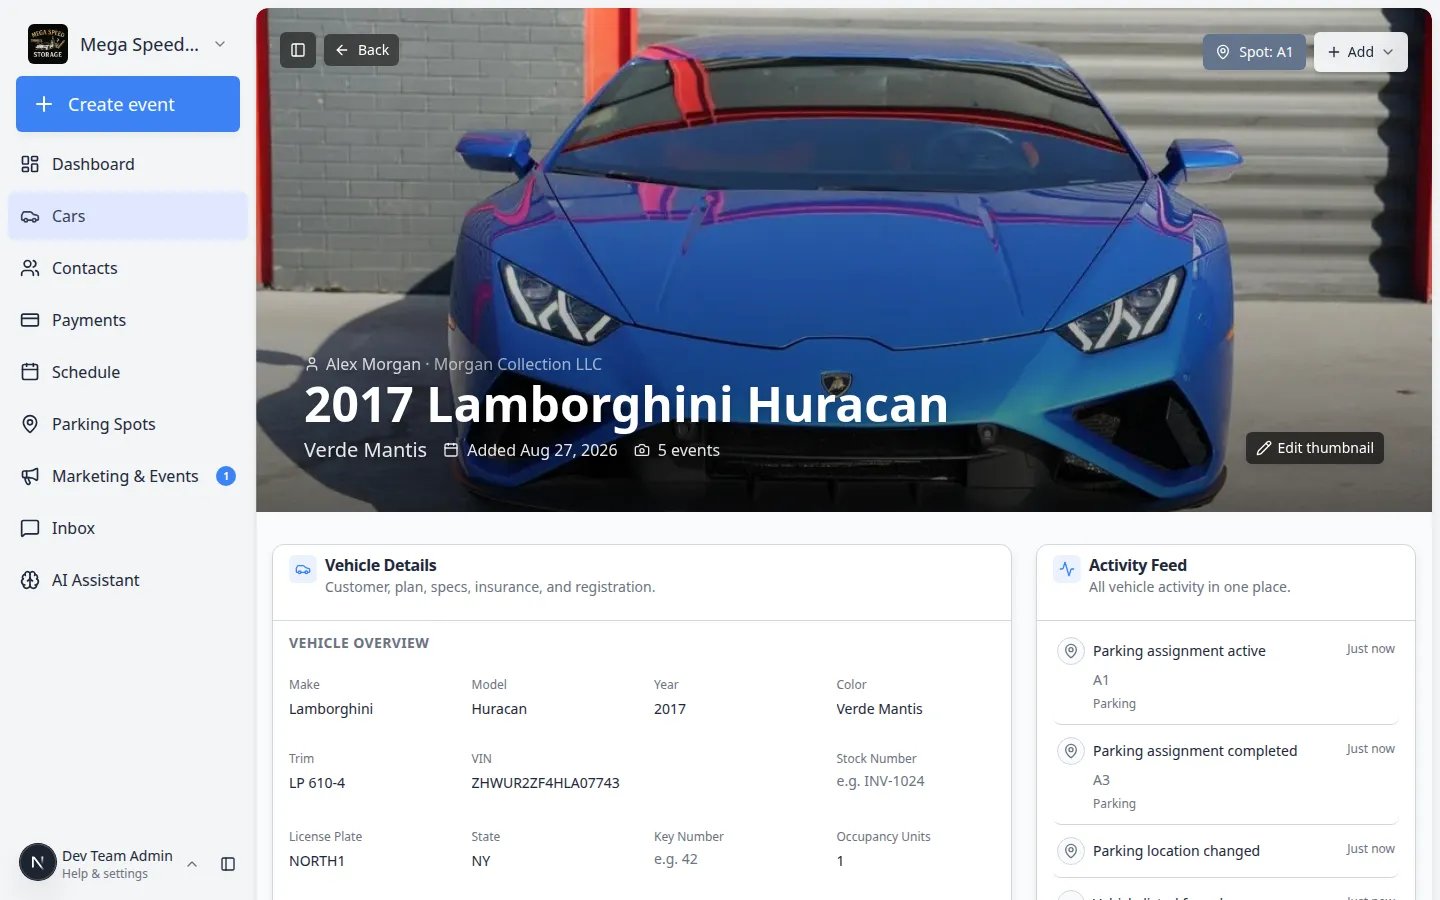
Use the banner controls
On the large photo area at the top:
- Add Thumbnail — when no banner exists yet
- Change Photo — replace the current banner
- Adjust — reposition how the image is cropped in the frame
Step 2: Add a quick photo
Quick photos are the fastest way to add pictures when you are already standing at the car. You do not need to schedule a full event first.1
Open the Add menu
At the top of the car page, click Add.
2
Choose Quick photo
Select Quick photo from the menu.Expected result: A photo capture flow starts without scheduling a full event.
3
Take or upload pictures
Follow the on-screen steps to capture or upload images, then finish the session.Expected result: New photos appear in Latest Photos and in the gallery. The Activity Feed may show a quick photo entry.
Step 3: Browse the full gallery
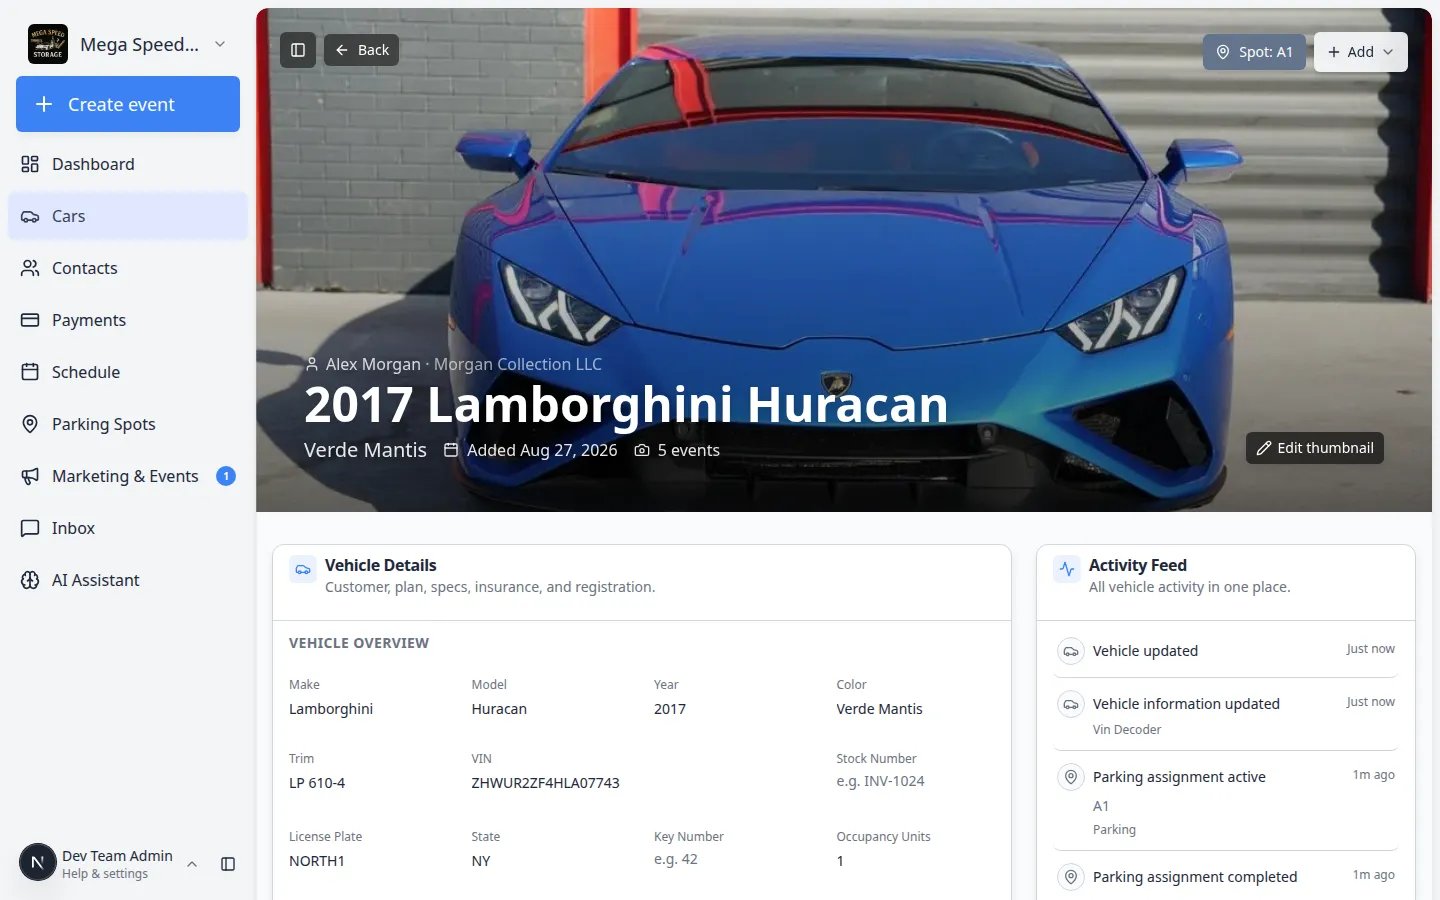
The Latest Photos row is a preview. The full gallery holds every image from intake, events, and quick photos.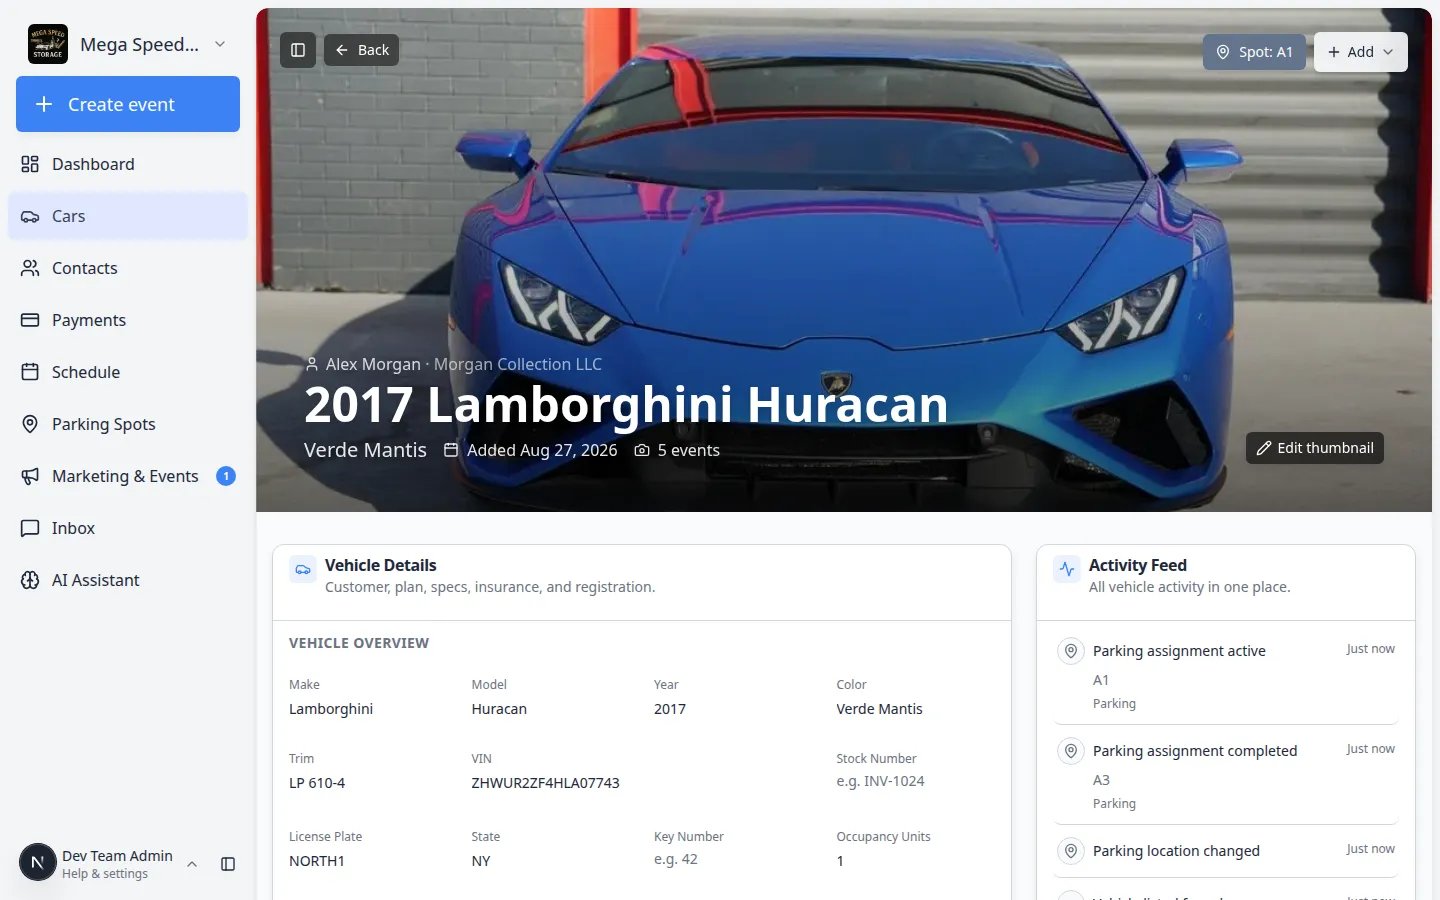
1
Open Latest Photos
In Vehicle Details, find Latest Photos and click view all when it appears.
2
Review images by session
Scroll the gallery. Photos are usually grouped by the event or session that created them.Why this matters: Intake photos from arrival day stay separate from later damage or service pictures.
3
Open an image for detail
Click a photo to view it larger. Some images show damage or location badges from the walkthrough rules your facility configured.Expected result: You can confirm condition before talking with the customer or insurer.
Step 4: Find photos from past work
Photos also appear on completed events in the Activity Feed.1
Open Activity Feed
On the right side of the car page, scroll the Activity Feed.
2
Open a completed event
Click an event that included photos (intake, inspection, detail, and similar).Expected result: You see event details and any images captured during that job.
Common mistakes to avoid
- Do not assume every picture is in the banner—check the gallery for the full set.
- Do not use quick photo when you need a structured intake with required angles—use With Photos on create or a scheduled photo event instead.
- Do not forget Adjust after Change Photo if the crop cuts off important parts of the vehicle.
Troubleshooting
What to do next
- Import many historical photos at once from Import Data → Photo ZIP tab when migrating from another system.
- Schedule formal intake with Add a car (With Photos) or Start a car session.