

What you will accomplish
You will set up a simple photo and file library for your facility. When you finish, your team can:- Keep logos, event flyers, and facility photos in one place
- Pull in car pictures you already took during a visit
- Help the email designer pick your photos instead of generic stock pictures
Why this library mattersCustomers notice when an invitation uses your real showroom, your logo, and cars they recognize. This page is the folder where those files live before you write a campaign.
When to use Marketing Assets
- You are about to send an email campaign and want it to look like your facility.
- You have a flyer or logo on your computer and want the whole team to use the same file.
- You already photographed a customer car and want that picture in a campaign (without uploading it again).
- You want folders such as Facility photos or Event flyers so staff do not hunt through email attachments.
Before you start
- You can open Marketing & Events. If you cannot, ask a manager to check your role in Settings > Team.
- Have at least one file ready—your logo, a facility photo, or an event flyer (JPG, PNG, WebP, or PDF).
- If you want to reuse car photos, those pictures must already exist on a car or event in Car Storage Software.
Step 1: Open Marketing Assets
1
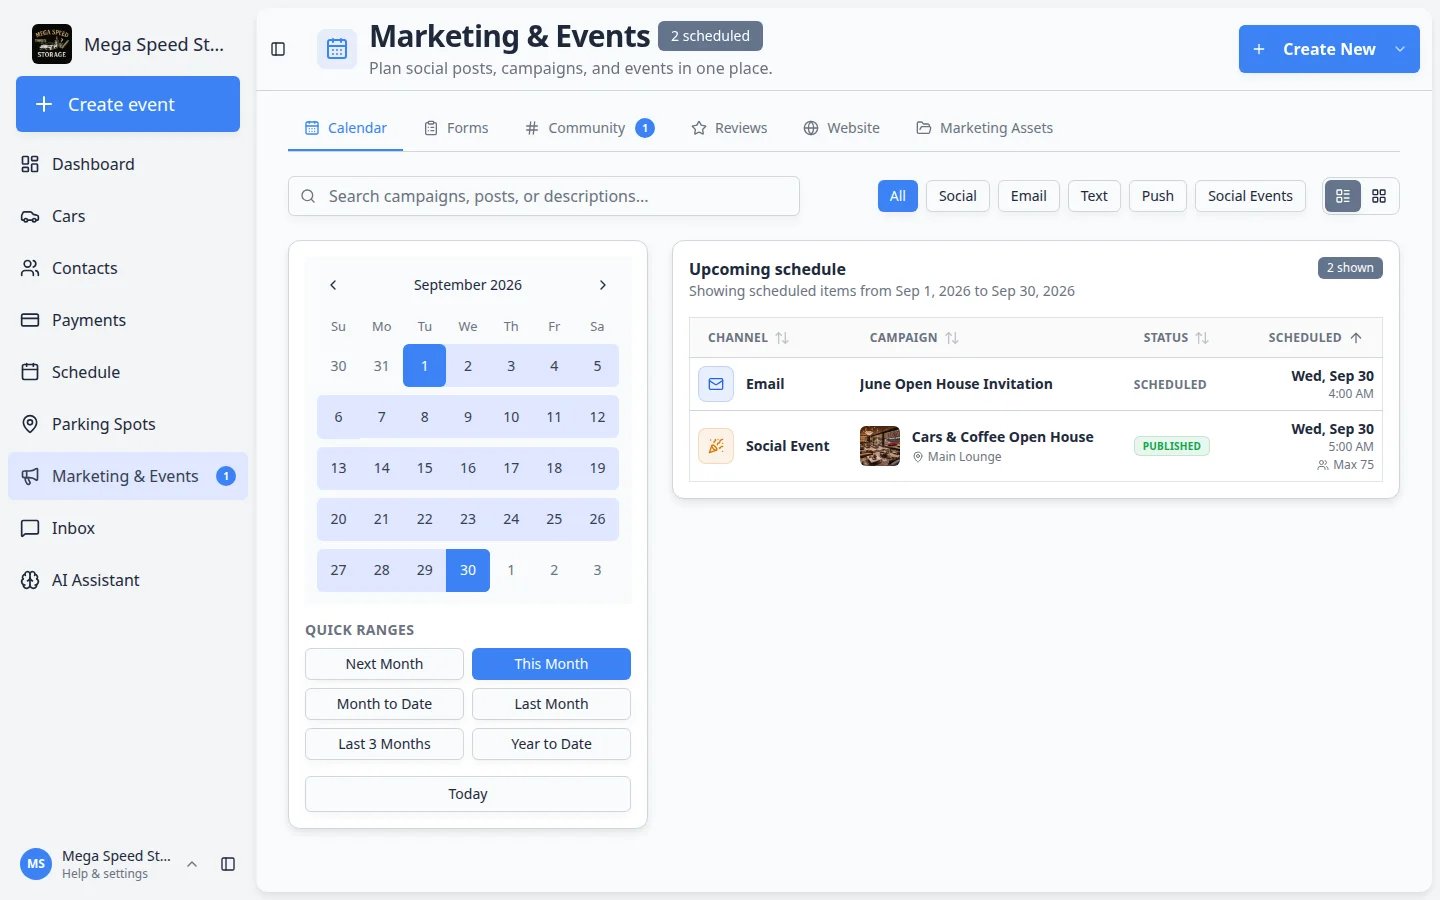
Open Marketing & Events
From the left sidebar, click Marketing & Events. You can also open Marketing & Events directly.Why this matters: Campaigns, events, forms, community, reviews, website traffic, and files all live in this one area.
2
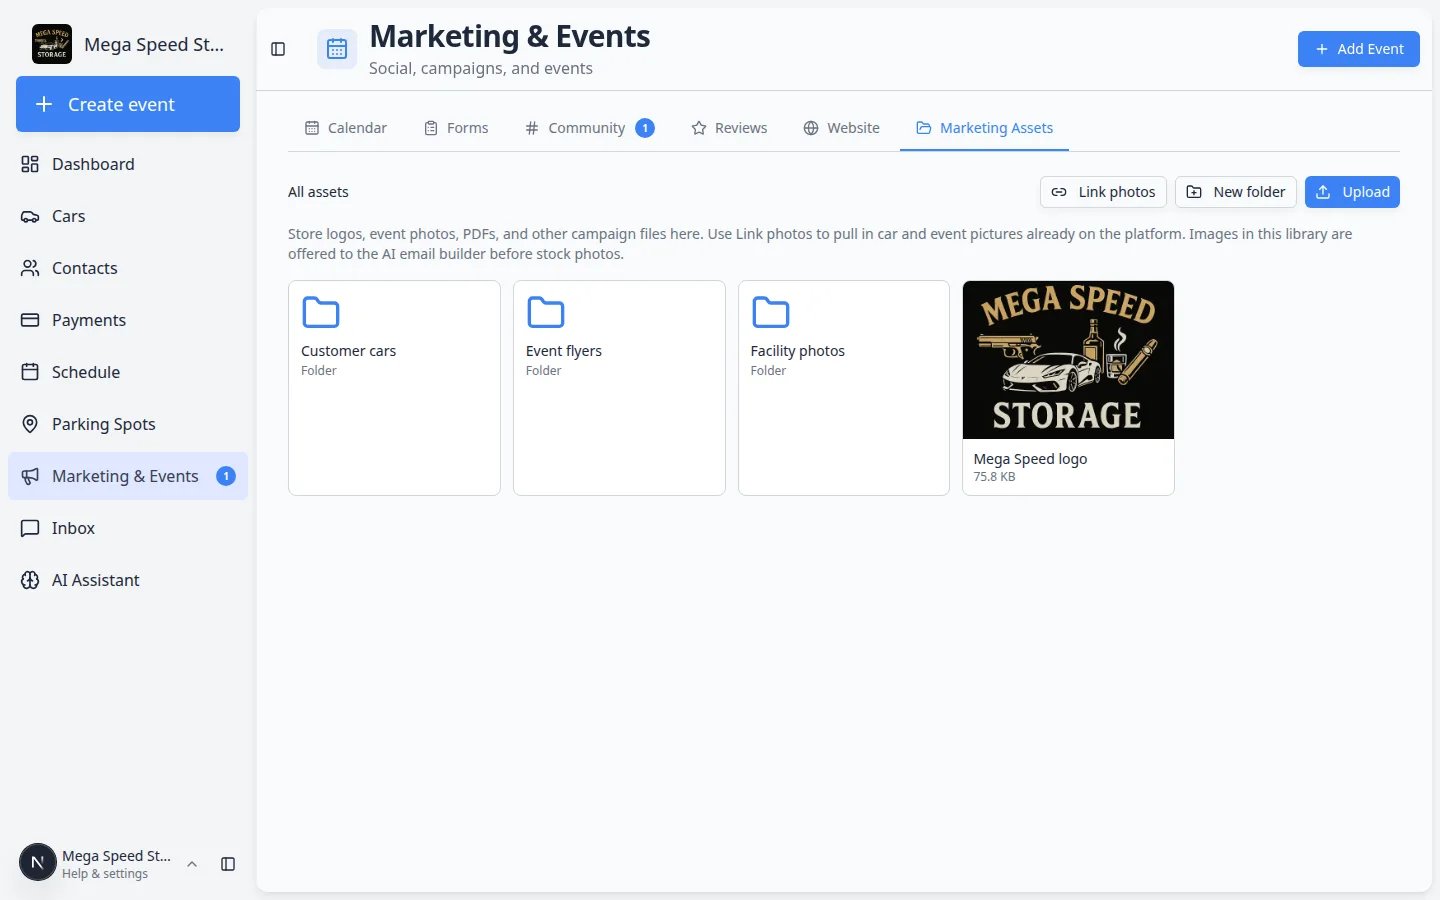
Click the Marketing Assets tab
Across the top of the page, click Marketing Assets. The tab sits after Website. You can also open Marketing & Events > Marketing Assets directly.Expected result: The heading still says Marketing & Events. The Marketing Assets tab is underlined. You see All assets, plus Link photos, New folder, and Upload.
Step 2: Create folders your team will recognize
Folders keep a spring campaign from mixing with next year’s holiday photos.1
Click New folder
In the top-right of the library, click New folder.
2
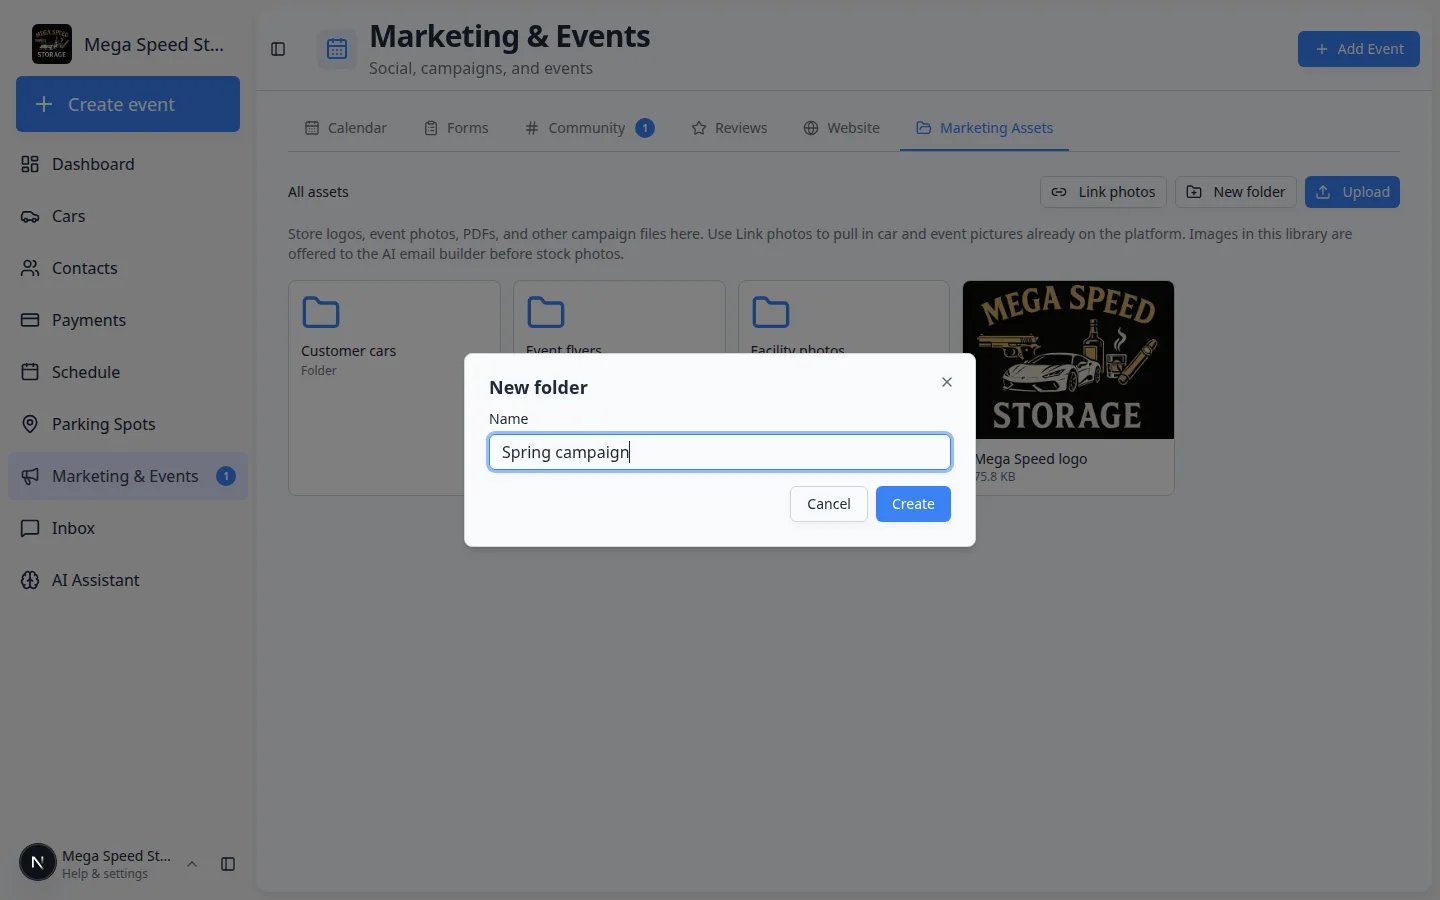
Type a name customers would understand
The dialog title is New folder. The field label is Name. Use a name your front desk would say out loud, such as Facility photos, Event flyers, or Spring campaign.Why this matters: Vague names like Stuff or New folder 2 make the next person upload the same logo again.
3
Click Create
Click Create. Click Cancel if you opened the dialog by mistake.Expected result: A folder tile appears with a folder icon, your name, and the word Folder.
Step 3: Upload a logo or flyer from your computer
Use Upload when the file lives on your computer or a shared drive—not already inside Car Storage Software.1
Open the folder that should hold the file
Click All assets to stay at the top, or open Facility photos / Event flyers first.Why this matters: Uploads land in the folder you are looking at. If you are inside Event flyers, the file stays there.
2
Click Upload
Click Upload. Your computer’s file picker opens. You can choose more than one file.
3
Wait for the success message
After the upload finishes, the page says File uploaded (or how many files uploaded).Expected result: A tile appears with a picture (for photos) or a file icon (for PDFs). The name usually matches the file name, without the ending like
.jpg.You can also drag files onto an empty libraryIf you see No files yet, you can drag files from your computer onto that empty area. After you have folders and files, use the Upload button so you know which folder you are filling.
Step 4: Link photos you already took of cars
Link photos does not copy a file from your laptop. It reuses a picture that is already on a car or event.1
Click Link photos
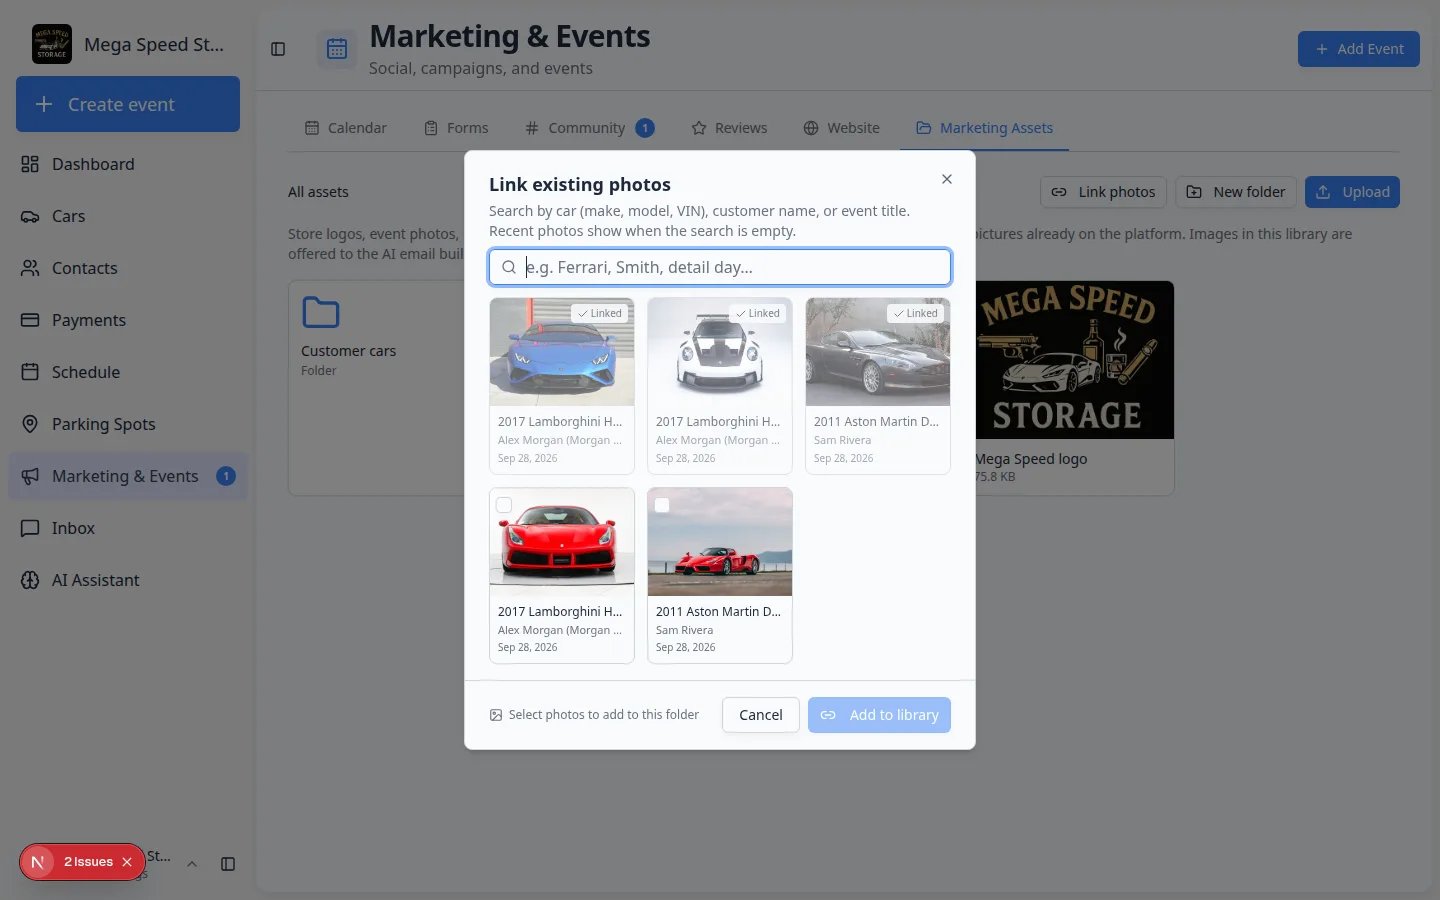
Click Link photos. The dialog title is Link existing photos.
2
Search or browse recent photos
The search box placeholder says e.g. Ferrari, Smith, detail day…
- Leave the box empty to see recent photos.
- Type a car (make, model, or VIN), a customer name, or an event title.
3
Check the photos you want
Click the empty square on each photo you need. The footer updates from Select photos to add to this folder to a count.
4
Click Add to library
Click Add to library. Click Cancel if you changed your mind.Expected result: A toast says the photos were added. Those tiles in the library show a small Linked badge so you know they came from a car or event—not a fresh upload.
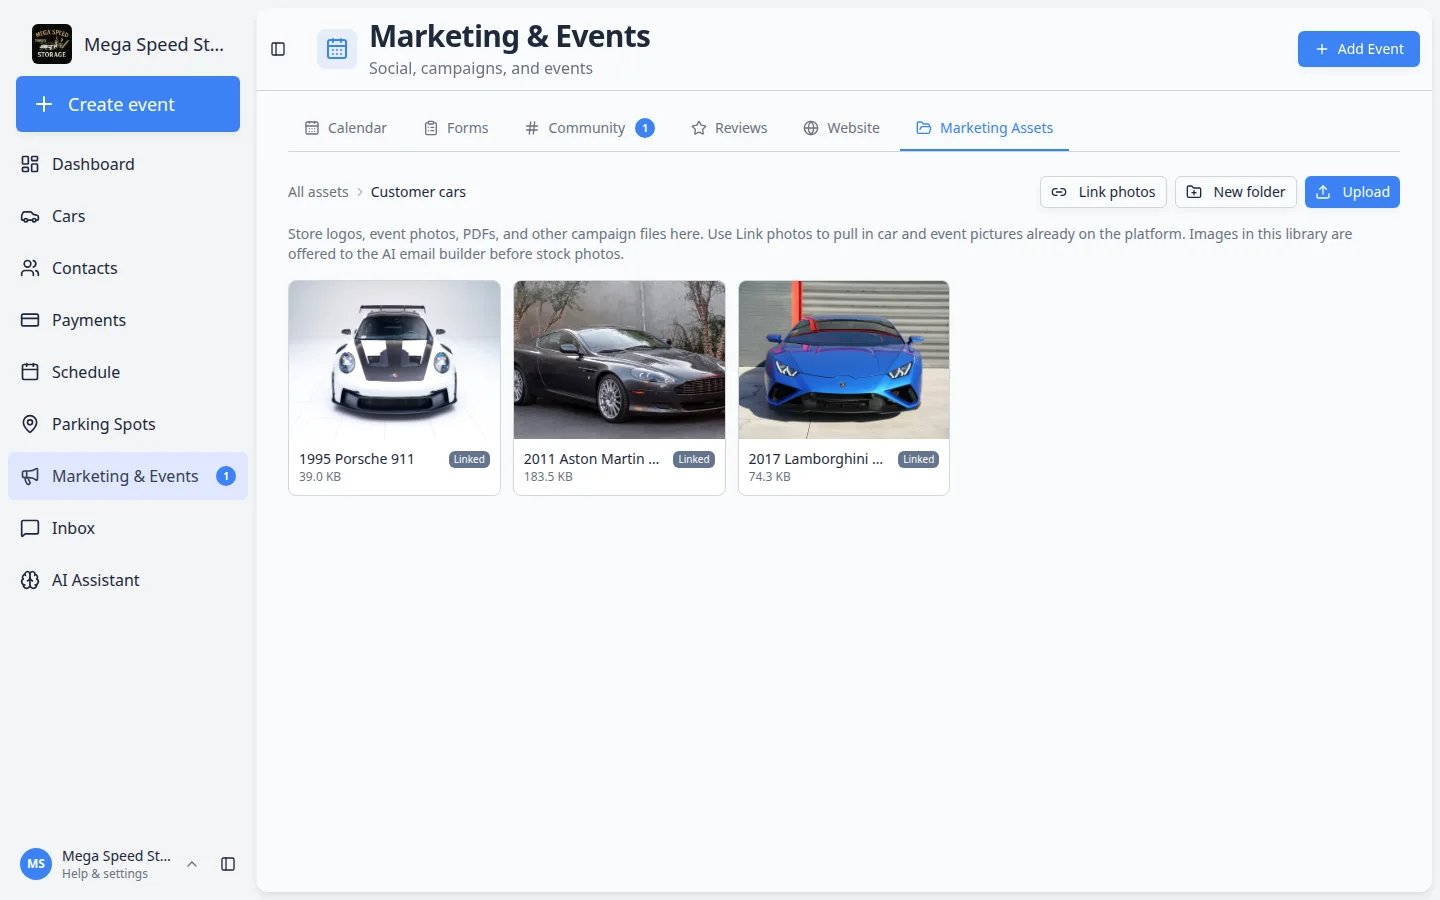
Linked photos stay tied to the original pictureIf someone later deletes the original car photo, the linked Marketing Assets file can disappear too. For your logo and printed flyer, upload a copy so it does not depend on a car visit.
Step 5: Add a short description so the email designer picks the right picture
The email designer can look at this library first. A one-line description is how you tell it what the picture shows.1
Click the file tile
Click the photo or file (not the ⋯ menu).
2
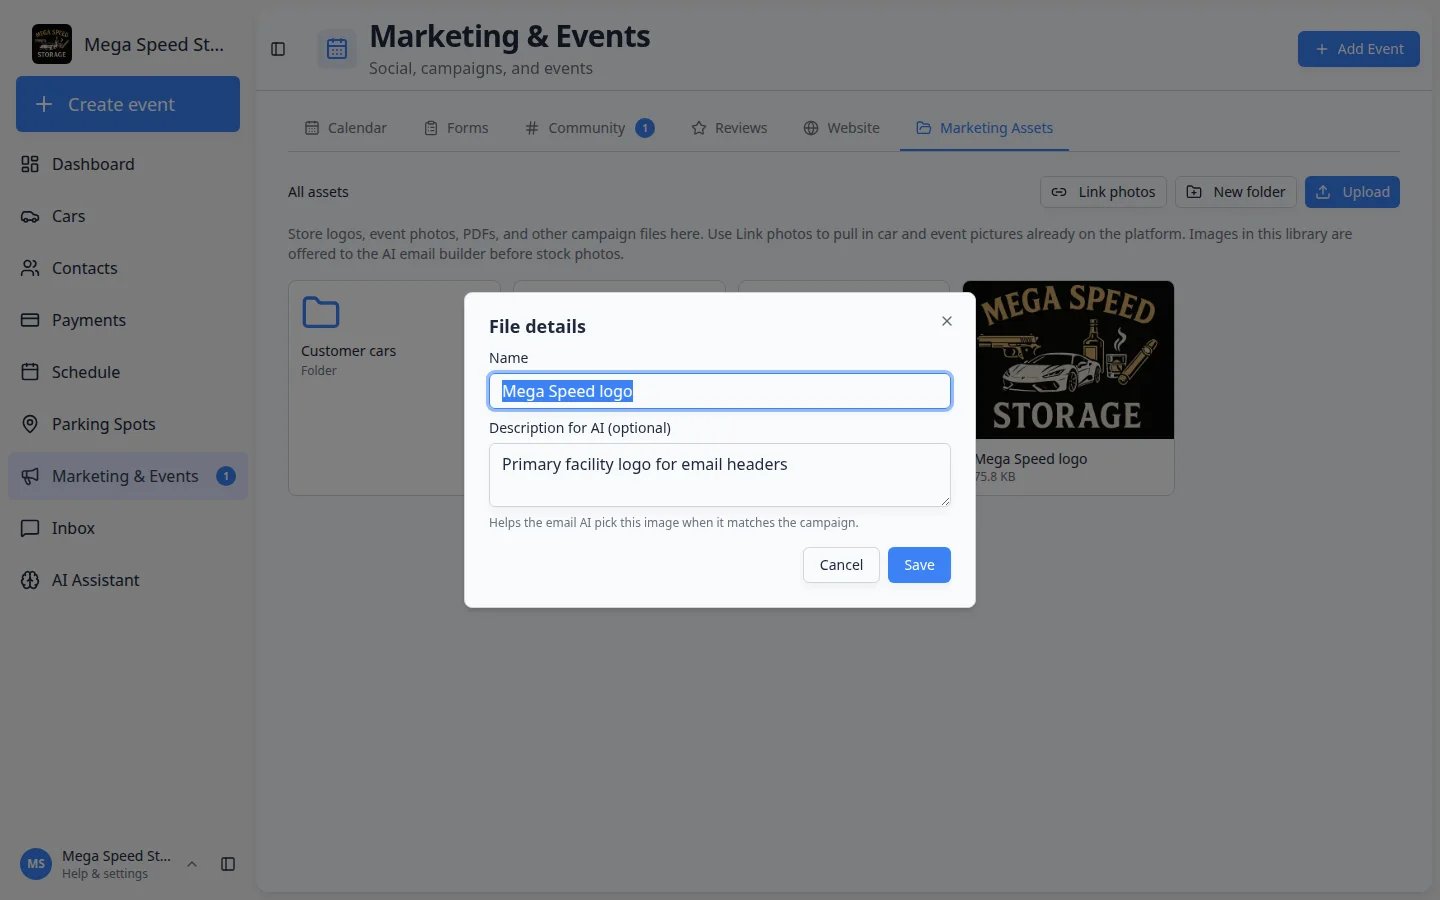
Check the File details dialog
The title is File details. You will see:
- Name — what staff see on the tile
- Description for AI (optional) — a short note about what is in the picture
- Helper text: Helps the email AI pick this image when it matches the campaign.
3
Write a plain-language description
Say what a new staff member would see.Good example: “Primary facility logo for email headers”Good example: “Our showroom at sunset with collector cars under warm lighting”Weak example: “IMG_4821” or “photo”
4
Click Save
Click Save. Click Cancel to leave the name as it was.Expected result: The tile name updates if you changed it. The description is saved for the next email you design.
A simple folder plan that works
You do not need dozens of folders. Start with three: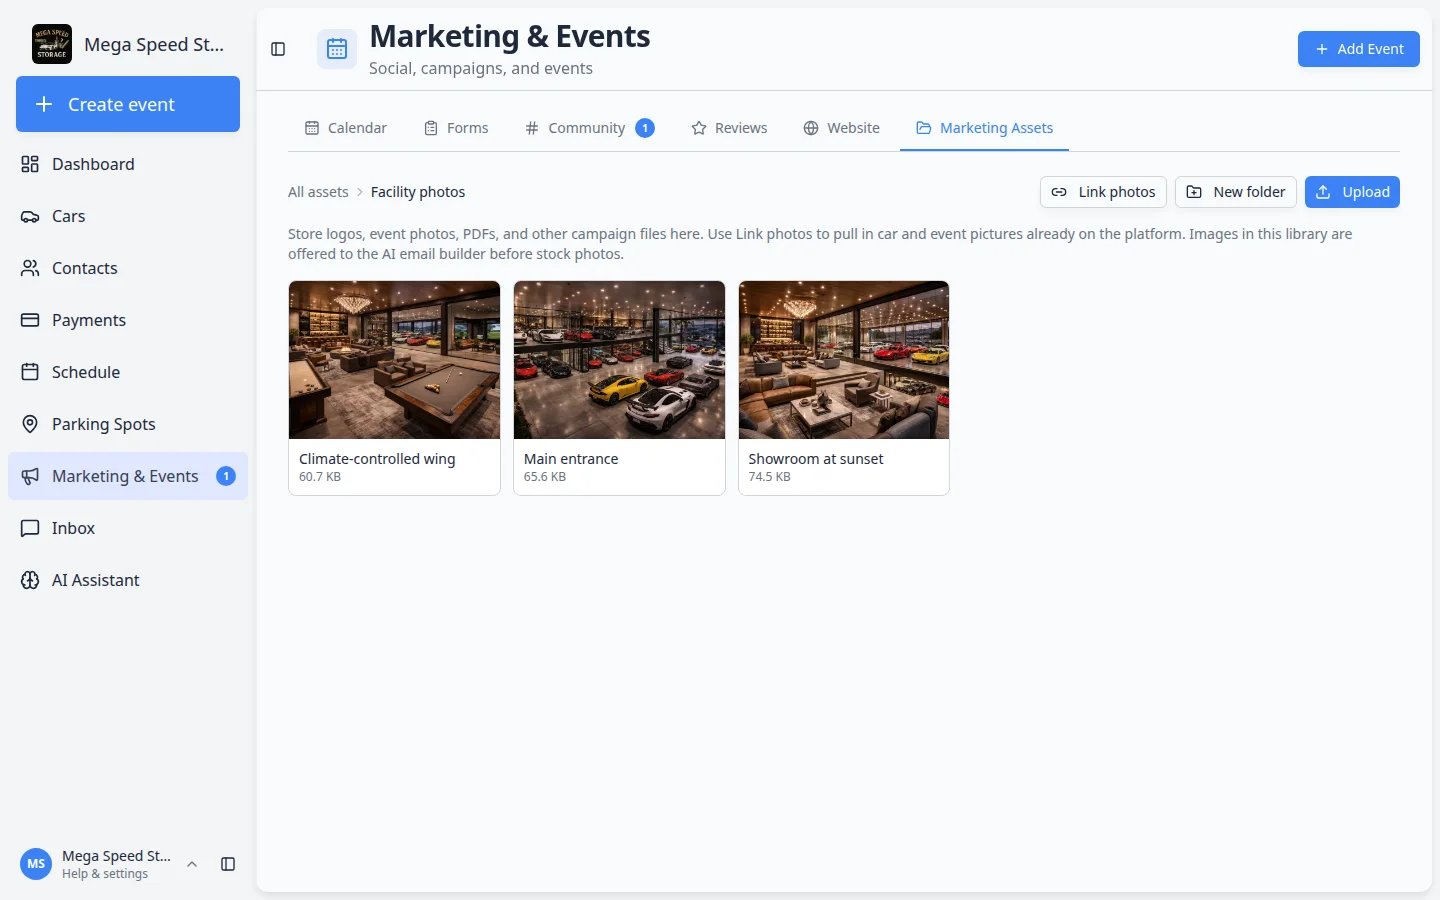
- Facility photos — showroom, entrance, lounge, climate-controlled aisles.
- Event flyers — Cars & Coffee art, open-house posters, seasonal invitations.
- Customer cars — linked photos you may feature (with the owner’s permission).
Open, delete, or clean up a file
Each file tile has a ⋯ button (three dots). The label is Actions for plus the file name.1
Open
Choose Open to view the file in a new browser tab. Use this when you want to confirm you picked the right photo.
2
Delete
Choose Delete, then confirm. The confirm message asks Delete “file name”?Why this matters: Deleting a logo everyone still uses will break the next campaign that expected it. Check with a teammate first.
Common mistakes to avoid
- Do not upload the same logo five times with different names. Open File details and rename the one copy everyone should use.
- Do not skip Description for AI on your best facility photos if you plan to use the email designer.
- Do not link a damage or inspection photo into a public invitation unless you truly want customers to see that picture.
- Do not store private contracts here. Use Contracts for agreements and customer uploads.
Troubleshooting
I linked a photo but I wanted a copy I can keep foreverLink photos stays connected to the original car or event picture. For logos and printed flyers, use Upload instead.
What to do next
- Upload your logo to All assets and add a description such as “Primary facility logo.”
- Create Facility photos and add two or three pictures of the building customers would recognize.
- When you are ready to write the message, follow Create a campaign and Add campaign message, audience, and publish.
- If the email invites people to a date on the calendar, create the social event first so you can include the RSVP link.