

Why do this before anything else?If the time zone or date format is wrong on day one, every appointment, reminder, and invoice your team creates will look off. Fixing General settings first saves hours of confusion later.
What you will accomplish
- Open Settings > General and find Facility profile.
- Set your facility name, logo colors, address, and phone number.
- Confirm Regional defaults (country, time zone, date, time, language, and address format).
- Add Website contacts your public page can show.
- Choose Hours of operation and add Closed days when the shop is shut.
Before you start
- You should be signed in as a team owner, manager, or admin.
- Have your official facility name and a square logo file ready (PNG or JPG works well).
- Know your street address and main phone number.
- Know the time zone your team uses for appointments (for example Chicago or Los Angeles).
Open General settings
1
Open Settings
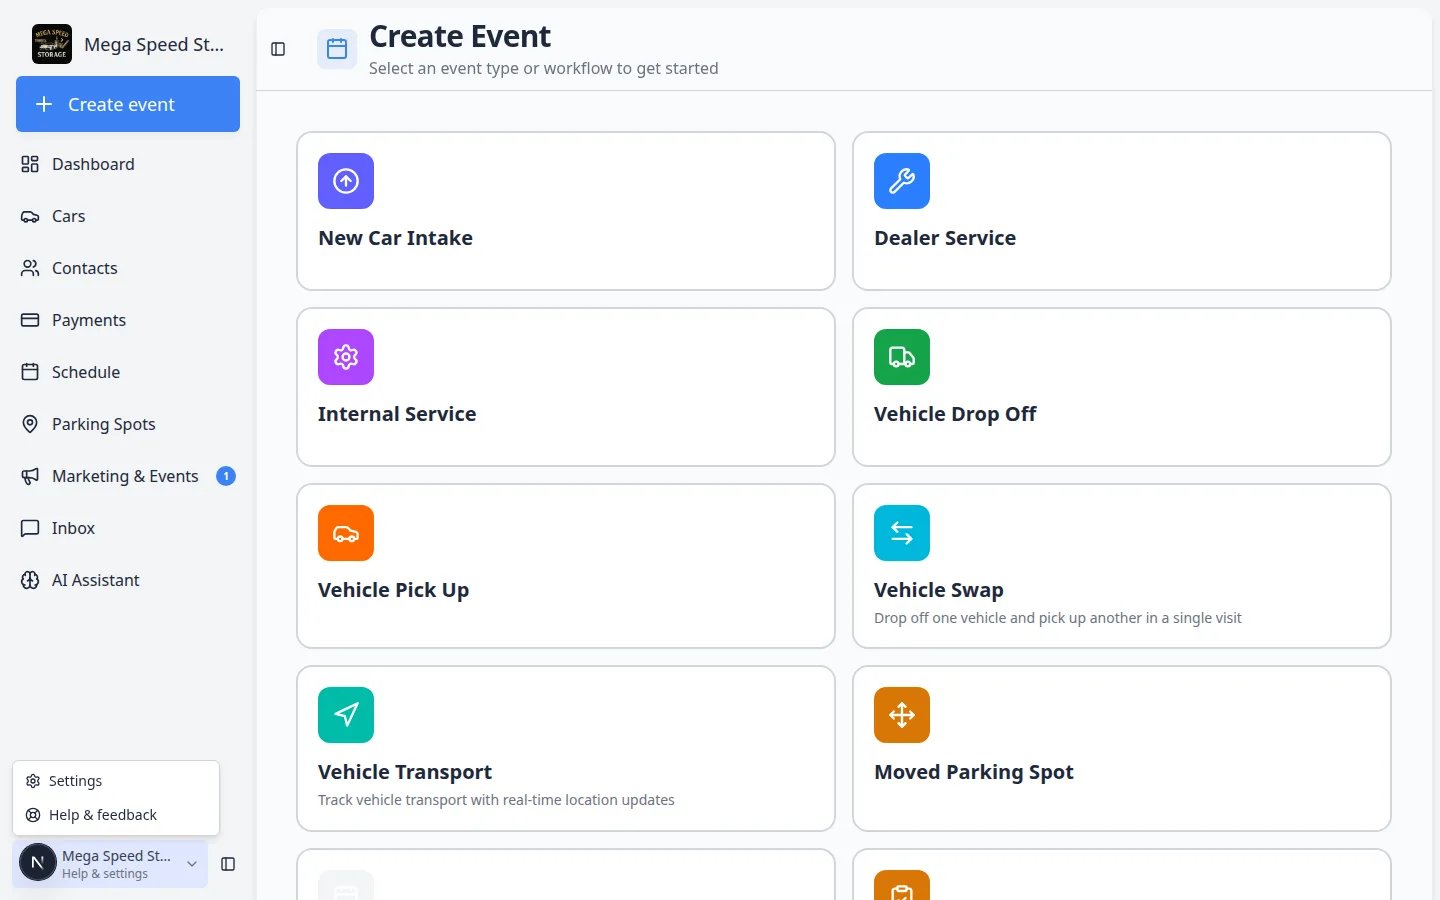
From the Dashboard, look at the bottom of the left sidebar. Click Settings.You can also click your facility name at the bottom of the sidebar, then choose Settings.
2
Choose General
In the Settings list, click General. Or type timezone in Search settings… and choose General.Direct link: Settings > General.
Fill in Facility profile
Facility profile is your company card: name, logo, colors, address, and phone. Logo colors and address also fill in most of the regional defaults below.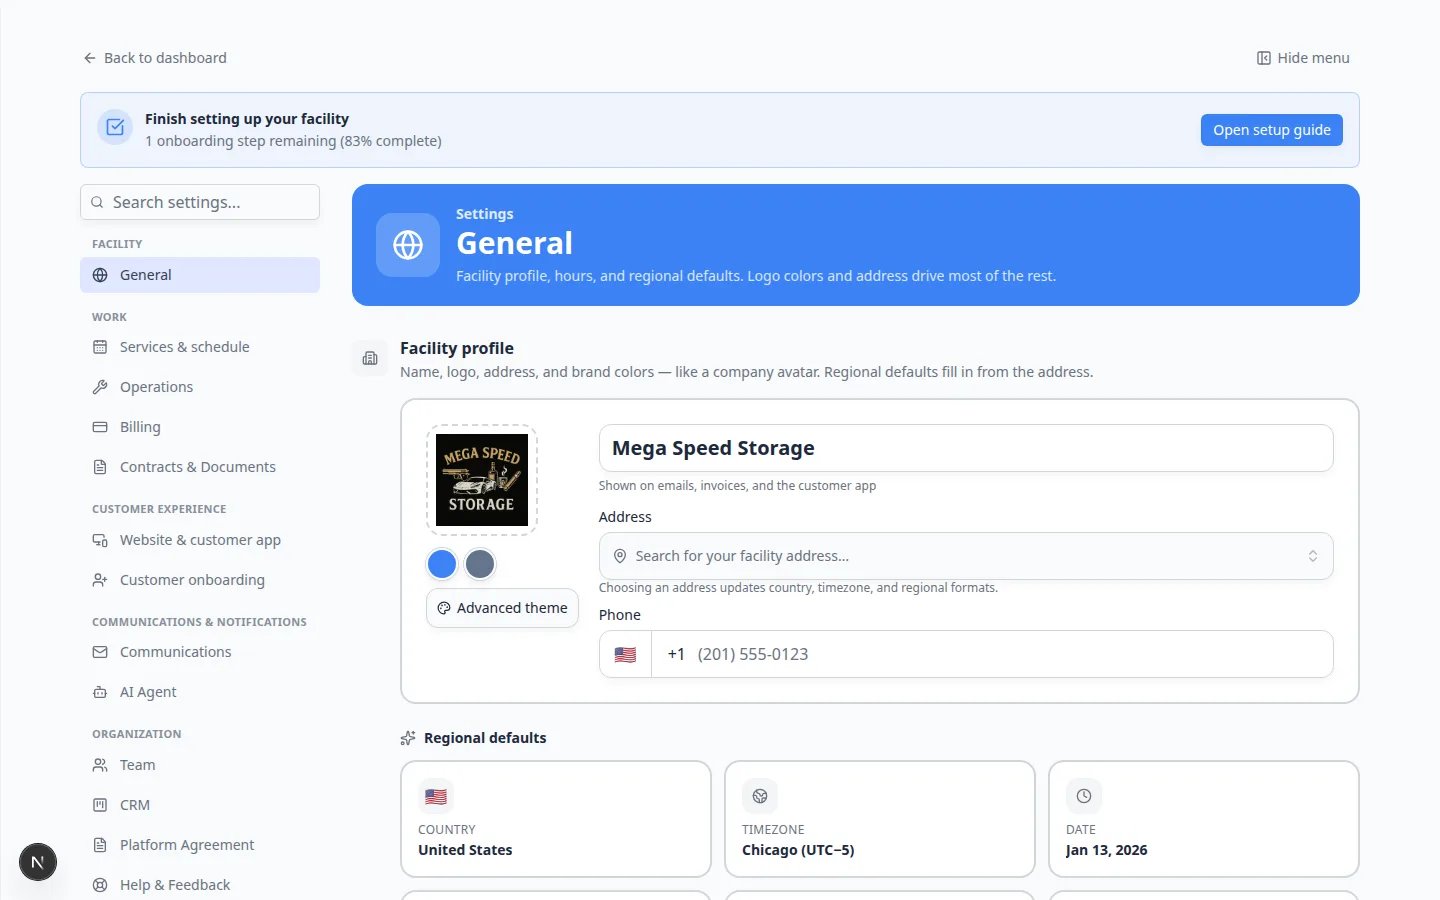
1
Check the facility name
The large name field at the top (for example Mega Speed Storage) is what customers see on emails, invoices, and the customer app.Click the field, type the name customers should recognize, then click outside the field to save.Why this matters: A clear name is the first trust signal when a customer opens a magic link or invoice.
2
Add or replace the logo
Click the logo square on the left. Upload a square PNG or JPG.Expected result: The logo appears on the card. Two color dots next to Advanced theme update to colors from the logo.
3
Search for your facility address
In Address, start typing your street address and pick the matching row.Why this matters: Choosing an address updates Country, Time zone, and other regional formats so calendars and invoices match your location.
4
Confirm the phone number
Use the Phone field for the number customers should call. Include the country code if you serve more than one country.
Logo and colors used to live on a Branding pageThey now live here, under Facility profile. The old Settings > Branding link still works — it opens this same section. See Set up facility branding for logo and theme details.
Set Regional defaults
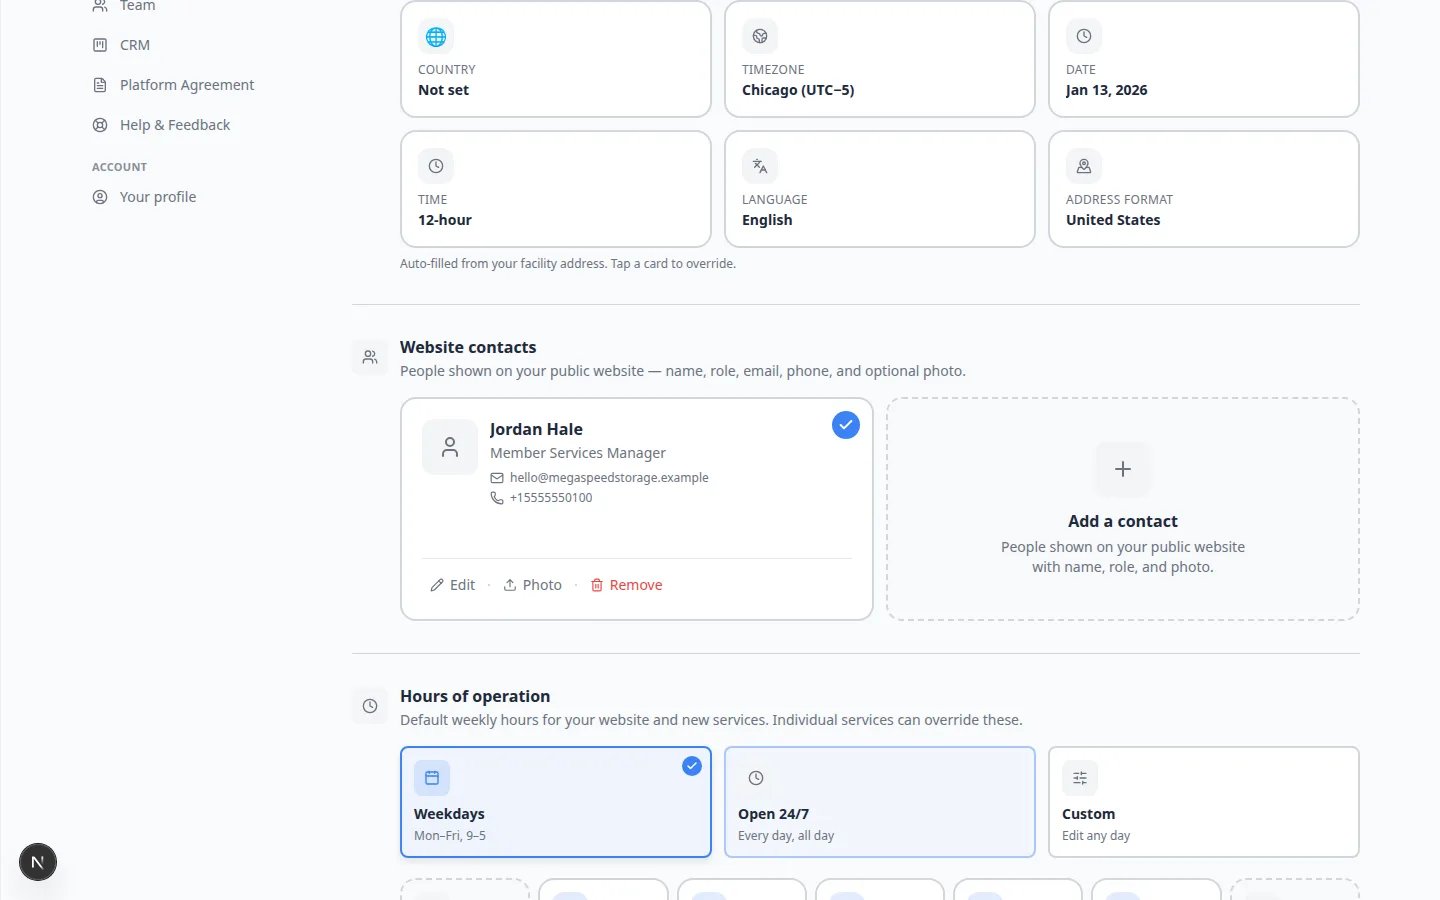
Under Facility profile you will see six small cards: Country, Time zone, Date, Time, Language, and Address format. These cards often fill in automatically from the address you chose. Tap a card only when you need to override one value.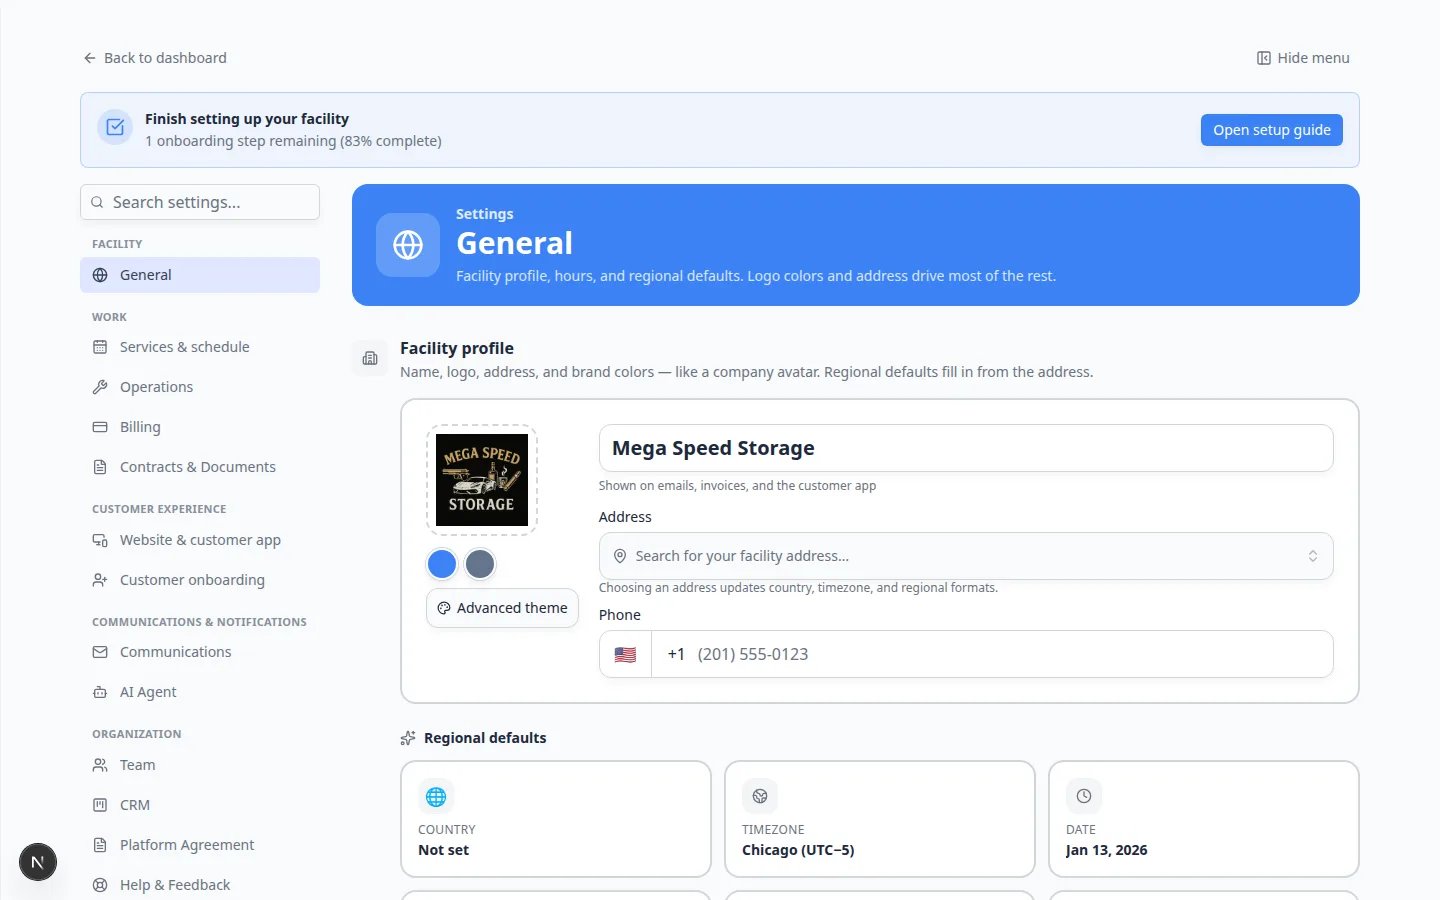
Change the time zone
1
Click the Time zone card
On Settings > General, click the Time zone card (for example Chicago (UTC−5)).
2
Pick the zone your shop uses
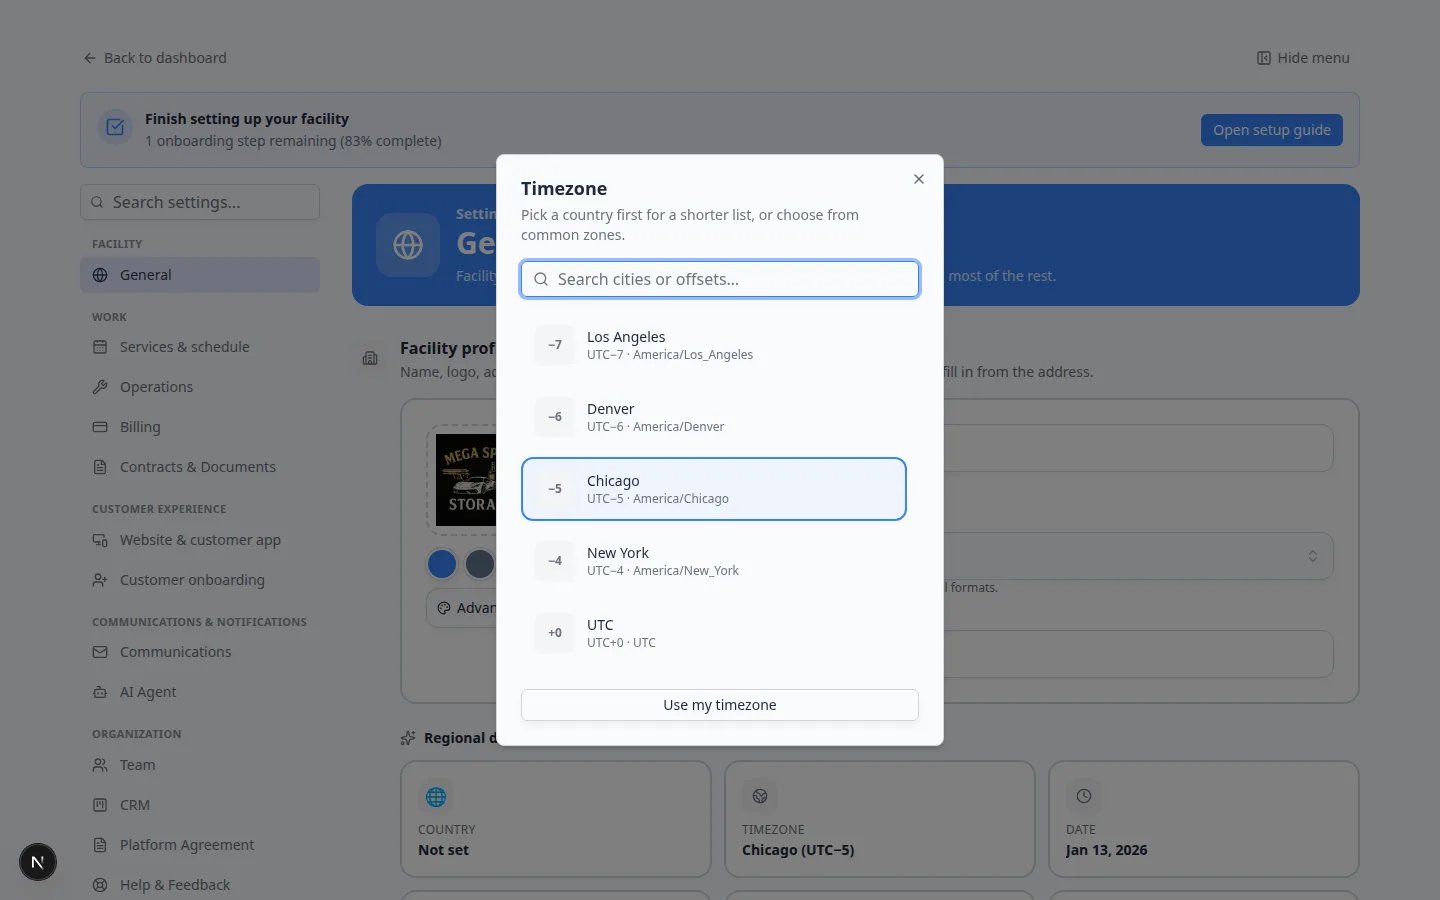
A Time zone window opens. Search a city, or pick a common option such as Chicago, New York, Denver, or Los Angeles.Click Use my time zone if the list already matches the clock on this computer.
3
Confirm on Schedule
Open Schedule and look at an appointment you know (for example a 9:00 AM drop-off).Expected result: The calendar shows the same hour your team told the customer — not one hour early or late.
Country — used for address format, phone defaults, and vehicle lookup tools.Date — how dates appear (for example Jan 13, 2026). The sample date on the card is a format preview, not a deadline.Time — 12-hour (9:00 AM) or 24-hour (21:00).Language — the language customers see in the customer app.Address format — how street addresses print on invoices and the portal (for example United States).
Add Website contacts
Website contacts are the people shown on your public website — name, role, email, phone, and optional photo.1
Scroll to Website contacts
On Settings > General, find Website contacts under the regional cards.
2
Click Add a contact
Click the dashed Add a contact card.
3
Enter a public-facing person
Use a role customers can call, such as Member Services Manager. Add a work email and phone.Expected result: A contact card appears with a check mark when that person is shown on the website.
Set Hours of operation
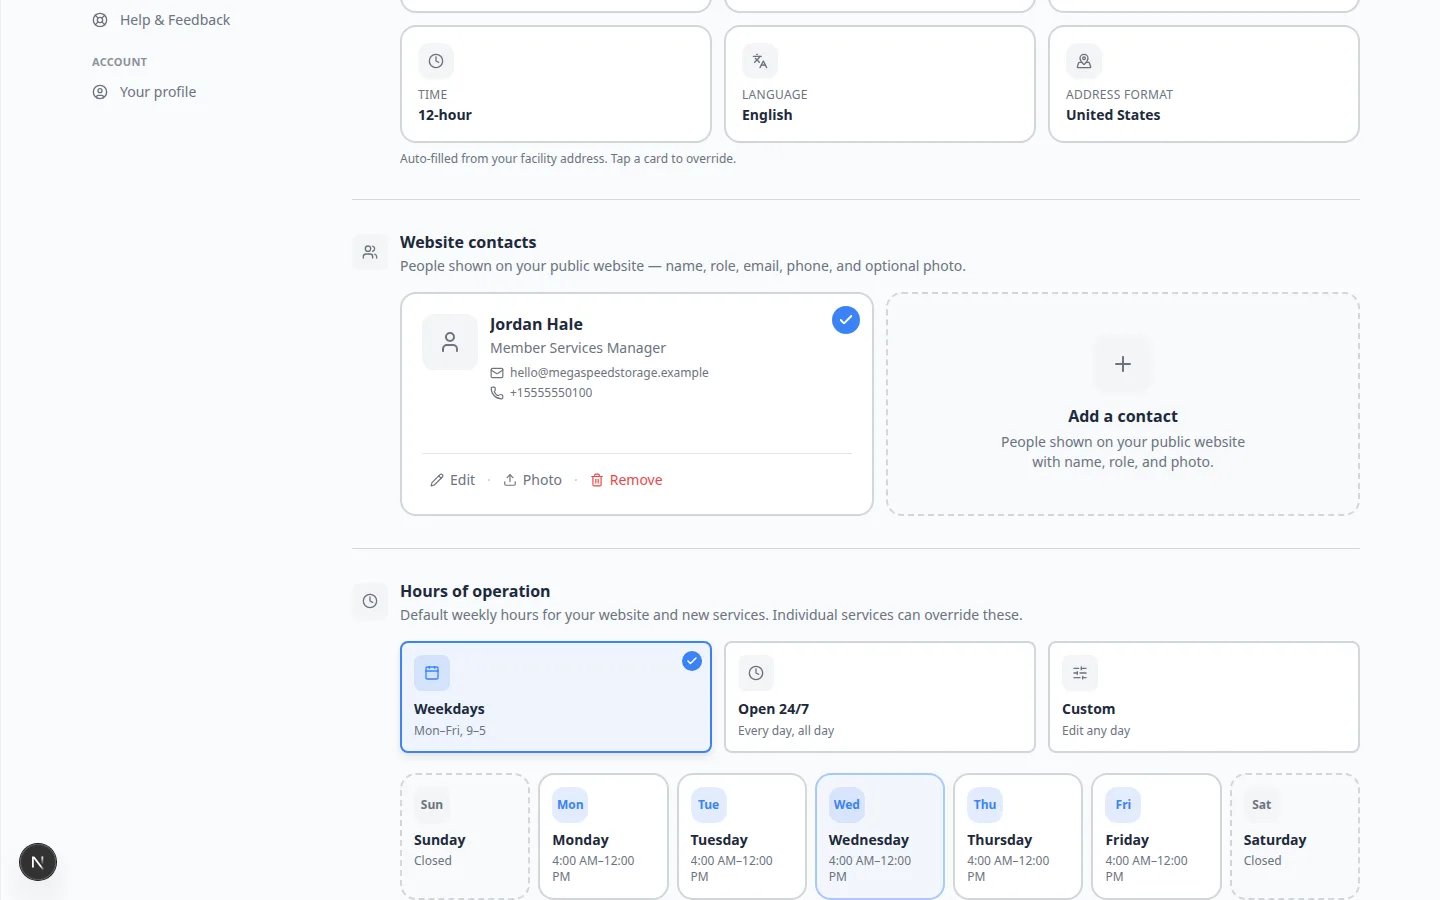
Hours of operation are the default weekly hours for your website and for new services. Individual services can override these later.1
Choose a preset
Pick Weekdays (Mon–Fri, 9–5), Open 24/7, or Custom.
2
Adjust a single day if needed
The day cards under the presets update when you click a preset. Click a day card to change just that day.Expected result: The selected preset shows a check mark, and the day cards match what you want customers to see.
Add Closed days
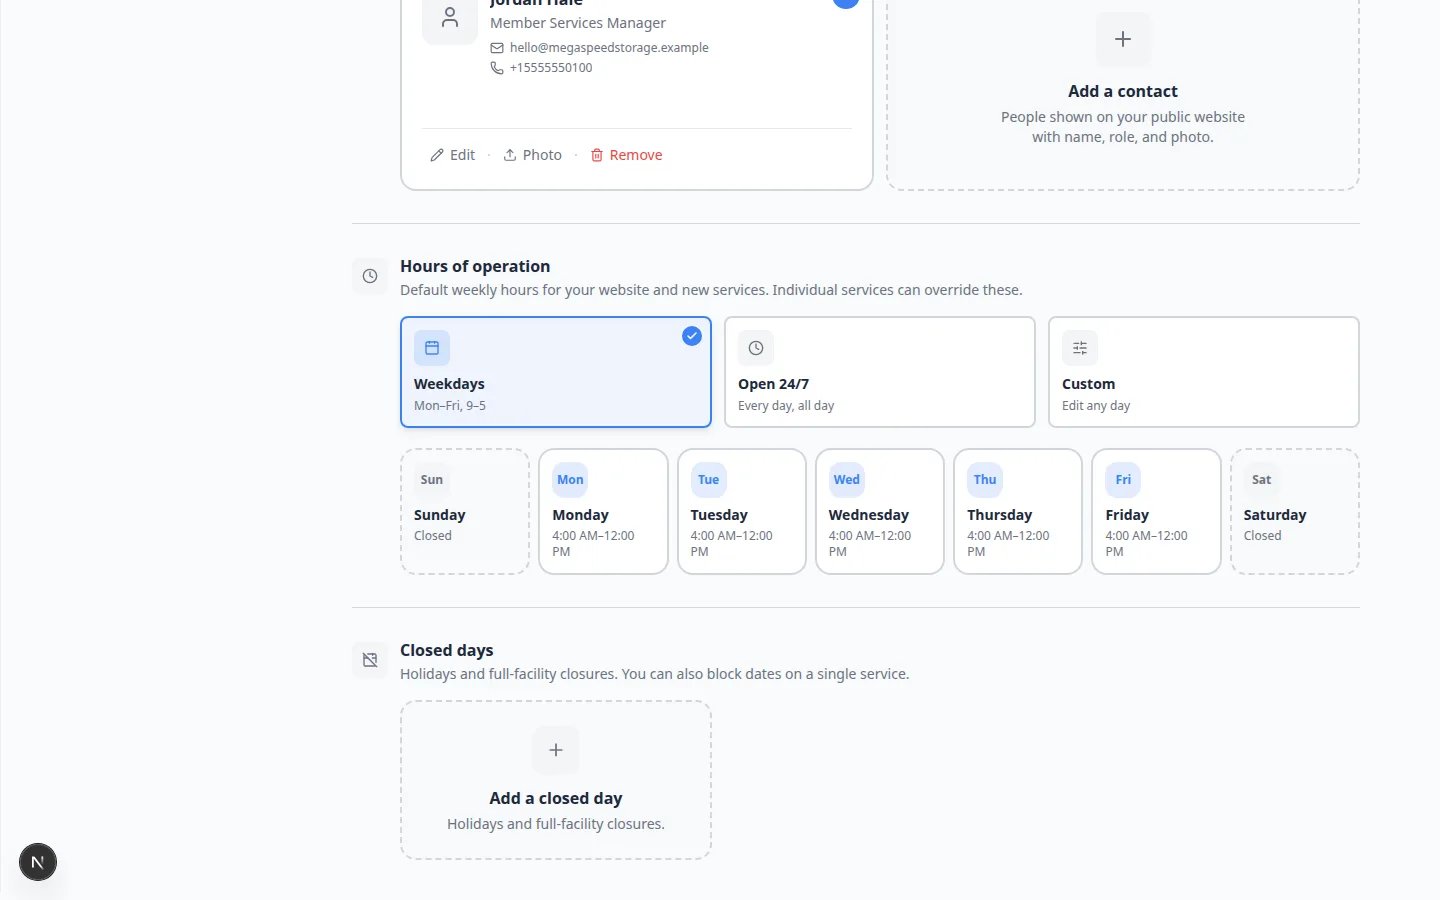
Closed days are holidays and full-facility closures. You can also block dates on a single service later.1
Scroll to Closed days
Find Closed days under hours.
2
Click Add
Click the dashed add card. Pick the date (and a name such as Thanksgiving) in the window that opens.
3
Confirm upcoming closures
Upcoming closures appear as cards. Past closures stay collapsed so the list stays short.Expected result: Staff cannot drop new bookings on those dates, and your public hours stay honest.
Locations (only if you have more than one site)
If your team turned on multiple locations, a Locations section appears at the bottom of General. Use it for branch names, addresses, time zones, and assigned staff. If you do not see Locations, you have a single-site facility. That is normal.Troubleshooting
What success looks like
- The facility name and logo look correct on Settings > General.
- Time zone matches how your front desk talks about the day.
- Hours and closed days match the signs on your building.
- A test appointment on Schedule shows the expected clock time.
What to do next
- Finish colors and preview in Set up facility branding.
- Connect payments in Connect payment processing before you send a live invoice.
- Set phone and email in Configure communications.