

What you will accomplish
You will open the parking location dialog, choose a vendor instead of a spot or zone, and save so the car header shows At vendor: with the partner name. Expected outcome: Staff do not search your floor map for a car that is physically at an outside shop.When to send a car to a vendor
- A vehicle goes to a body shop, mechanic, detailer, or consignment partner you track in the system.
- The car left your building but is still under your customer’s storage agreement.
- You need the record to match transport or pickup paperwork.
Vendors are set up in SettingsIf no vendors appear in the location picker, an admin needs to add vendor partners in your facility settings. Ask a manager if the list is empty.
Before you start
- The car record exists on Cars.
- You know which outside partner has the vehicle.
- You understand whether the car should stay linked to a customer and billing while away (usually yes).
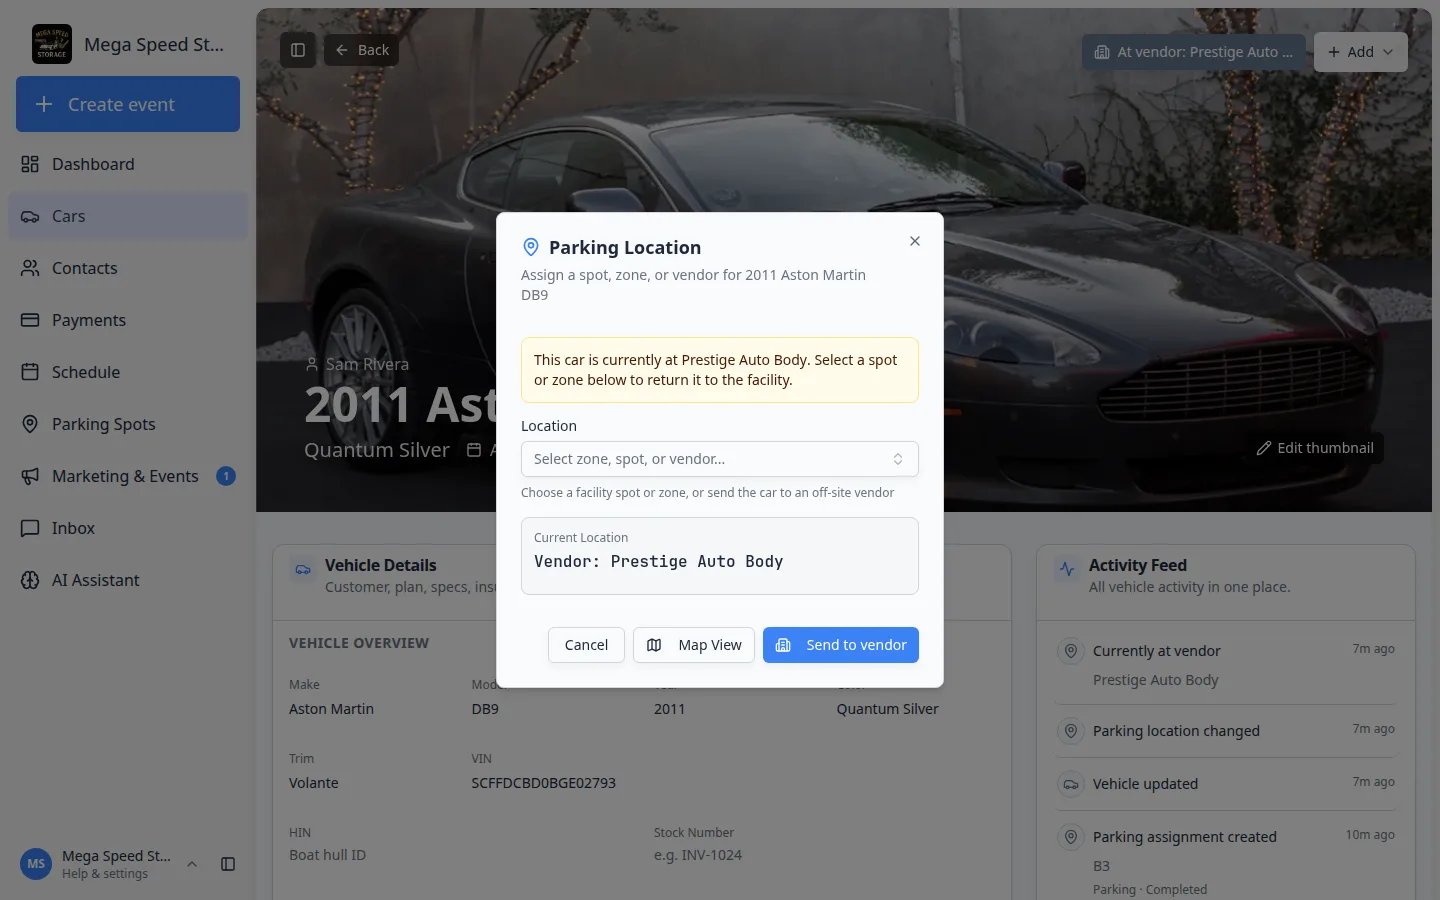
Step 1: Open the parking location dialog
1
Open the car record
Go to Cars and click View on the vehicle.
2
Click the location button
At the top of the page, click Assign location, Zone:, Spot:, or At vendor:—whichever appears today.Expected result: The Parking Location dialog opens.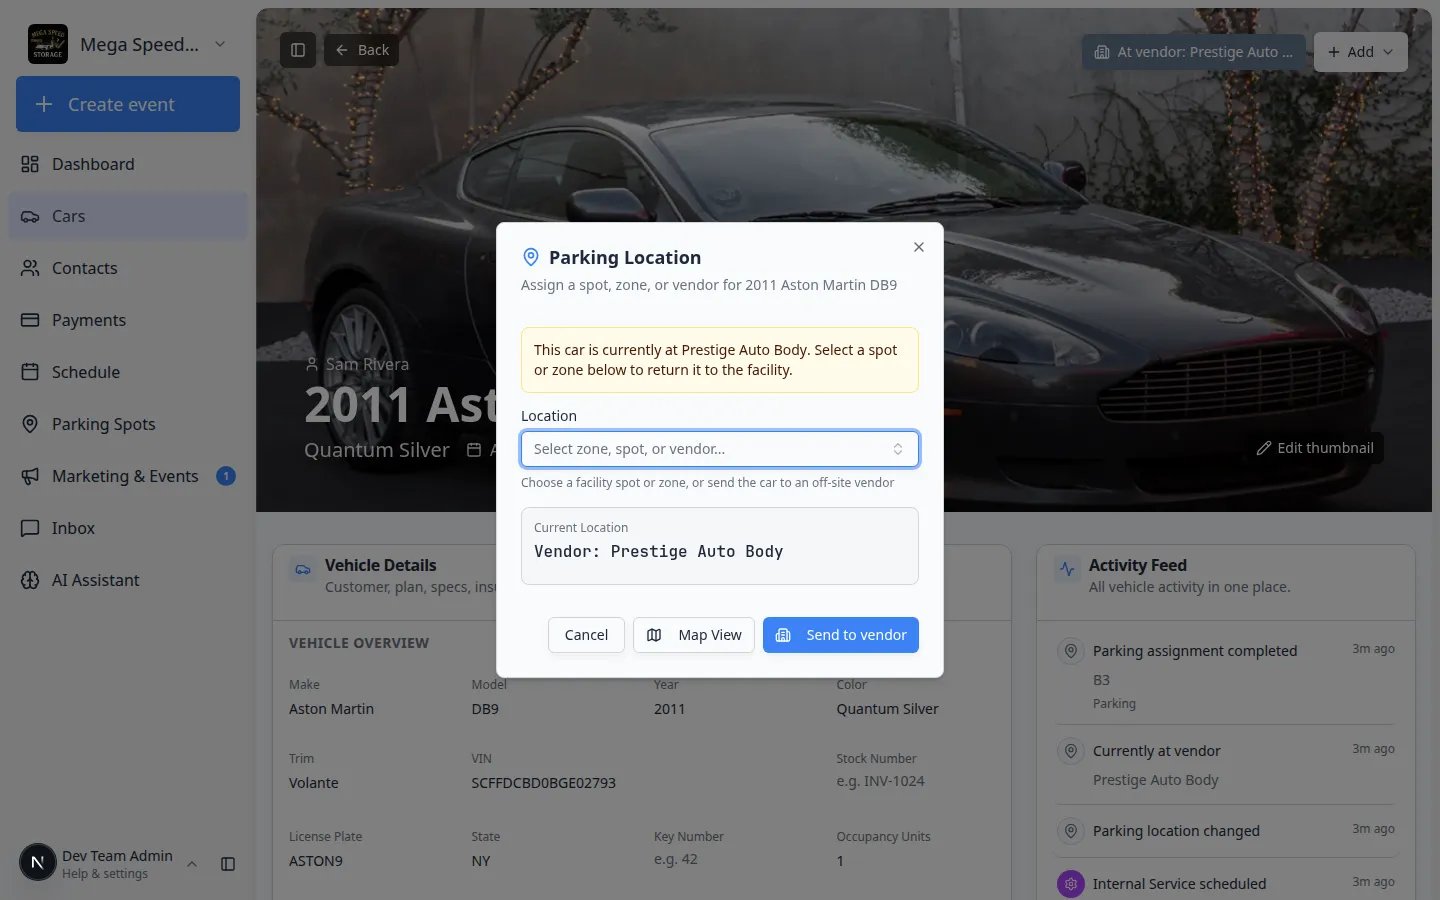
Step 2: Choose the vendor
1
Open the Location field
Click Location (placeholder “Select zone, spot, or vendor…”).
2
Pick the vendor name
Scroll or search for the outside partner—not a numbered spot on your map. Vendor names usually include the shop or business name.Why this matters: Picking a vendor instead of a spot tells the whole team the car is not in your building.
3
Click Send to vendor
When a vendor is selected, the main button at the bottom reads Send to vendor. Click it.Expected result: The dialog closes. The header button shows At vendor: with the partner name.
Step 3: Confirm on the record
1
Read the header
Look at the top of the car page for At vendor: and the vendor name.Expected result: The location button no longer shows a zone or spot inside your building.
2
Check Activity Feed (optional)
The move may appear in Activity Feed on the right so future staff see when the car left.Expected result: Your team can answer “where is this car?” without walking the lot.
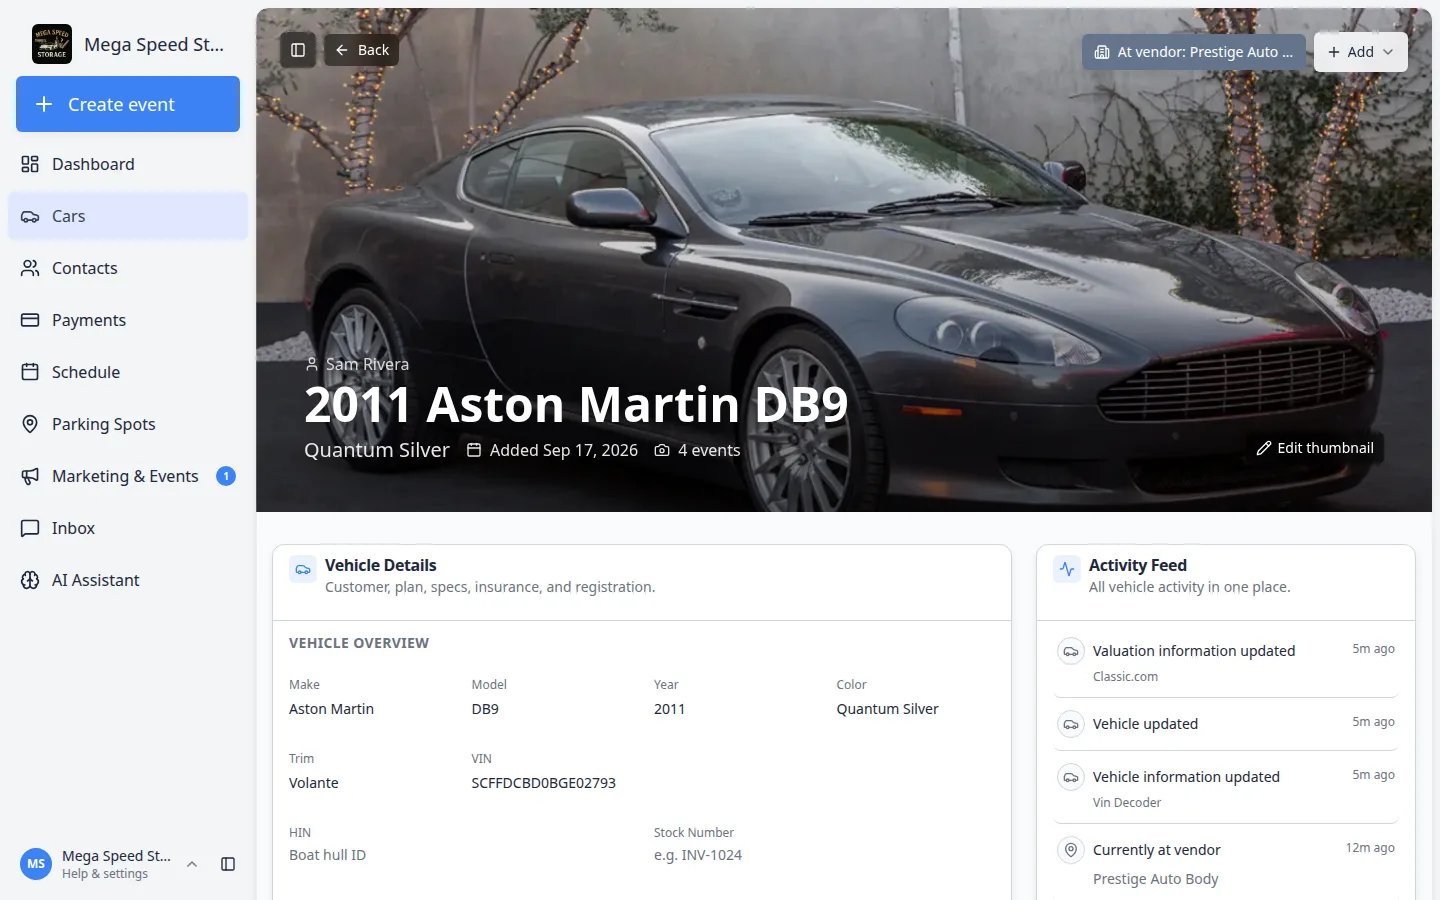
When the car returns to your facility
When the vehicle comes back from the shop, update the location the same day so your parking map and customer answers stay accurate.1
Open Parking Location again
Click At vendor: on the car header.
2
Choose a zone or spot
Select the real parking spot or zone inside your building.
3
Click Update location
Save. The button should now show Zone: or Spot: instead of At vendor:.Expected result: Parking Spots and the car record agree on where the vehicle sits.
Common mistakes to avoid
- Do not leave the car on a floor spot when it physically left—the map will mislead your team.
- Do not use Remove unless the vehicle left your care entirely. Vendor location keeps the record active while the car is away.
- Do not forget to update the location when the car returns from the shop.
Troubleshooting
What to do next
- Schedule transport or pickup events with Start a car session when you need a paper trail.
- Update the customer in Inbox when the vendor reports progress.
- When the car is back, assign a real spot with Move a car.