Schedule
Approve or decline a customer booking request
Review online appointment requests, confirm the time, decline politely, or suggest a new time before the customer is left waiting.
What you will accomplish
When a customer books an appointment online and your facility requires staff approval, the request lands on the Schedule page with a Needs Approval status.
You will learn how to:
- Find every request that is still waiting on your team.
- Open the request and read the customer, vehicle, and requested time.
- Approve the booking so it becomes a normal scheduled event.
- Decline the booking when you cannot take the appointment.
- Suggest a new time when the customer’s choice does not work but you still want the business.
Before you start
- You can sign in to the staff dashboard.
- Your role can view and act on Schedule events.
- You know whether your team sends automatic emails or texts when a booking is approved or declined (many facilities do).
Needs Approval means the customer completed an online booking form, but your facility has not confirmed it yet.
Scheduled means your team accepted the time and the event is treated like any other appointment on the calendar.
A simple daily routine (recommended)
- Start of shift
Open Schedule and click Needs Approval if the button appears.
Expected result: You see every online request waiting on your team before bays get busy.
- After lunch on busy days
Check Needs Approval again. Mid-day bookings are easy to miss when the phone rings.
Why this matters: Fast responses reduce “Did you get my request?” calls and help customers plan their drive.
- End of day
If the badge still shows a number, either approve, decline, or suggest a new time before you leave.
Expected result: Customers are not left wondering overnight.
Find booking requests that need approval
- Open Schedule
Go to Schedule from the dashboard sidebar.
Expected result: You see your team’s calendar, table, whiteboard, or progress board (whichever view you used last).
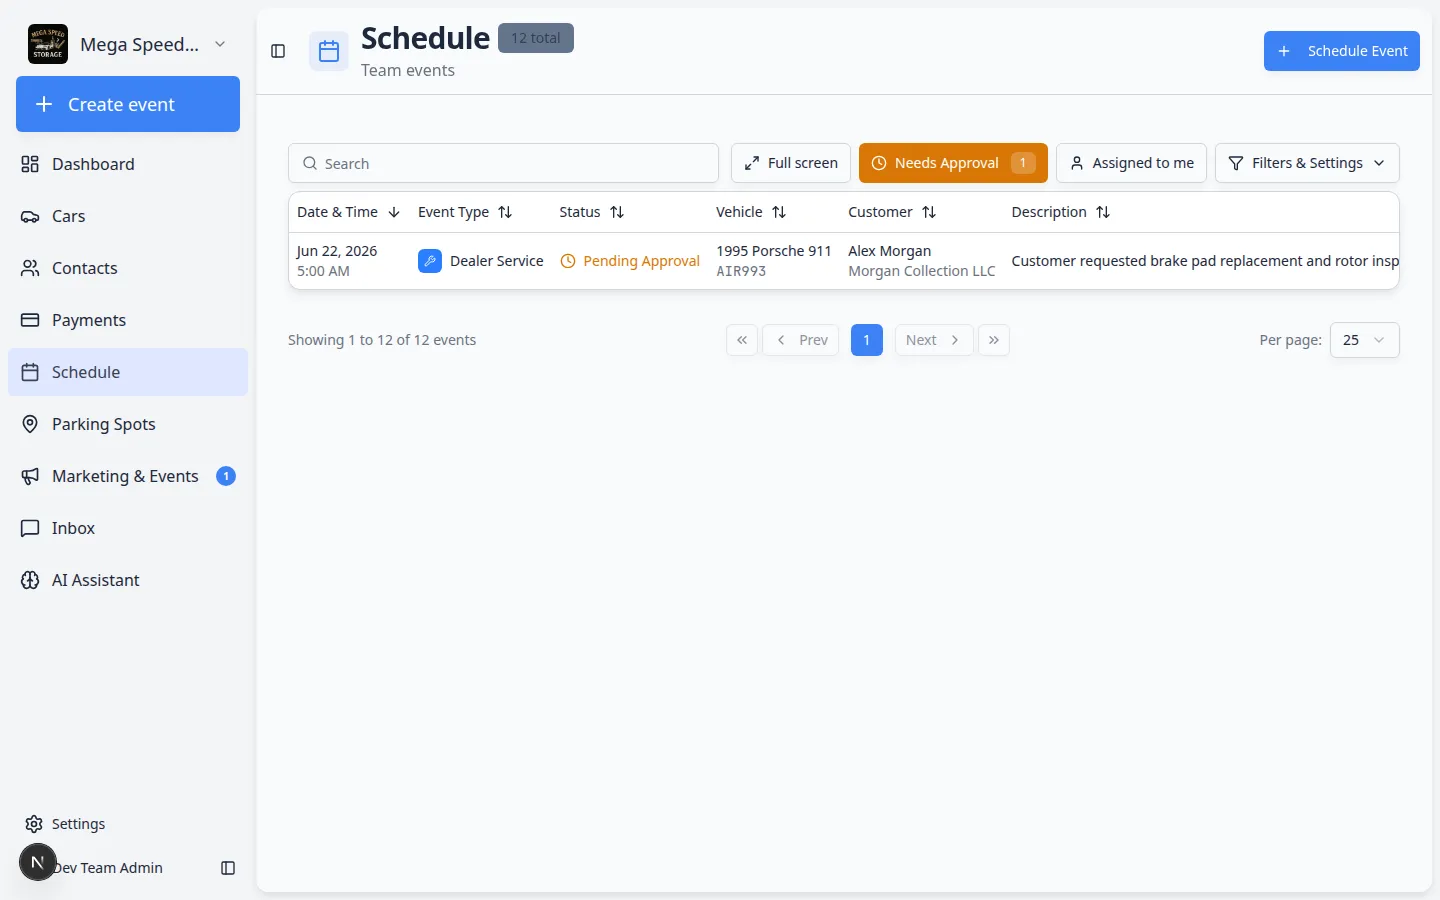
- Look for the Needs Approval button
When at least one request is waiting, a Needs Approval button appears near the top of the page. A small number badge (for example 1) sits on the button so you know how many requests still need a decision.
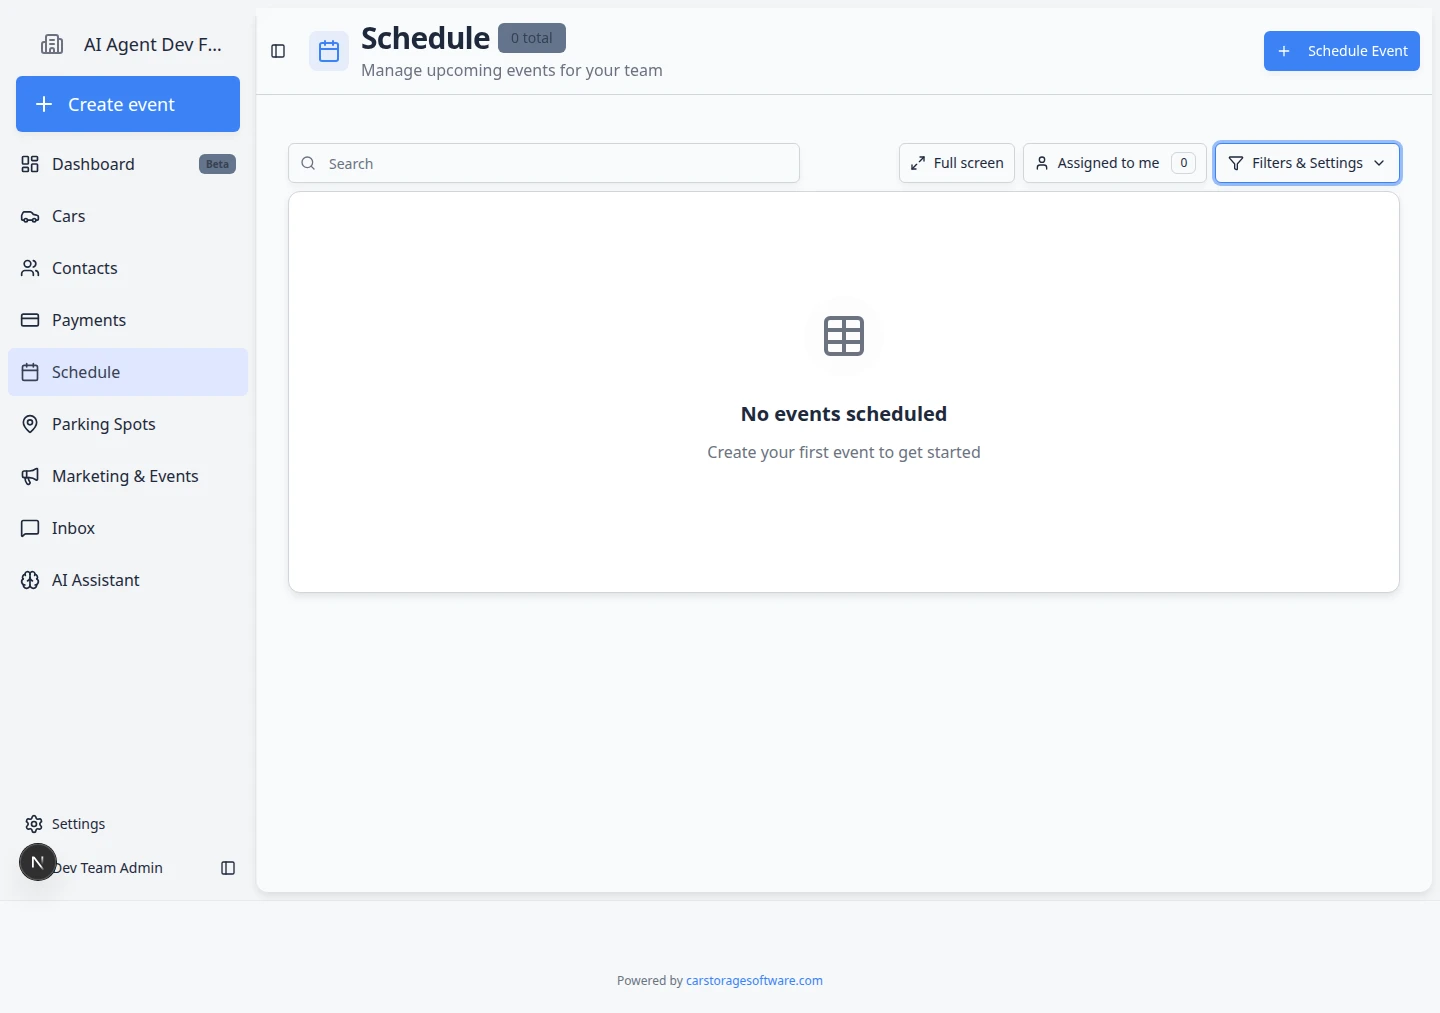
If you do not see this button, there may be no pending requests right now.
- Click Needs Approval
Click Needs Approval to show only events waiting for a decision.
Expected result: The schedule list or calendar hides confirmed work and shows only requests that still need approval. Pending events often use a warning color so they stand out.
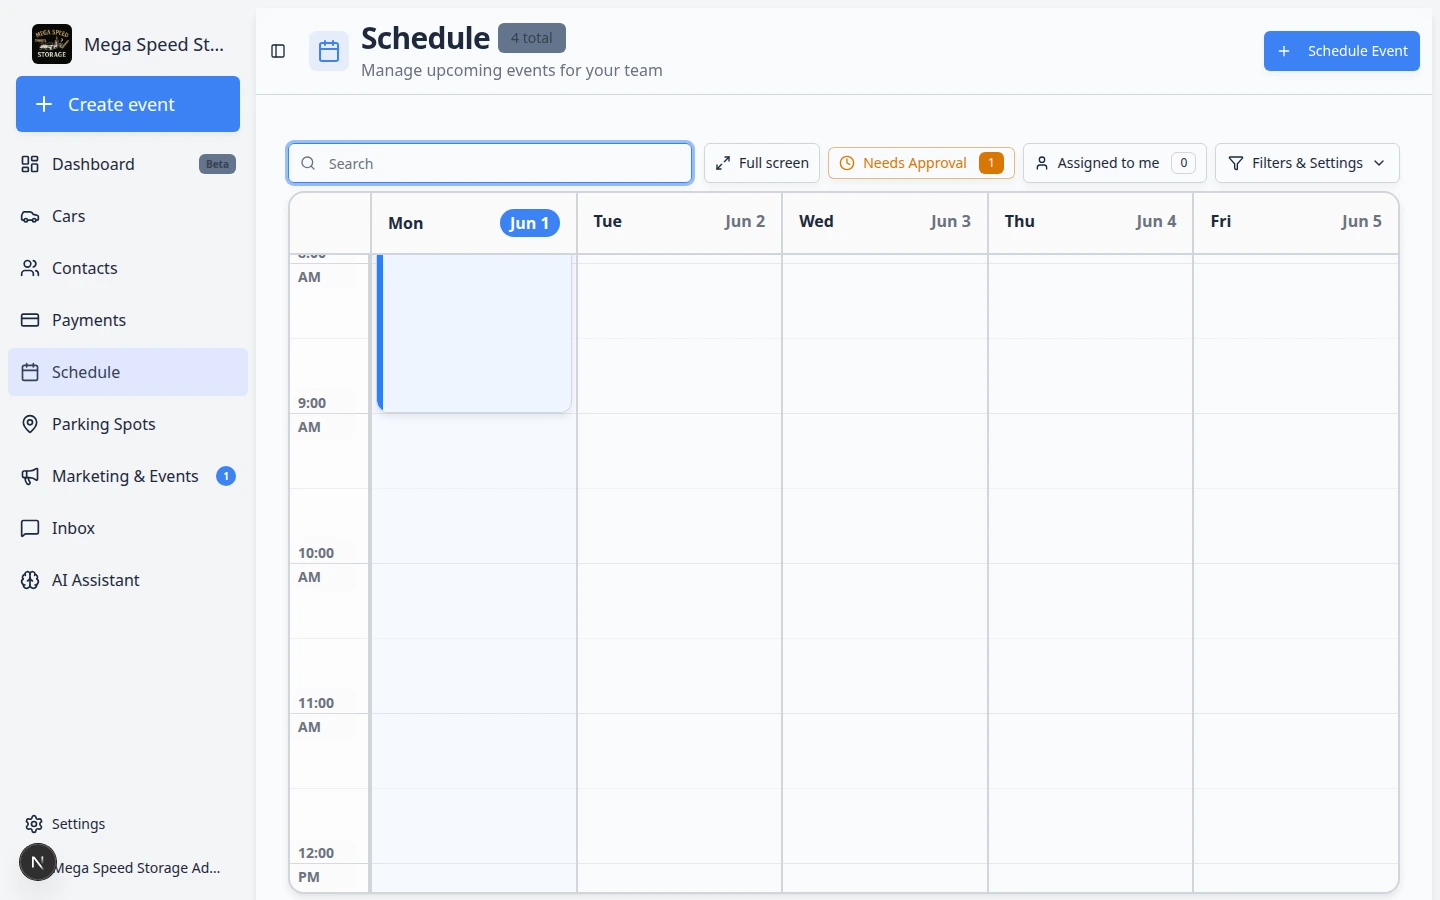
- Switch to Calendar or Table view
Click Filters & Settings, then choose Calendar under View Mode if you want to see requests on a timeline.
For a sortable list with Status and Details on each row, choose Table instead. Table view is helpful when several requests arrived overnight.
Expected result: Pending bookings are easy to scan before you open each one.
Review several requests in Table view
When more than one customer booked overnight, Table view is often faster than clicking each block on the calendar.
- Turn on Needs Approval
Click Needs Approval near the top of Schedule so only waiting requests stay visible.
- Switch to Table
Open Filters & Settings, choose Table under View Mode, then close the panel.
Expected result: Each row shows Status, customer, vehicle, time, and Details in columns you can scan quickly.
- Open the row you need
Click the row (or use View details in the row menu) to open the same approval panel as on the calendar.
Why this matters: Table view helps front desk staff clear a morning queue without hunting for yellow blocks on different days.
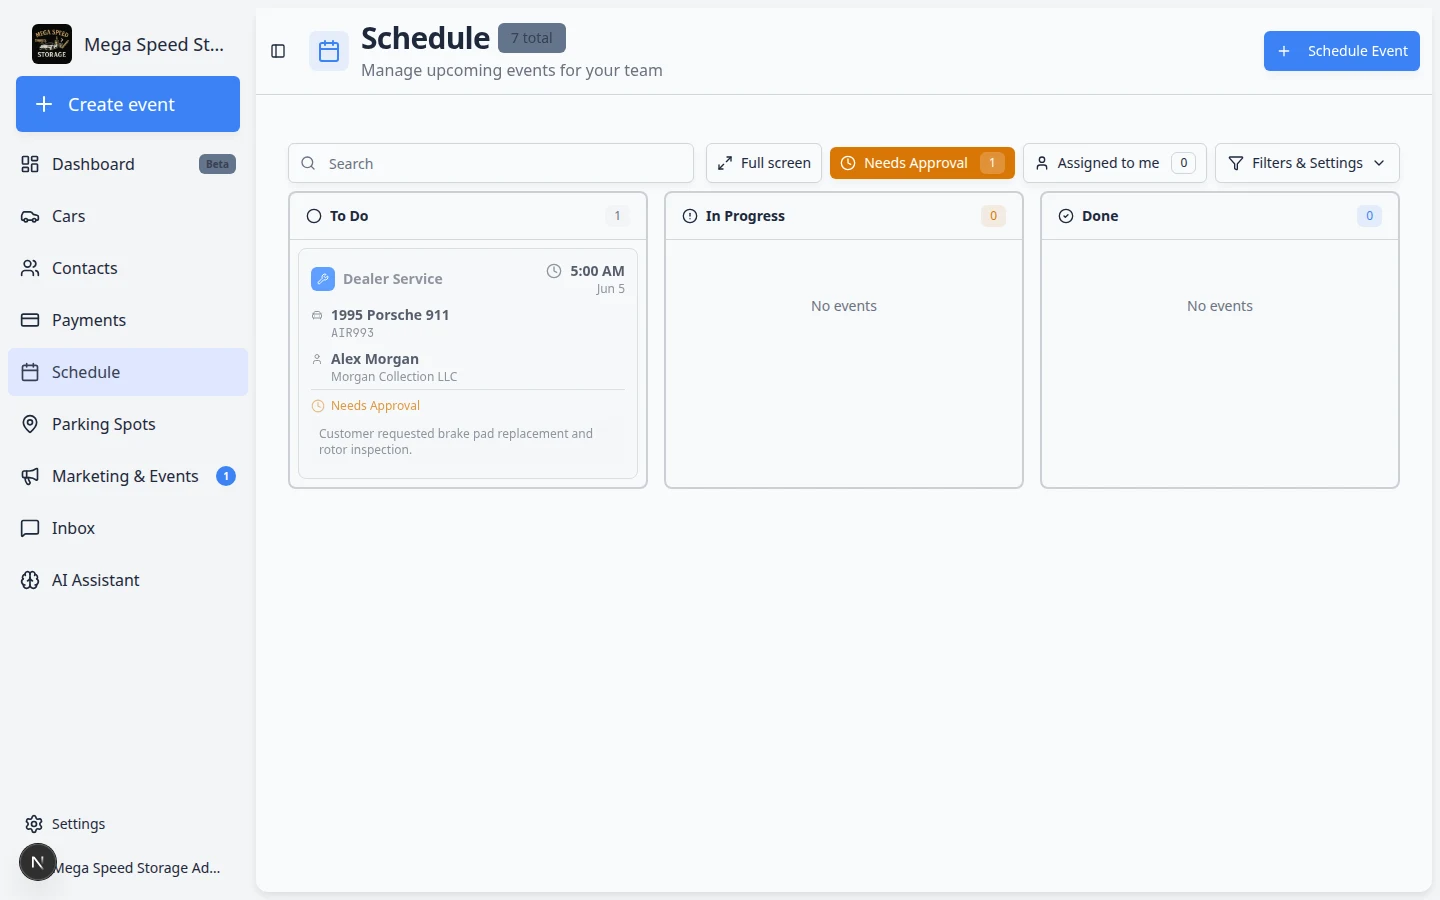
Review one booking request
- Click the pending event
Click the event card or calendar block for the request.
A details panel opens. At the top you should see a message such as This booking request needs your approval.
- Confirm the customer and vehicle
Check the customer name, company (if shown), and vehicle year, make, and model.
If more than one car belongs to this customer, read the plate or notes so you approve the correct vehicle.
- Confirm the requested date and time
Read Scheduled for (or the time shown on the event). Compare it with your real availability, staff assignments, and bay capacity.
Expected result: You are confident you know what the customer asked for before you approve or decline.
- Read the notes
Scroll through any notes the customer or your booking form collected. They often include arrival instructions or special requests.
Approve the booking
Use Approve when you can honor the requested time (or you already agreed to it by phone and the online request matches).
- Click Approve
In the event details panel, click Approve.
Why this step matters: The customer is usually notified that the appointment is confirmed. Your team can now plan staff, bays, and customer communication around a real scheduled event.
- Wait for the confirmation message
The app saves the change and shows a success message when approval finishes.
Expected result: The event status changes from Needs Approval to Scheduled (or your team’s normal scheduled label). It appears on the calendar like other confirmed work.
- Assign staff if needed
If your team uses Assigned to, open the event again and choose the responsible person, or use Update, assign, or reschedule an event.
Assigning someone helps them find the job with Assigned to me on busy days.
Decline the booking
Use Decline when you cannot take the appointment at all (fully booked, wrong service type, customer not accepted, and similar cases).
- Click Decline
Click Decline in the event details panel.
- Confirm the decline
Read any confirmation message carefully, then confirm.
Expected result: The request is removed from active scheduling. The customer is typically notified that the booking was not accepted (depending on your notification settings).
- Follow up by phone or email when appropriate
A short personal message after a decline can preserve goodwill, especially for valued customers.
Suggest a new time
Use Suggest New Time when you want the business but the customer's chosen slot does not work (bay busy, staff out, needs more notice, and similar cases).
This keeps the request on your Schedule while you offer a time that actually works for your team.
- Click Suggest New Time
Click Suggest New Time in the pending event panel.
Expected result: The event opens in Edit Event mode so you can pick a new date and time.
- Choose the new date and time
In the When section, pick the time you want to offer the customer.
Expected result: The calendar preview updates to the new slot you selected.
- Add a clear note in Notes
Update Notes with a short, polite message. Example: “Our detail bay is full at 2 PM. We can do 10 AM the same day instead.”
The app may start with a default message. Replace it with words your customer will understand.
- Click Save Changes
Click Save Changes.
Expected result: The customer is notified according to your facility’s booking settings. The request stays in Needs Approval or moves forward based on your event type rules until the customer accepts the new time.
What success looks like
- The Needs Approval count returns to zero (or drops by the number you handled).
- Approved events show as normal scheduled work on Schedule.
- Declined requests no longer block the calendar as active appointments.
- Customers receive clear communication instead of being left unsure.
Common mistakes to avoid
Troubleshooting
What to do next
- Put confirmed work on the calendar with Create an appointment when staff book by phone.
- Learn views and filters with Find and filter scheduled work.
- Return to Schedule overview for the full list of Schedule guides.