

What you will accomplish
- Start a text, push, or social campaign from Marketing & Events.
- Write a short message customers will see on their phone or social feed.
- Choose the right audience and schedule or publish the send.
When to use each channel
Before you start
- You can open Marketing & Events.
- For text campaigns: text messaging is configured in Settings > Communications.
- For push campaigns: your customer mobile app is live and customers have installed it.
- For social campaigns: your social accounts are connected in Settings > Communications.
- You know what you want to say in one or two short sentences (especially for text).
Step 1: Start the campaign from Create New
1
Open Marketing & Events
Go to Marketing & Events.
2
Click Create New
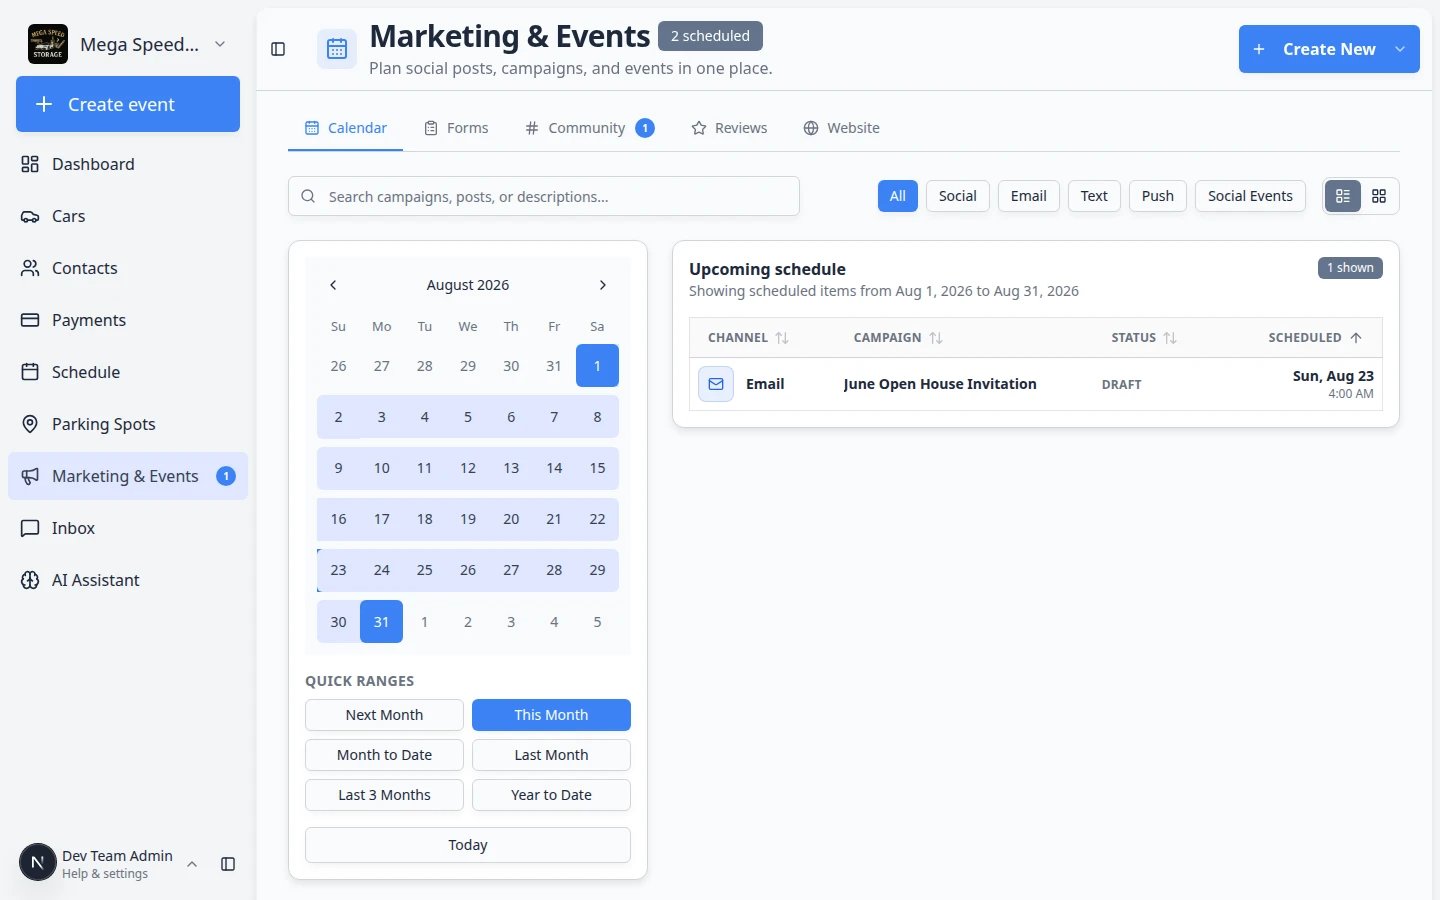
Click Create New in the top-right corner.Expected result: A menu lists campaign and event types.
3
Pick your channel
Choose the type that matches your goal:
- Text message (or SMS) — for phone texts.
- Push notification — for app alerts.
- Social post — for Facebook, Instagram, or similar.
4
Name the campaign
Type a name your team will recognize on the calendar—for example Open House Text Reminder or July Instagram Post.Click Create Campaign (or Create).Expected result: You land on the campaign detail page with a draft badge.
Step 2: Write the message for your channel
1
Land on the Design step
After you click Create Campaign, the setup wizard opens on Design.Expected result: You see a preview area and a large button at the bottom—Design SMS, Design Push, or Design Social depending on your channel.
2
Click Design SMS, Design Push, or Design Social
Click the Design button for your channel. A full editor opens.Expected result: For SMS you see one short text box. For push you see a title and message field. For social you can add caption text and attach an image when the editor allows.
3
Write short, clear text
- Text: Keep it brief. Include date, time, and one link if needed. Avoid long paragraphs—texts truncate on small screens.
- Push: Add a short title and message. Tell customers what to tap or do next.
- Social: Add caption text and attach an image when the editor allows.
4
Save and return to the wizard
Save your work and return to the setup wizard. Click Continue to move to Audience.Expected result: The Design step preview shows what customers will see, with a green checkmark on the step pill.
Step 3: Choose who receives the message
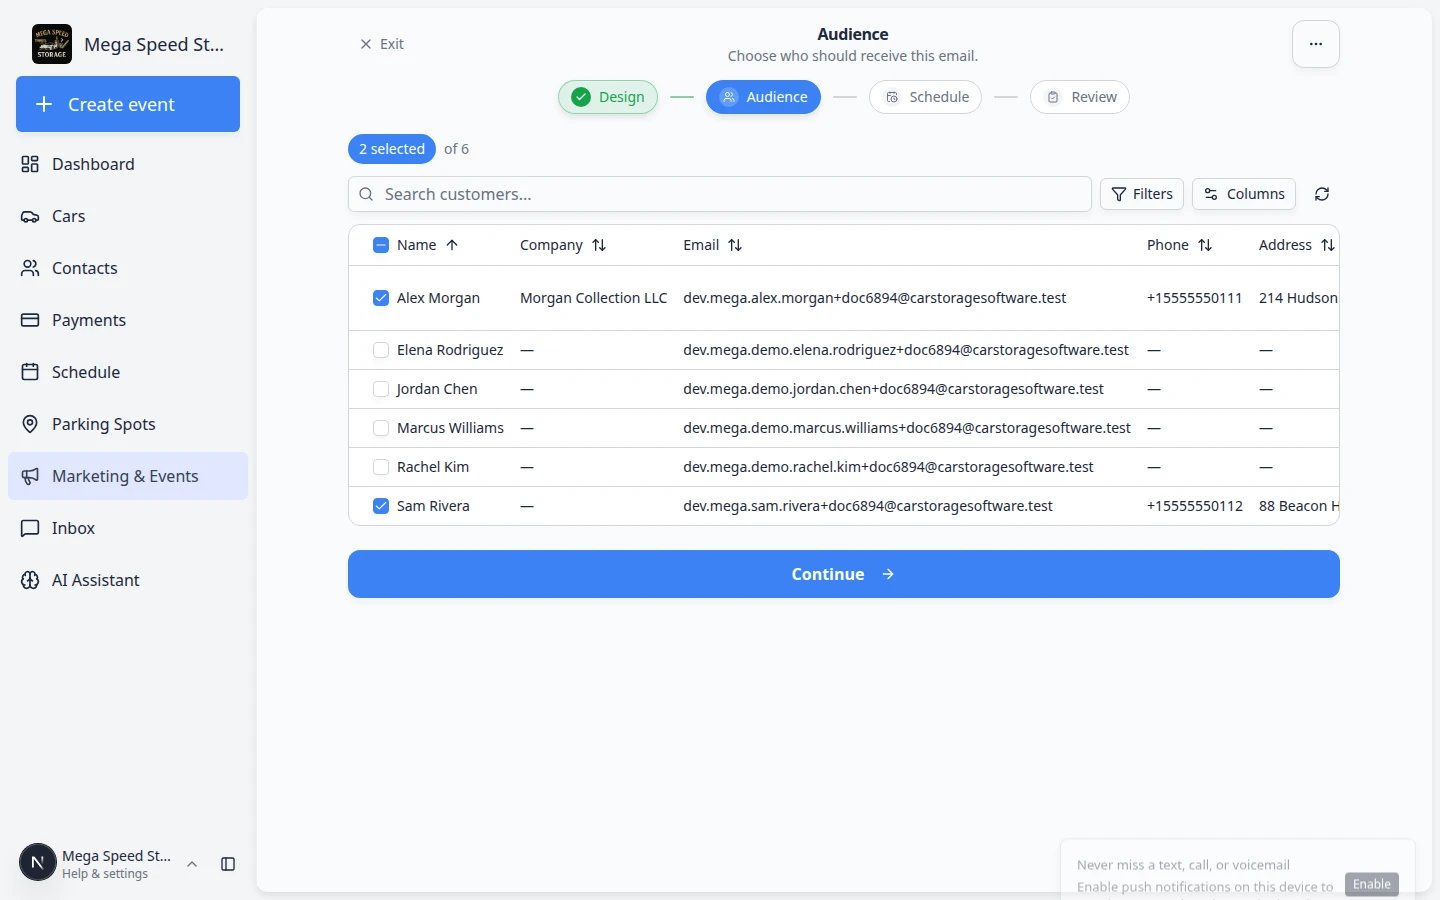
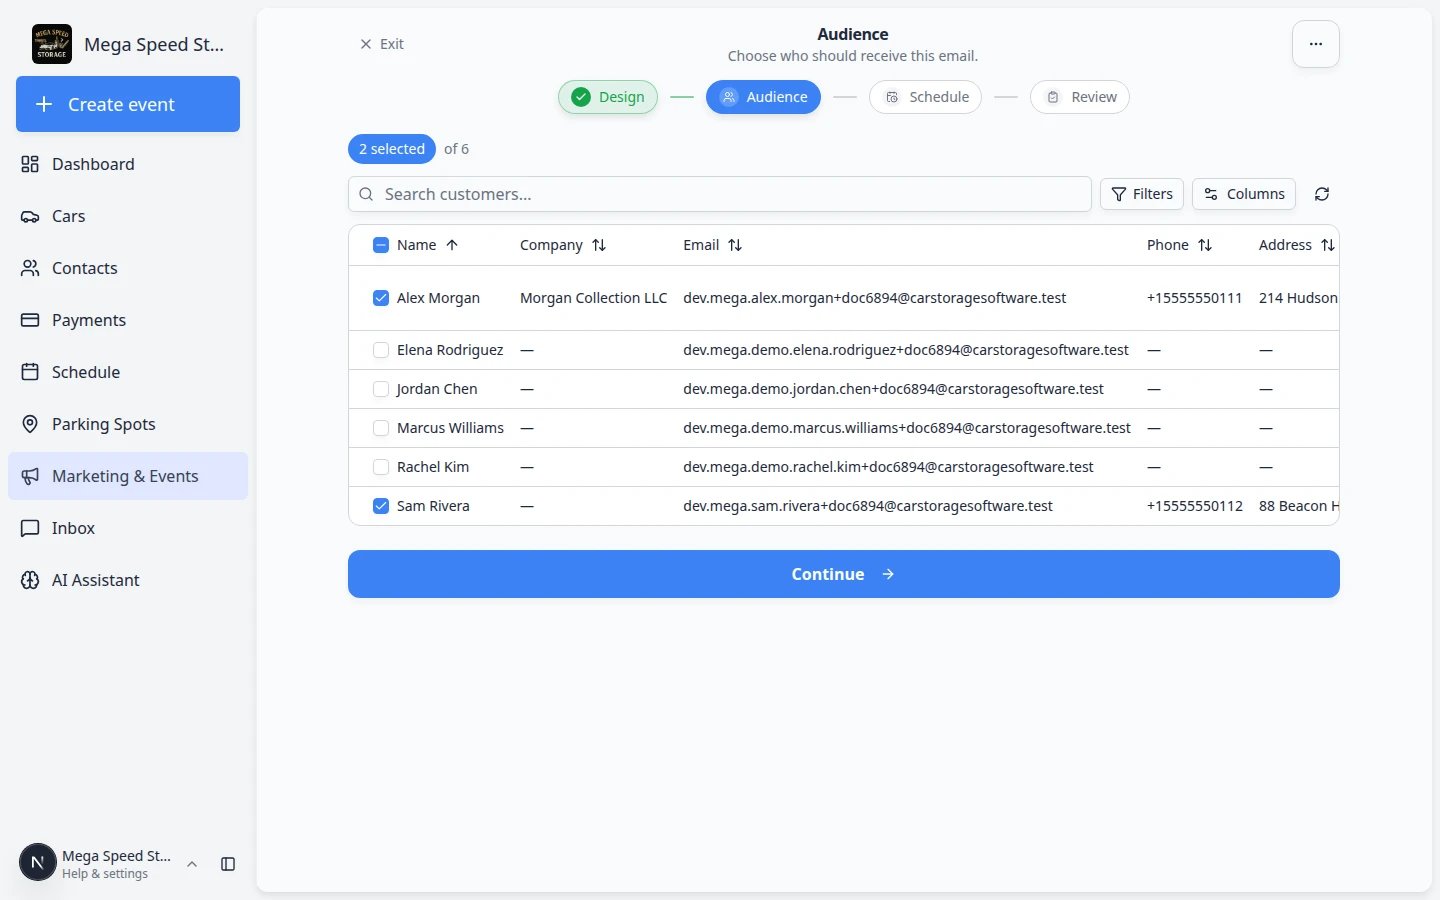
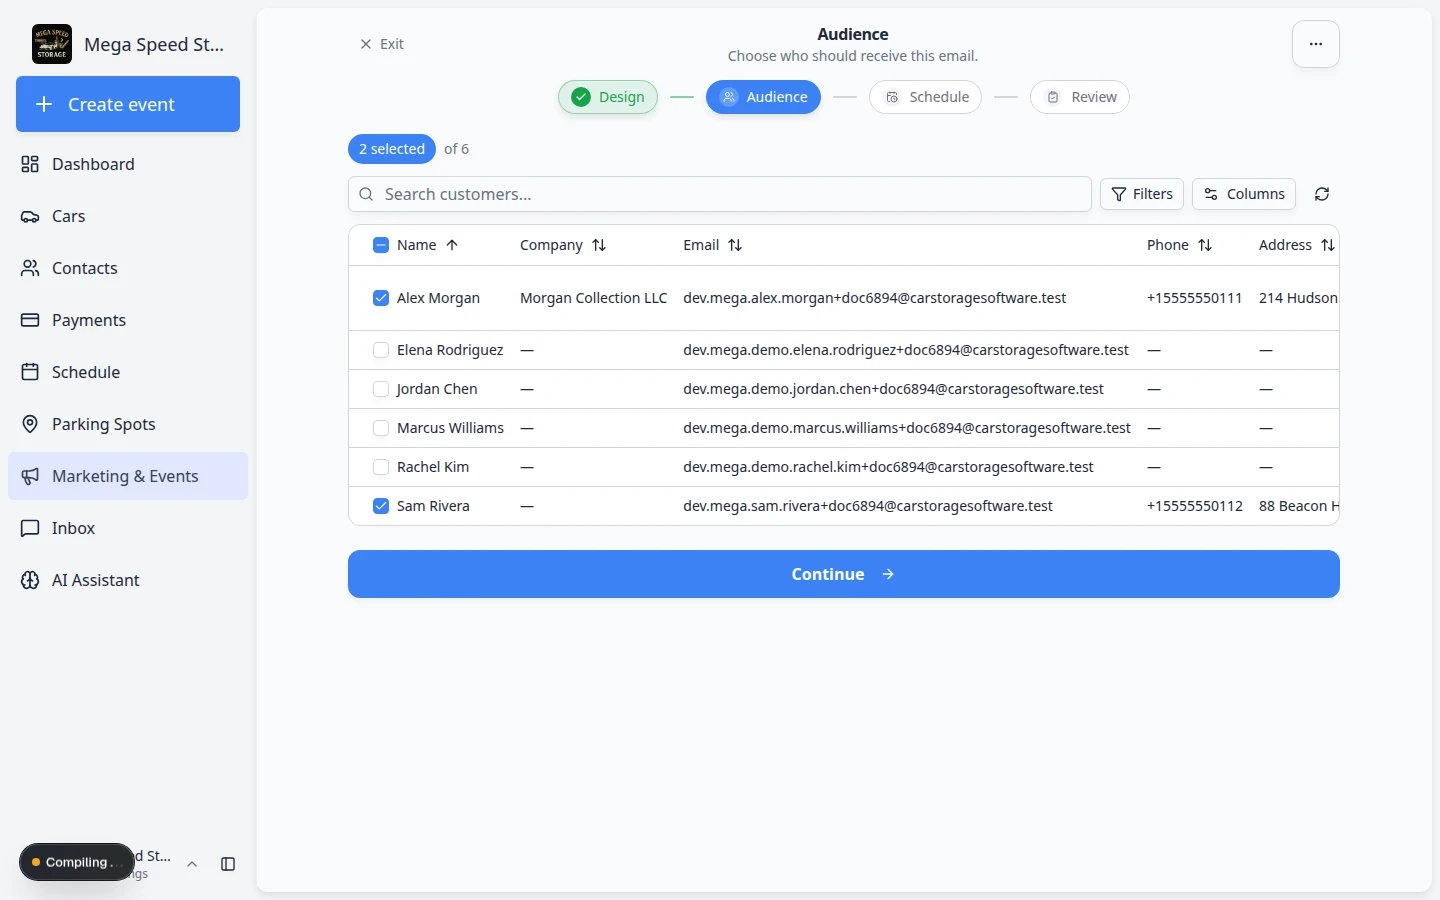
Follow the Audience step in Add campaign message, audience, and publish.- On the Audience wizard step, search and check the customers who should receive this message.
- For texts, confirm each customer has a valid mobile number on their contact record.
- Read the selected of counter before you click Continue—texts to the wrong group are hard to take back.
Step 4: Schedule and start the campaign
1
Set the send time on Schedule
On the Schedule step, pick Send date and Send time. Read the preview line (for example Will send Tuesday, Sep 15, 2026 at 9:00 AM) before you click Continue.Why this matters: Scheduling lets you write reminders during the day but send them the morning of your event.
2
Review and click Start campaign
On the Review step, confirm the channel, recipient count, send time, and message preview. Click Start campaign (the button may show the count, such as Start campaign (2)).Expected result: The campaign status changes from draft to scheduled or active. It appears on the Marketing & Events calendar.
What success looks like
- The campaign shows on the marketing calendar with the correct channel label (Text, Push, or Social).
- Test customers (or your own phone) receive the message at the expected time.
- Your team knows which channel was used so they can answer customer replies in Inbox.
Troubleshooting
What to do next
- Add campaign message, audience, and publish — full publish checklist for any channel.
- Create a social event — when customers need RSVP and check-in, not just a text blast.
- Marketing & Events overview — see how campaigns fit with forms, community, reviews, and website traffic.