

What you will accomplish
You will open the Invoices Report, choose a date range, read the summary cards, and export invoice history when your owner, bookkeeper, or manager needs a spreadsheet. Use this guide when someone asks:- How much did we bill last month?
- How much did customers actually pay in a date range?
- Which vendor bills came in during a period?
- Can we export invoices for the accountant?
Report vs everyday invoice listUse Payments > Invoices when you need to send, collect, or fix one bill.Use the Invoices Report when you need a date-range view of many invoices and optional Excel export.
Before you start
- You can open Payments > Invoices.
- You know the date range you care about (for example This month or a custom start and end date).
- Ask your manager whether customer invoices, vendor invoices, or both should be included in your export.
Open the Invoices Report
1
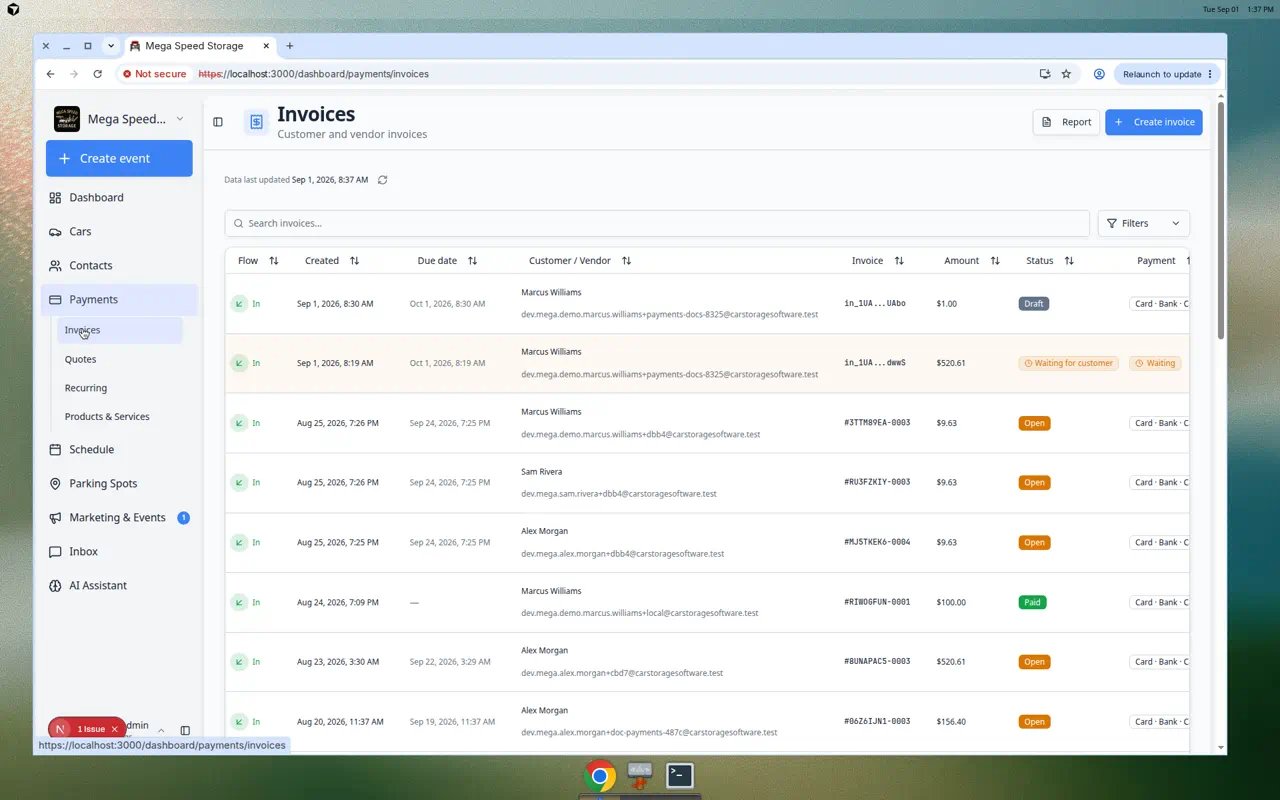
Go to Payments > Invoices
In the dashboard sidebar, click Payments, then Invoices. You can also open Payments > Invoices directly.Expected result: You see the Invoices page with tabs such as All, Customer, and Vendor.
2
Click Report
Near the top-right of the page, click Report.On a phone, look for the small document icon button next to Create invoice—it opens the same report.Why this matters: The report button is on the Invoices page so you can jump from daily work to month-end review in one click.
3
Confirm the page title
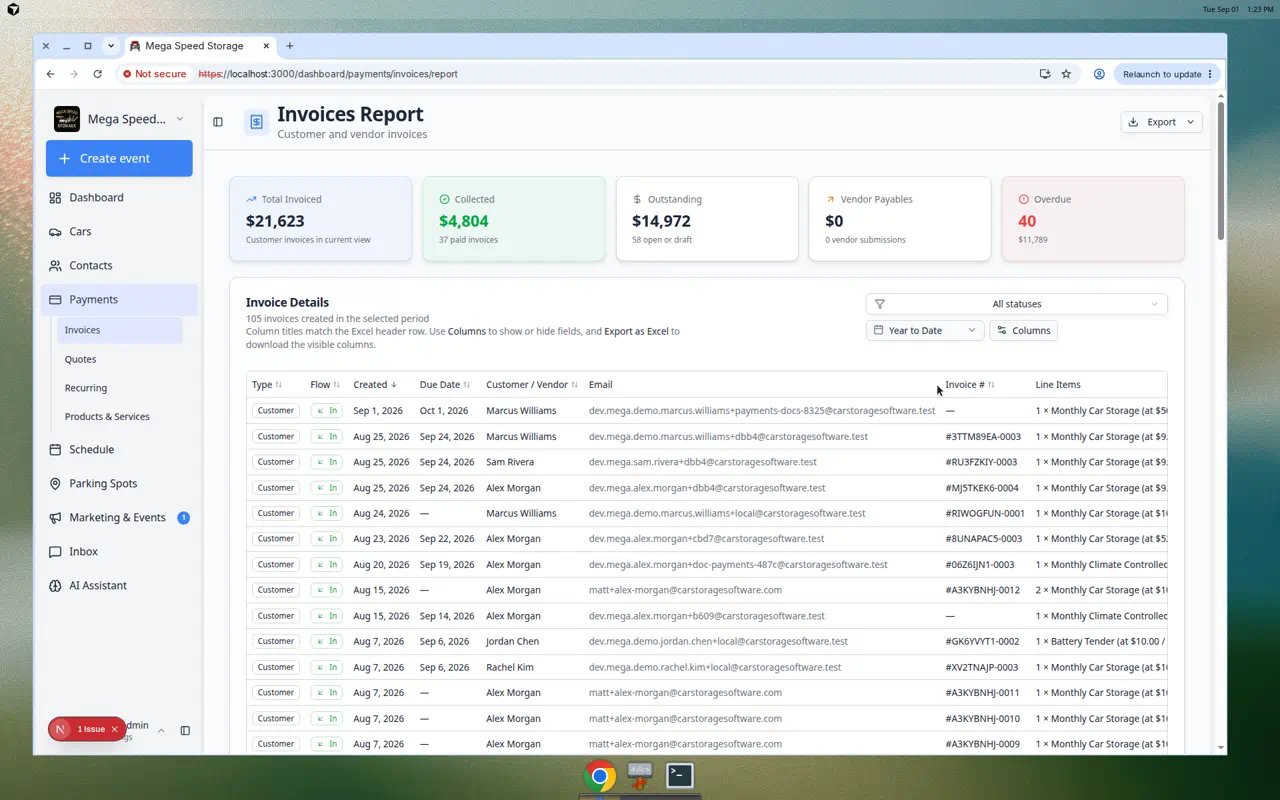
The next page title should read Invoices Report with the subtitle Customer and vendor invoices.Expected result: You see date controls, summary cards, and a table (or an empty state if no invoices exist in the range yet).
Choose a date range
The report only shows invoices created inside the dates you pick.1
Open the date picker
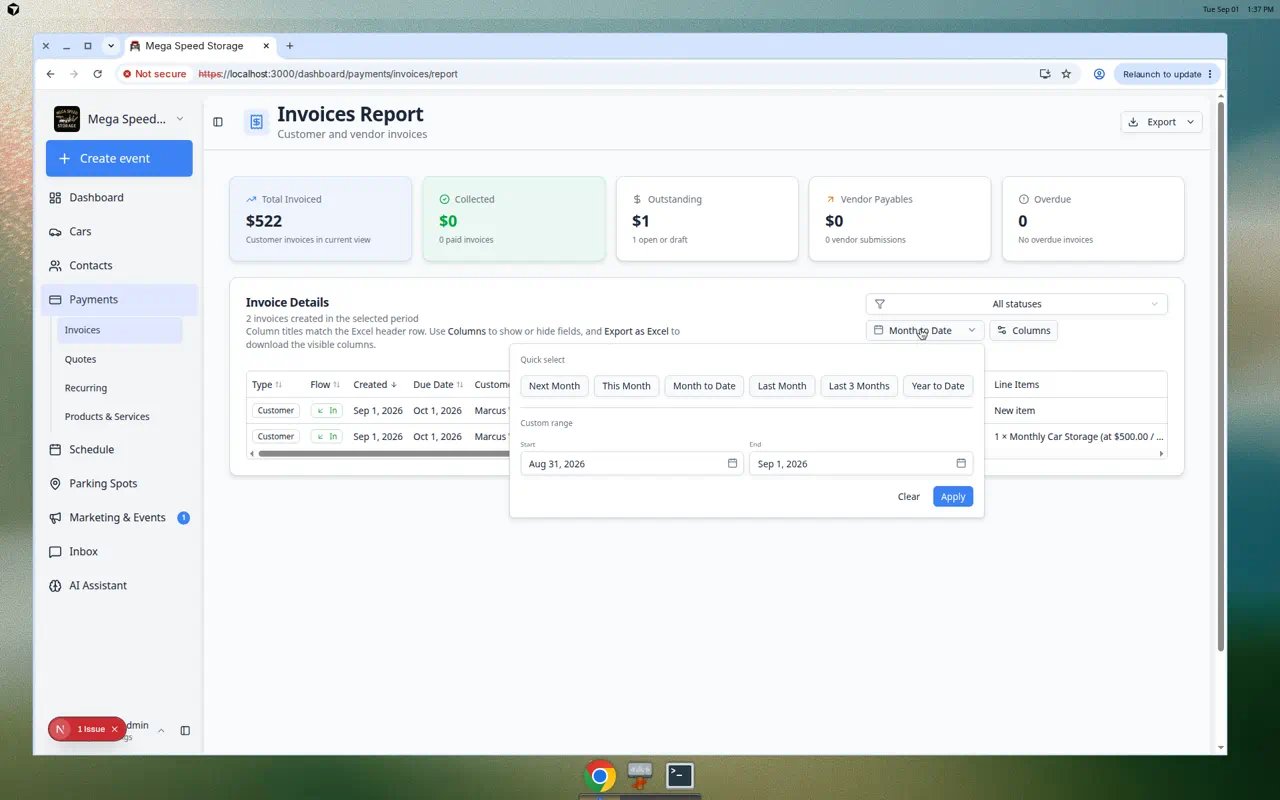
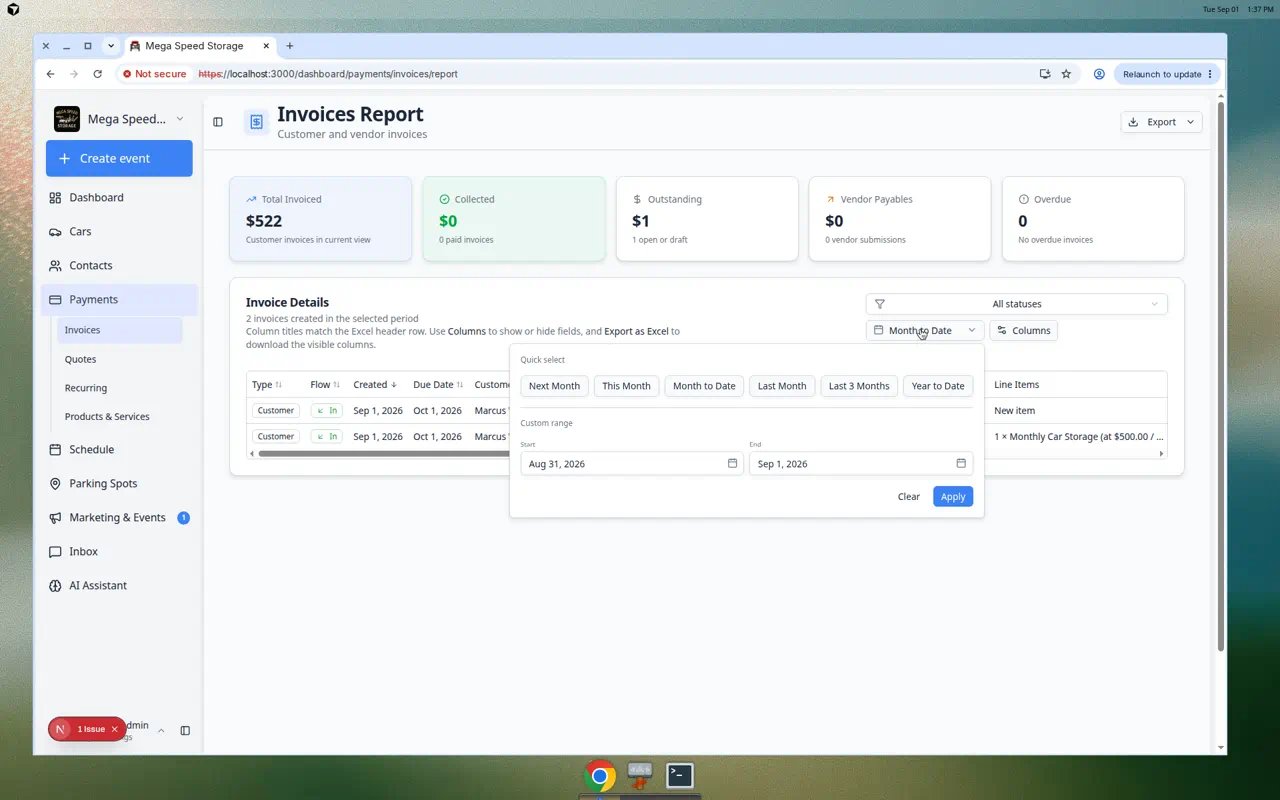
Near the top of the report, click the date range control (it may show This month or two calendar dates).Expected result: A calendar or preset list opens.
2
Pick a preset or custom range
Common choices include This month, Last month, Year to date, or a Custom start and end date.Why this matters: Owners often want month-to-month comparisons. Accountants may ask for an exact quarter.
3
Wait for the table to refresh
After you choose dates, the summary cards and table reload.Expected result: Dollar amounts on the cards update, and the invoice rows match the new range.
Read the summary cards
At the top of the report, five cards help you answer money questions quickly:Total Invoiced — Customer invoices created in the date range (money you asked for).Collected — Customer invoice money paid in the range.Outstanding — Customer invoice amounts still open (not paid yet) for invoices created in the range.Vendor Invoiced — Vendor bills received in the range (money outside providers asked from your facility).Vendor Paid — Vendor bills your team marked paid in the range.
Customer money in vs vendor money outCustomer cards are about money coming in. Vendor cards are about money going out. They are shown together so managers see both sides without switching pages.
Use the invoice table
Below the cards, each row is one invoice. Useful columns include:- Type — Customer invoice or vendor invoice.
- Flow — In for customer bills you send; Out for vendor bills you receive.
- Customer / Vendor — Who the invoice is with.
- Status — Such as Open, Paid, Draft, or vendor review statuses.
- Amount — Total for that invoice.
- Due date — When payment is due (customer invoices).
1
Sort a column
Click a column heading such as Created, Amount, or Status to sort ascending or descending.Expected result: The arrow icon on the column shows which way the list is sorted.
2
Open one invoice
Click a row to open that invoice’s detail page—customer or vendor, depending on the row type.Why this matters: The report is for scanning many invoices. The detail page is where you resend, collect, or mark paid.
3
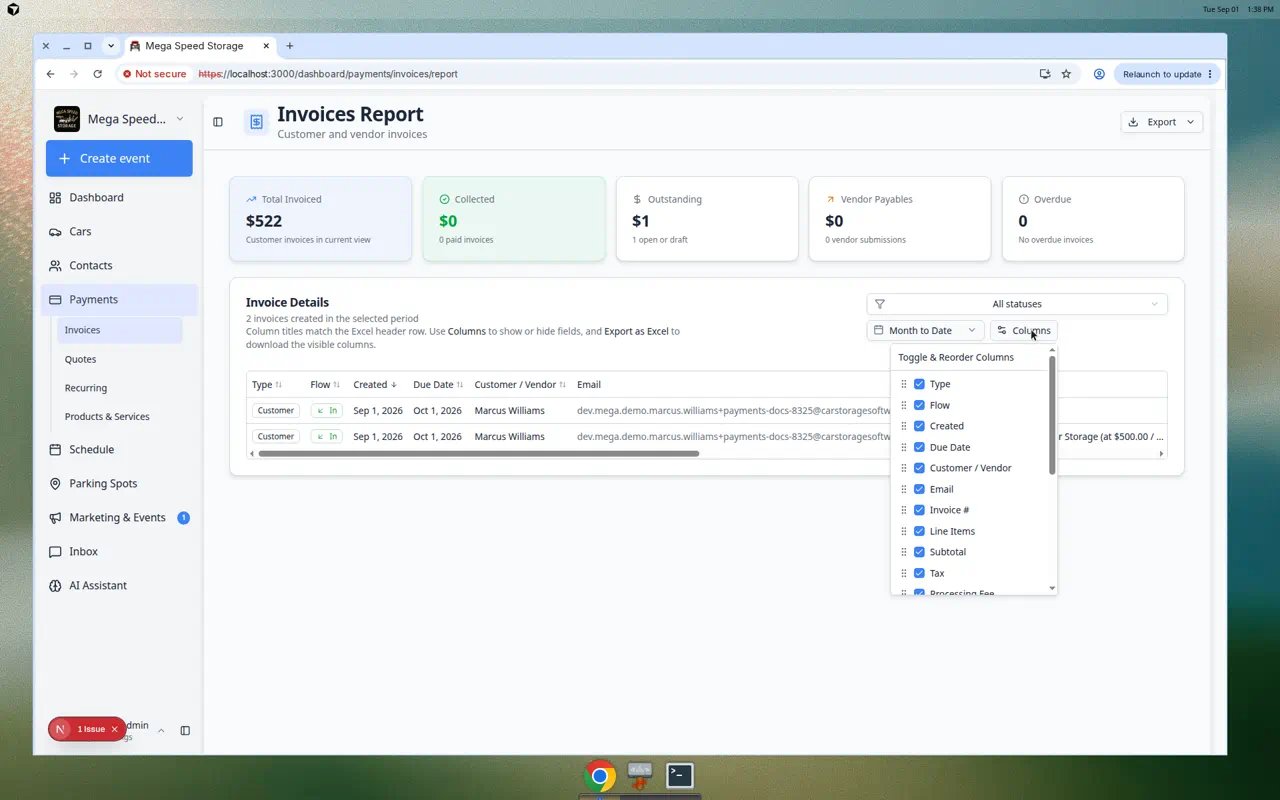
Show or hide columns (optional)
If you see a Columns control, use it to hide fields you do not need on screen. Your choices are saved for next time you open the report.Expected result: The table fits your role—for example hiding Payment method if you only care about totals.
Export to Excel
When your bookkeeper or owner needs a file:1
Set the date range first
Confirm the summary cards and table show the period you intend to export.Why this matters: The Excel file uses the same dates shown on screen.
2
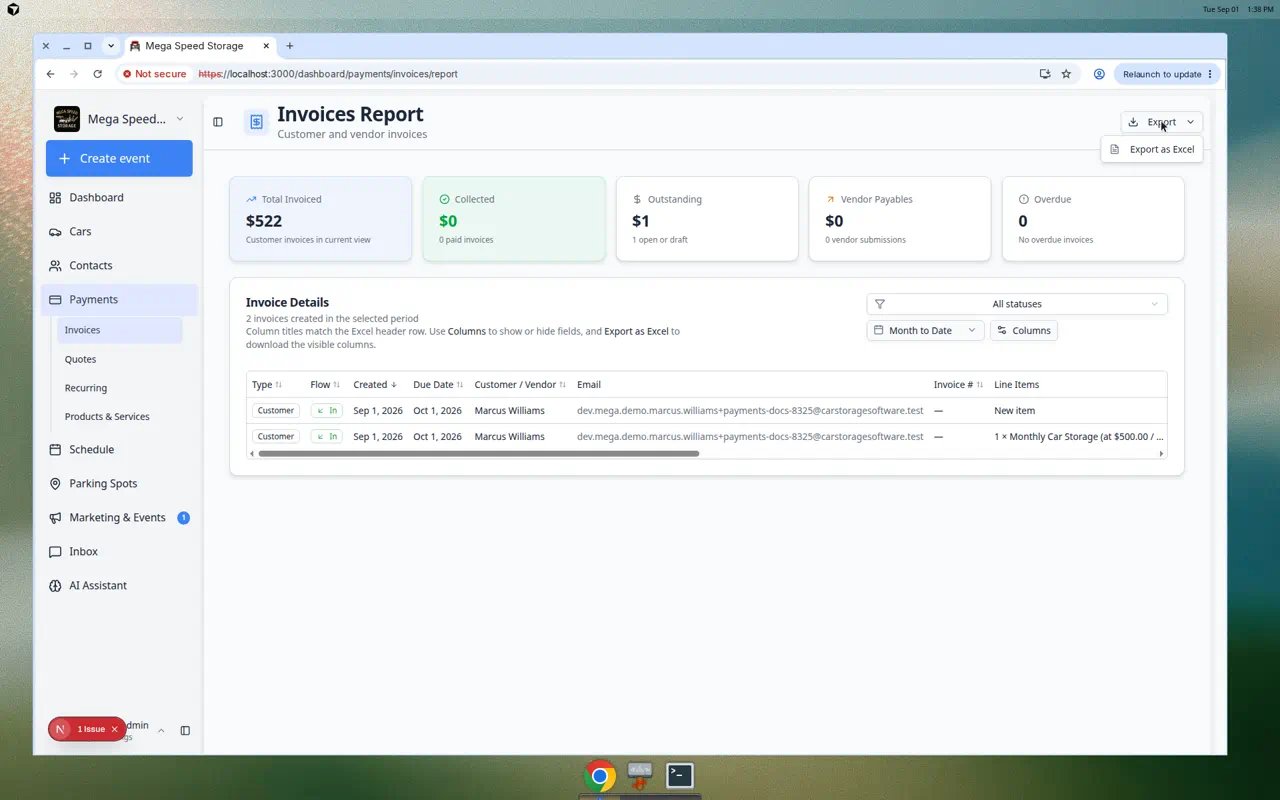
Click Export
In the top-right area of the report, click Export, then Export as Excel.Expected result: Your browser downloads a file named with the start and end dates, such as
invoices-report-2026-07-01-to-2026-07-31.xlsx.3
Open the file and spot-check
Open the spreadsheet and confirm row counts look reasonable before you email it outside your facility.Expected result: Rows match the on-screen table for the same date range.
When to use this report
- Month-end review — Compare Total Invoiced vs Collected before a team meeting.
- Follow up on open bills — Sort by Status or Outstanding to see who still owes money.
- Vendor bill tracking — Filter mentally by Flow Out or vendor name to see outside provider spend.
- Accountant handoff — Export Excel for tax prep or external bookkeeping.
Troubleshooting
What to do next
- Need to act on one unpaid customer bill → Send and collect customer payments
- Need recurring income summary → open Report from Payments > Recurring and see Manage recurring billing
- New to Payments → start with the Payments overview