Contracts
Send contracts to many customers at once
Email the same agreement to several contacts from the Contacts list, then watch, pause, or retry the send job without duplicating emails.
What you will accomplish
You will send the same contract template to several customers at once from Contacts. Each ready contact receives their own signing email. You watch progress on a send job page where you can pause, resume, or retry contacts that failed—without emailing someone twice by accident.
This guide is for office staff and managers who need annual agreement updates, move-in batches, or any wave of similar contracts. You do not need technical skills.
When to use bulk send vs other guides
Use this guide when…
- You need the same template for many different customers (not one customer with many cars).
- You are working from the Contacts list with checkboxes and Actions.
Use a different guide when…
- One customer, one agreement today → Send a contract for signature.
- One customer, several vehicles during portal onboarding → Send multiple contracts in one signing link.
- Every new customer at portal setup → Attach contracts to customer workflows.
Before you start
- The contract template exists and is Active in Settings > Contracts & Documents.
- Each selected contact has a correct email on their record (signing links go there).
- If the template uses vehicle fields, each contact has the right car on their record—or you can pick a car during the wizard.
- If the template requires a facility signature first, be ready to sign once in the wizard; that signature applies to every contract in the batch.
- You selected no more than 100 contacts (the app limit per send job).
Step 1: Select customers on Contacts
Bulk send starts from the customer list—not from one customer record.
- Open Contacts
In the sidebar, click Contacts, or go to Contacts.
Use All Contacts or a filtered view (for example Storage customers) depending on who needs this agreement.
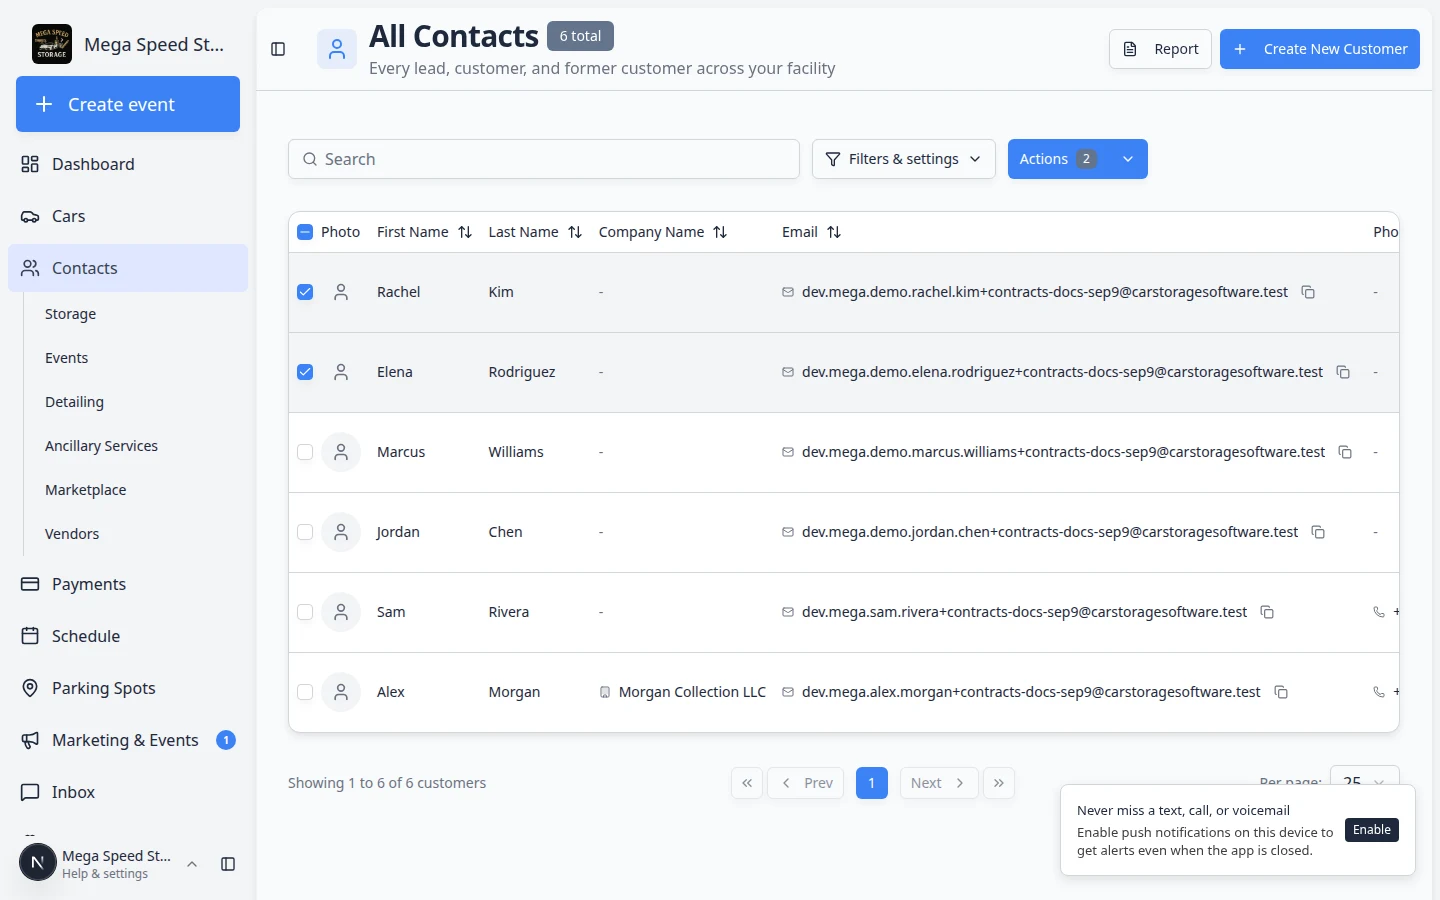
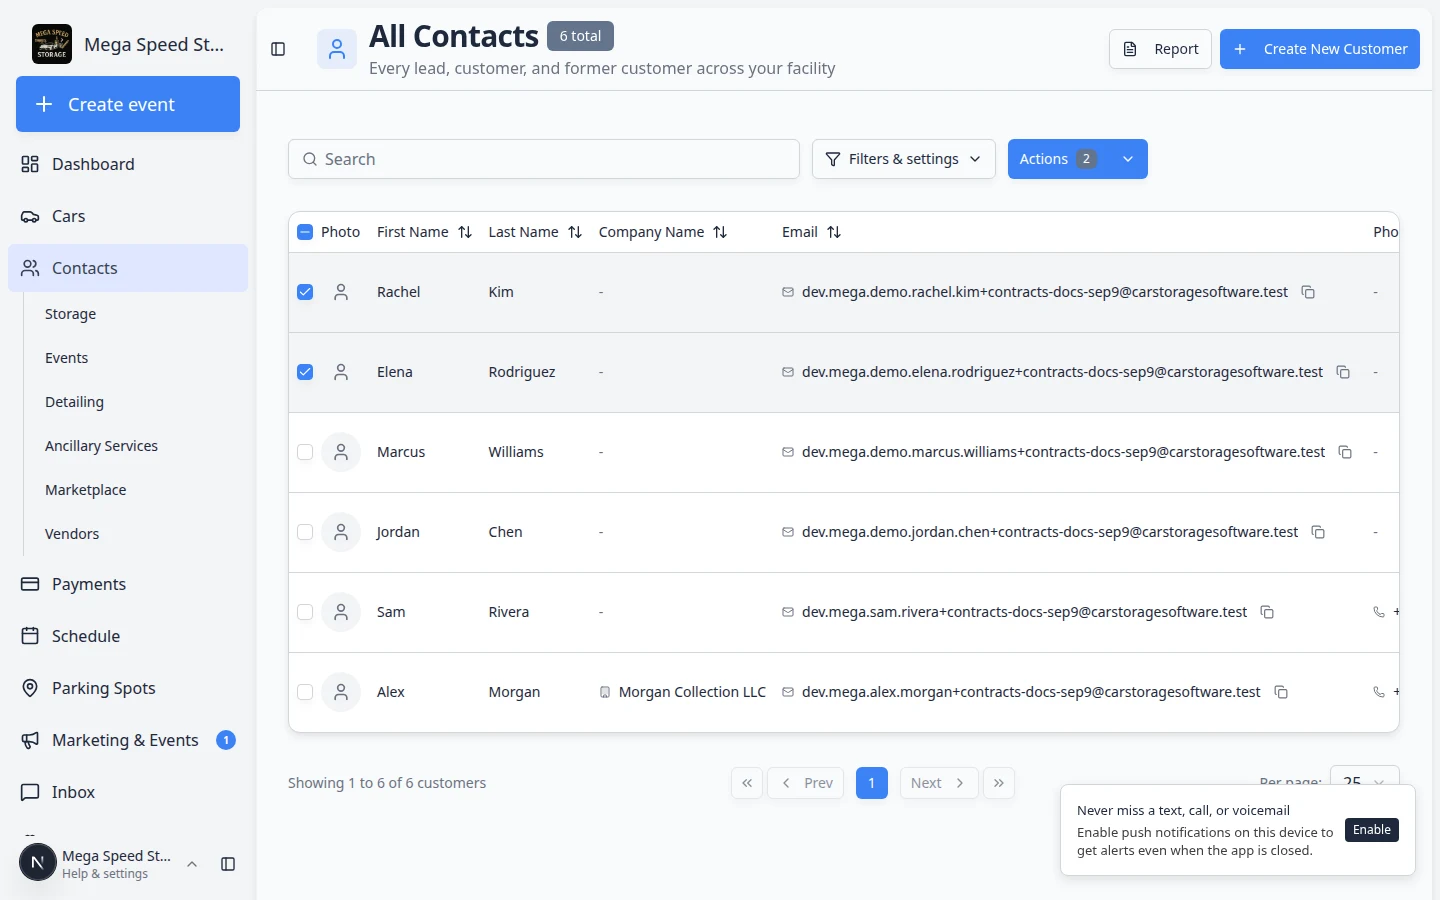
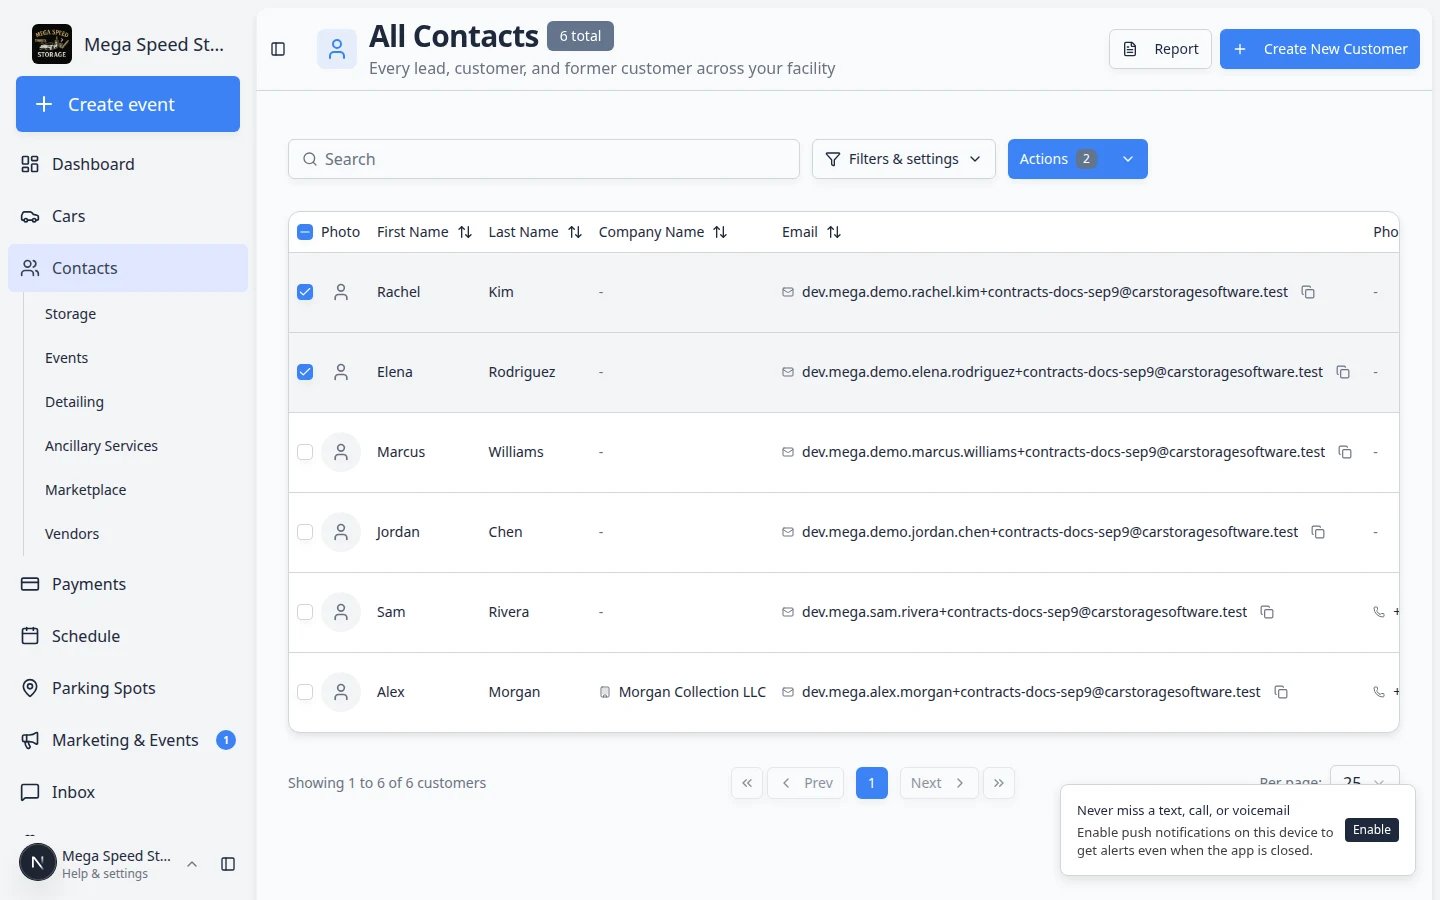
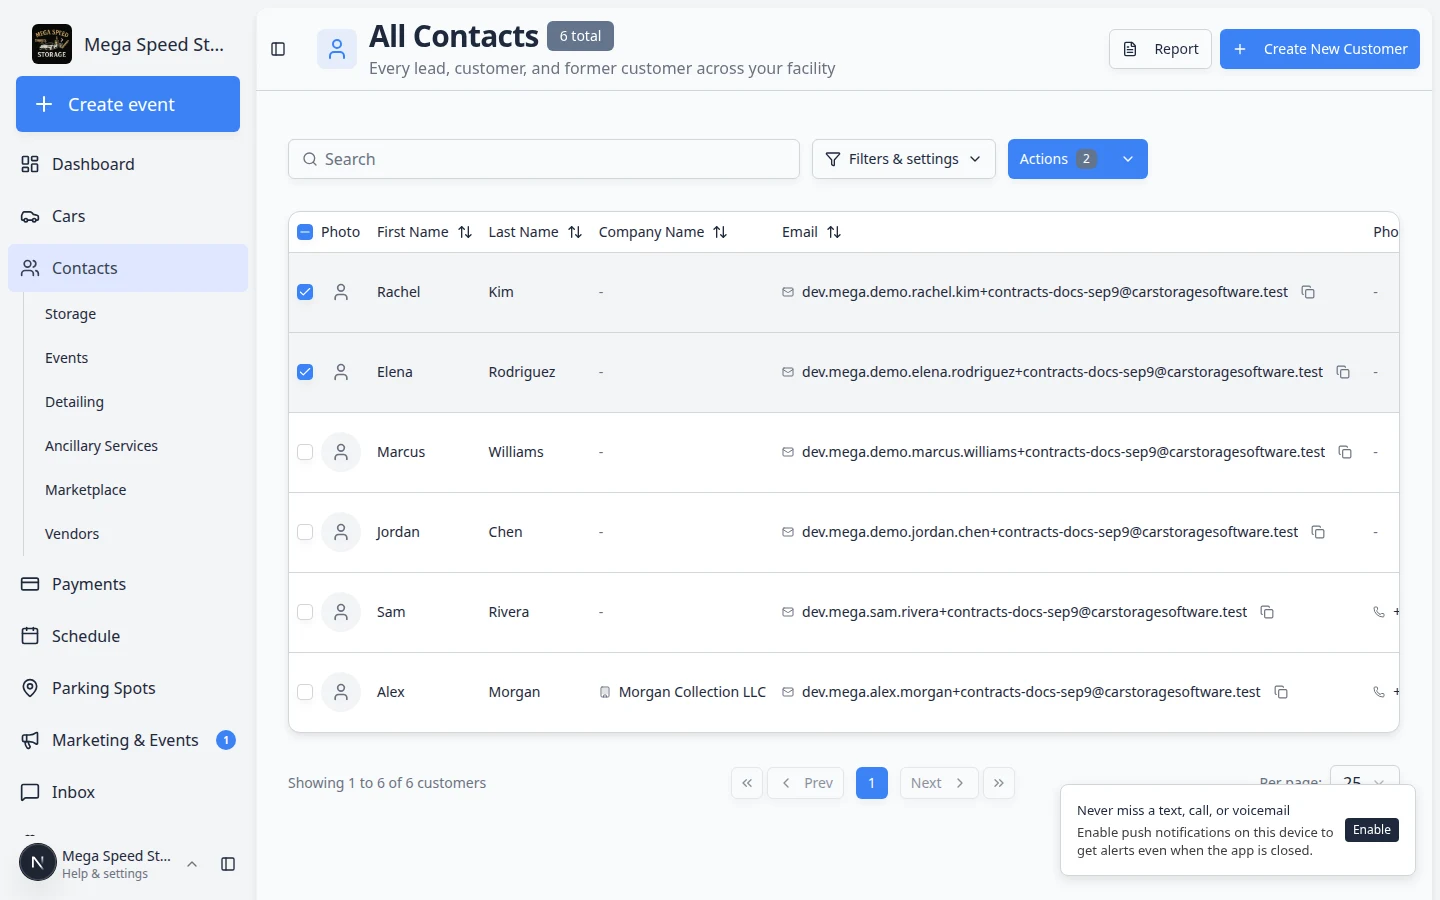
- Check the box on each row
On the left of each customer row, click the checkbox for everyone who should receive this agreement.
Why this matters: Only checked rows are included. Uncheck anyone who already signed or should not receive this template.
- Confirm the Actions button activates
When at least one row is checked, the Actions button on the toolbar becomes solid (not grayed out). A small number badge shows how many contacts you selected—for example Actions with 2 next to it.
Expected result: You can open Actions and see Send contract in the menu.
Step 2: Open Send contract from Actions
- Click Actions
Click Actions on the right side of the contacts toolbar.
- Choose Send contract
In the menu, click Send contract.
Expected result: A large window opens titled Send contract with a step list: Template, Recipients, and Review.
Step 3: Pick the template (Template step)
- Choose the agreement
Click the card for the template you need—for example Car Storage Agreement.
Why this matters: Every contact in this batch receives this same PDF layout and field rules.
- Fill shared details if asked
Some templates ask for details that apply to everyone (facility name, default rate, product and price). Fill those fields on this step when they appear.
If the app shows a yellow or red message, read it carefully—it may list missing facility settings to fix in Settings before you can continue.
- Add a team signature if required
If the template needs your facility to sign before customers receive email, draw your signature and initials when the pad appears.
Why this matters: You sign once here; the same facility signature is applied to each contract in the batch.
- Click Continue
Click Continue at the bottom when the template step is complete.
Expected result: The wizard moves to Recipients.
Step 4: Review each recipient (Recipients step)
This step shows every contact you selected. The app marks each row Ready or explains what is still missing.
- Scan the list
Read each customer name. Rows marked Ready can receive email. Rows with warnings need a vehicle, a missing field, or another fix.
- Pick a vehicle when required
If the template uses vehicle fields, choose the correct car for each contact from the dropdown. Use Add car if the vehicle is not on the record yet.
Why this matters: A storage agreement without the right VIN or year/model is hard to enforce later.
- Open per-contact details when needed
Click a row (or Details) to fill fields that differ per person—overrides for that contact only.
- Uncheck anyone to skip
Turn off the Include toggle for contacts who should not be in this batch after you review the list.
- Click Continue
When every included row is Ready, click Continue.
Expected result: The wizard opens Review.
Step 5: Confirm and start sending (Review step)
- Read the summary
The Review step lists how many contracts will be emailed and shows the template name again.
Expected result: The count matches the contacts you intend to include—no surprise names.
- Click Send N contracts
Click the blue button at the bottom—for example Send 3 contracts.
- Confirm in the pop-up
A confirmation asks whether to start sending. Click Yes, start sending.
A second window titled Notify the customer? asks if you want to send the signing emails. Choose Yes to start sending. Choose No or close the window to cancel without emailing.
Why this step exists: Bulk send emails real customers. The confirmation prevents accidental mass emails.
- Wait for the job page
The wizard closes and your browser opens the send job page for this batch.
Expected result: You see progress such as 0 / 3 increasing as emails go out.
Step 6: Watch and control the send job
After you start a batch, the app tracks each contact on a send job page.
- Read the progress bar
The top of the page shows Progress—for example 2 / 5—and a bar that fills as contacts are processed.
- Use Pause if you need to stop temporarily
Click Pause if you must halt the batch (for example a template mistake discovered mid-send). Click Resume to continue where you left off.
Why this matters: Pause stops new emails without losing track of who already received a link.
- Retry failed rows only
If some contacts Failed, click Retry failed after you fix the underlying issue (bad email, missing car, etc.). The app retries only those rows—not everyone who already succeeded.
- Cancel if you must stop the whole job
Cancel ends the job. Contacts already emailed keep their signing links; the app does not automatically email the same person again from this job.
- Open All send jobs for history
Click All send jobs to see past batches, or go to Contract send jobs.
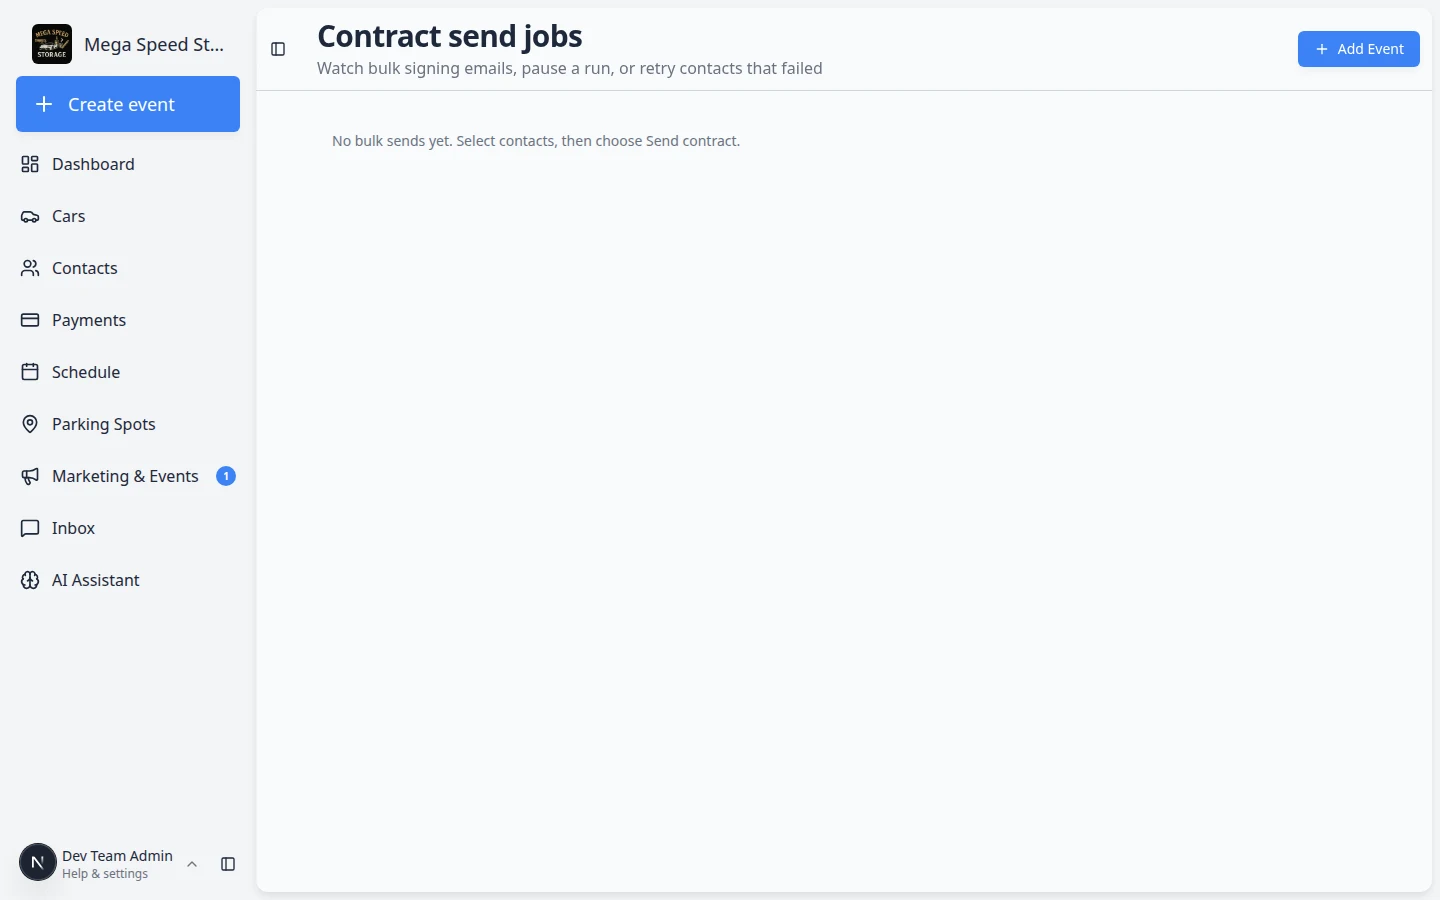
On the job detail page you will also see:
- Emailed — signing links sent successfully.
- Signed automatically — contracts completed without customer action when your template and settings allow (for example after a facility pre-signature).
- Failed — rows that need attention before you retry.
Each recipient row shows a status such as Sent, Waiting, Failed, or Skipped.
What customers experience
- Each contact receives their own signing email—not one shared link for the whole group.
- The email looks like a normal contract request from your facility (same as a one-off send).
- After signing, the completed PDF appears on that customer’s record under Documents & Contracts.
Coach stuck customers with Help customers complete onboarding paperwork or resend from the customer record using Send a contract for signature.
What success looks like
- The send job shows Completed (or all included rows processed).
- Each contact’s record shows a Sent or Completed contract card.
- No duplicate signing emails for the same contact from the same job.
- Failed rows were retried or handled individually after fixes.
Troubleshooting
What to do next
When contracts come back signed, use Review signed contracts and document history to download PDFs.
When you need to change signed terms later, read Amend a signed contract or send a new agreement if policy requires a full replacement.