

Before you start
- QR codes must be on in Settings → Integrations. Without it a scanned code shows “Not found”.
- Linking and unlinking need the Dashboard permission, and you must be signed in.
Link a new sticker by scanning it
1
Scan the sticker
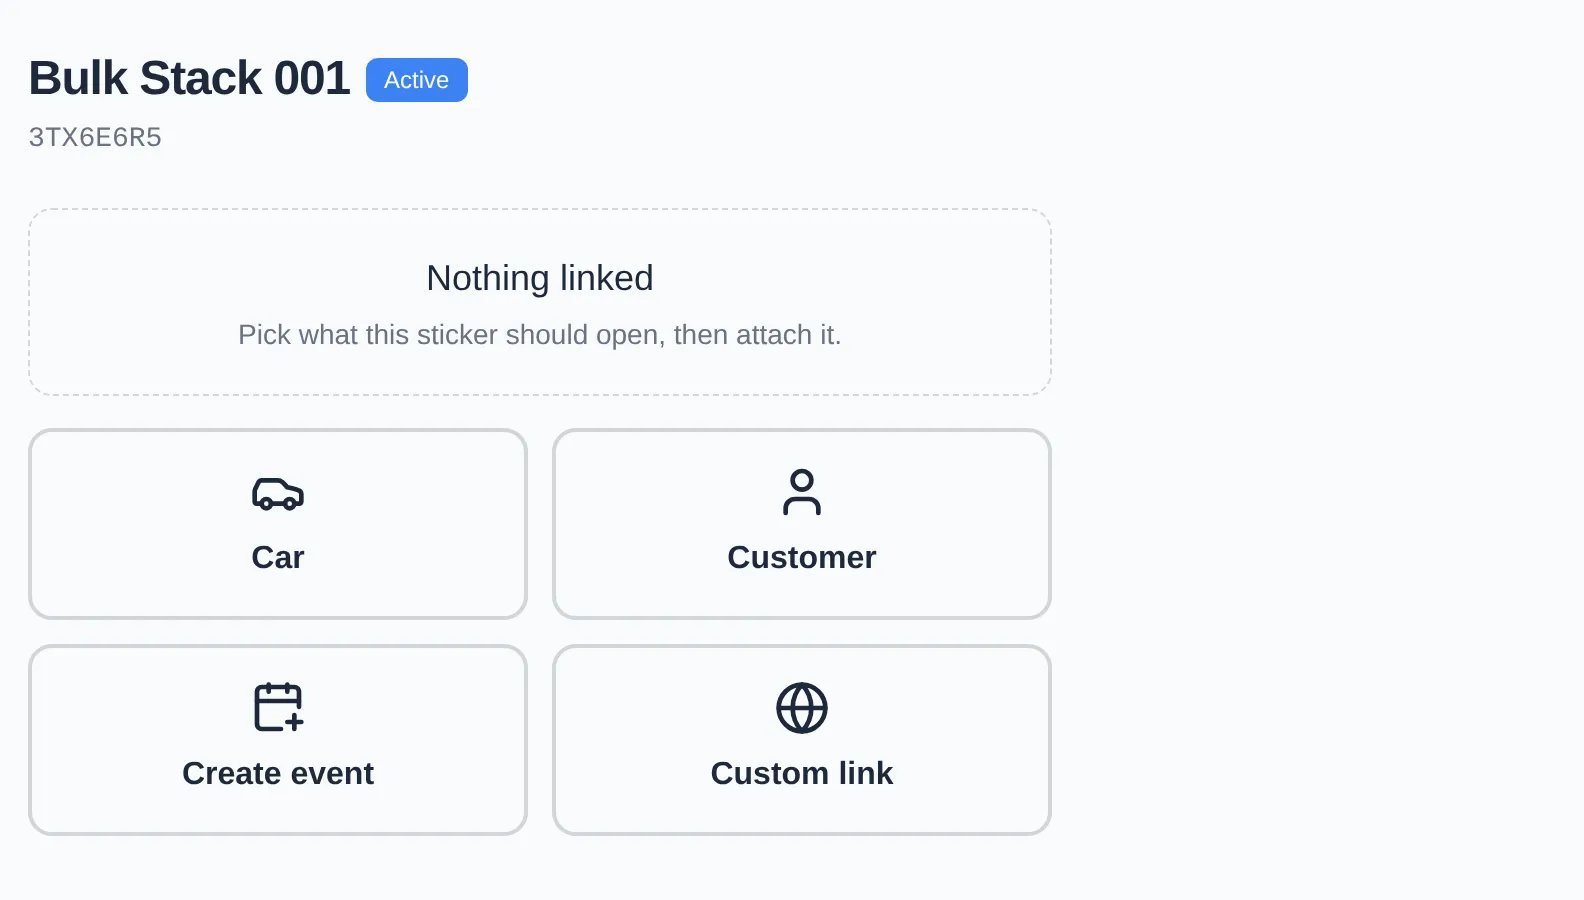
Point your phone camera at an unlinked sticker and open the link. The app opens a page with the sticker’s label and code, and Nothing linked.
2
Choose what it opens
Pick Car, Customer, Create event, or Custom link. Then choose the car or customer, or paste a Destination URL for a custom link. Create event needs neither: scanning it later opens a new event, pre-filled with the car or customer if you chose one.
3
Attach it
Click Link QR code. The page now shows Linked with Open destination.
Link a sticker from a car or customer page
On a car or customer page, click the QR icon at the top right (some layouts label it QR code). The Link a QR code dialog opens a camera: scan the sticker, or type the code into Or enter code and click Link. If the sticker is already linked to something else, the app asks Reassign this QR? before moving it. When the record already has a code, the dialog is titled Linked QR code. It shows the image, the short link with a copy button, and Unlink QR for a sticker that was put on the wrong record. Unlinking leaves the sticker usable: link it again anywhere.What scanning does
- A linked sticker opens its car, customer, event form, or link.
- The parking audit’s camera mode also reads car QR codes (and VINs) to check a car off at its spot. See Run a parking audit.
- A deactivated sticker, or any code while QR codes is off, shows “Not found”.