A staff group is a named crew — “Car Ops”, “Detail crew”, “Weekend porters”. When you pick a group in Assigned to on an event, everyone in the group is assigned in one step.

Before you start

You need the Schedule permission to create, edit, or delete groups. Any team member can pick a group when assigning work.

Create a group

1

Open Staff groups

2

Name the group

Click Create a group (or New group once you have one). Enter a Name your team will recognise, pick a Color, then click Create group.
3

Add people

Click the group to expand it, click Add people, and tap each teammate to add. Search by name or email.
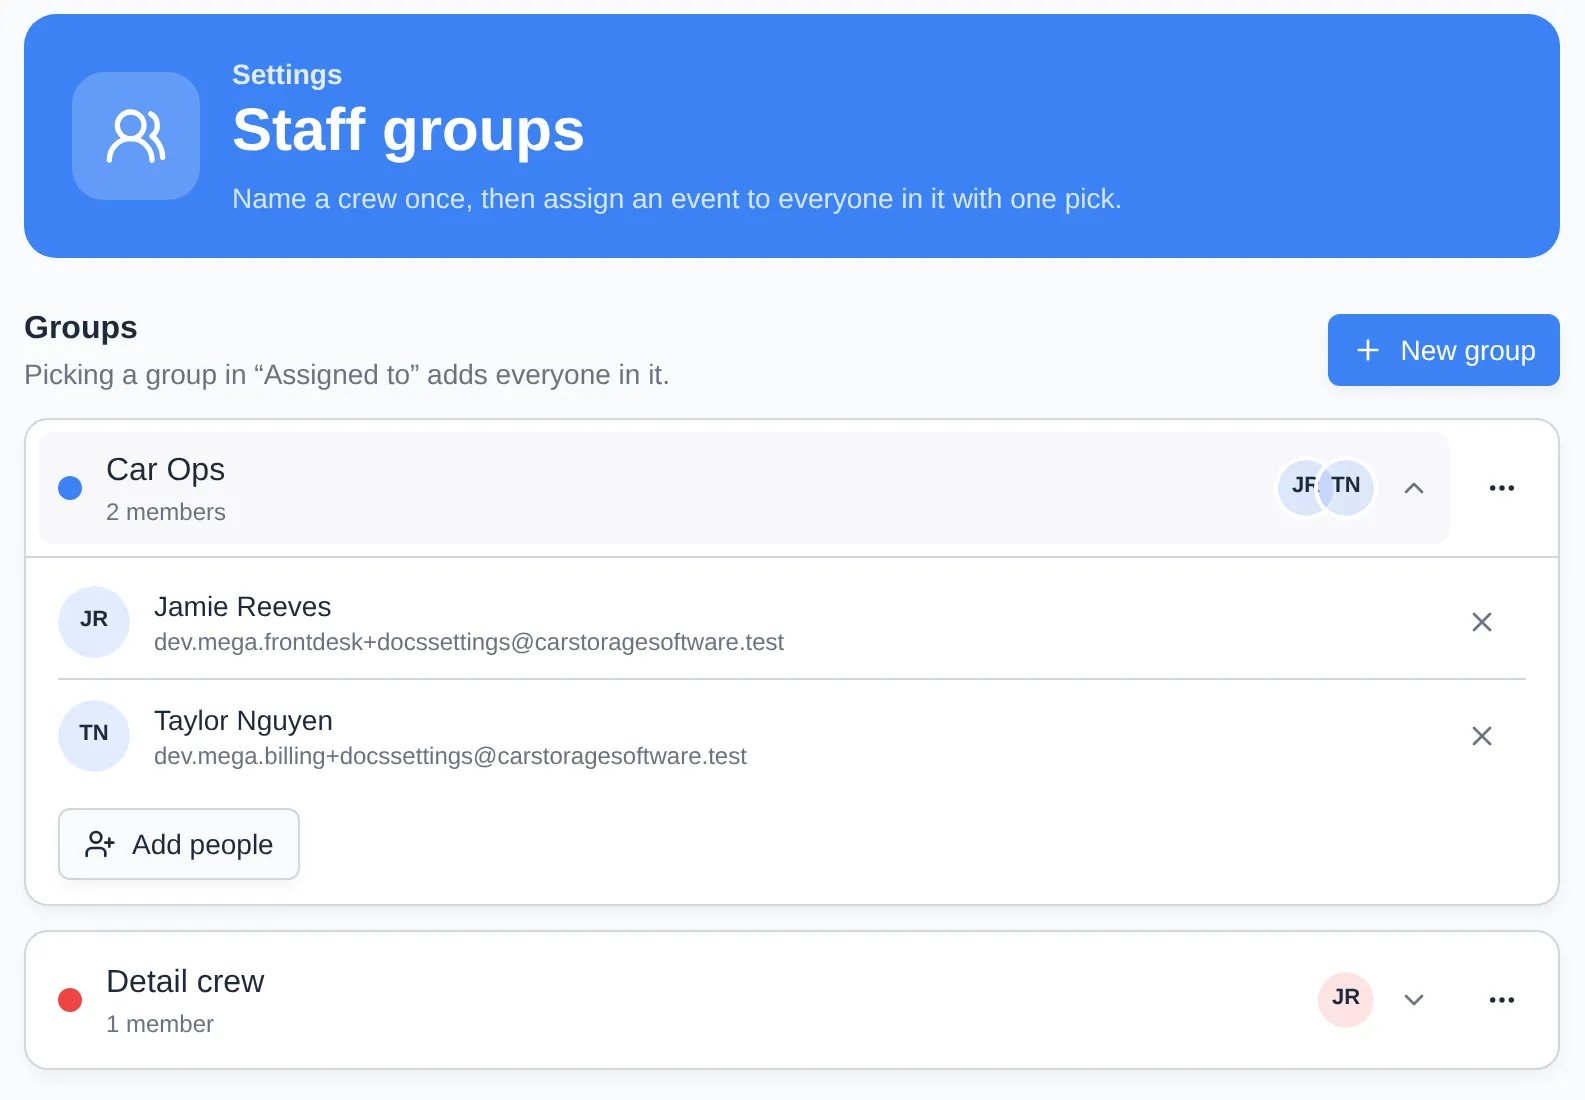
Staff groups page with a Car Ops group expanded to show two members and the Add people button, and a collapsed Detail crew group.
The group now shows in the Assigned to picker on events. See Assign team members and vendors.

Change who is in a group

  • Add someone: expand the group, click Add people, and pick them.
  • Remove someone: expand the group and click the × next to their name.
If the group is already assigned to upcoming events, you’re asked whether to Also add (or Also remove) that person on those events. Click Update N events to apply it, or Not now to change the group only. Only events assigned through the group change — people assigned directly stay put. Updating events is admin only; other staff see “Only admins can update event assignments”.

Rename, recolor, or delete a group

Open the ⋯ menu on the group:
  • Edit name & color — change the name or color, then click Save.
  • Delete group — confirm with Delete group. Everyone stays assigned to their events; the group just stops appearing in Assigned to.

Troubleshooting

“A group with that name already exists.” Group names are unique per facility. Pick a different name or edit the existing group. A removed teammate shows as “Former staff member”. They were removed from the team but are still listed in the group. Click × to take them out.