

Get a vendor access
1
Add the vendor
In Contacts → Vendors, add the vendor with their email. See Manage vendors and vendor invoices.
2
Send the invite
Open the vendor and click Send Invite, or tick Send invitation email to vendor when you add them. The vendor gets an email titled Vendor Invitation from your facility with a Complete Setup button. The link works for 72 hours. Resend Invite sends a fresh one.
3
The vendor opens the link
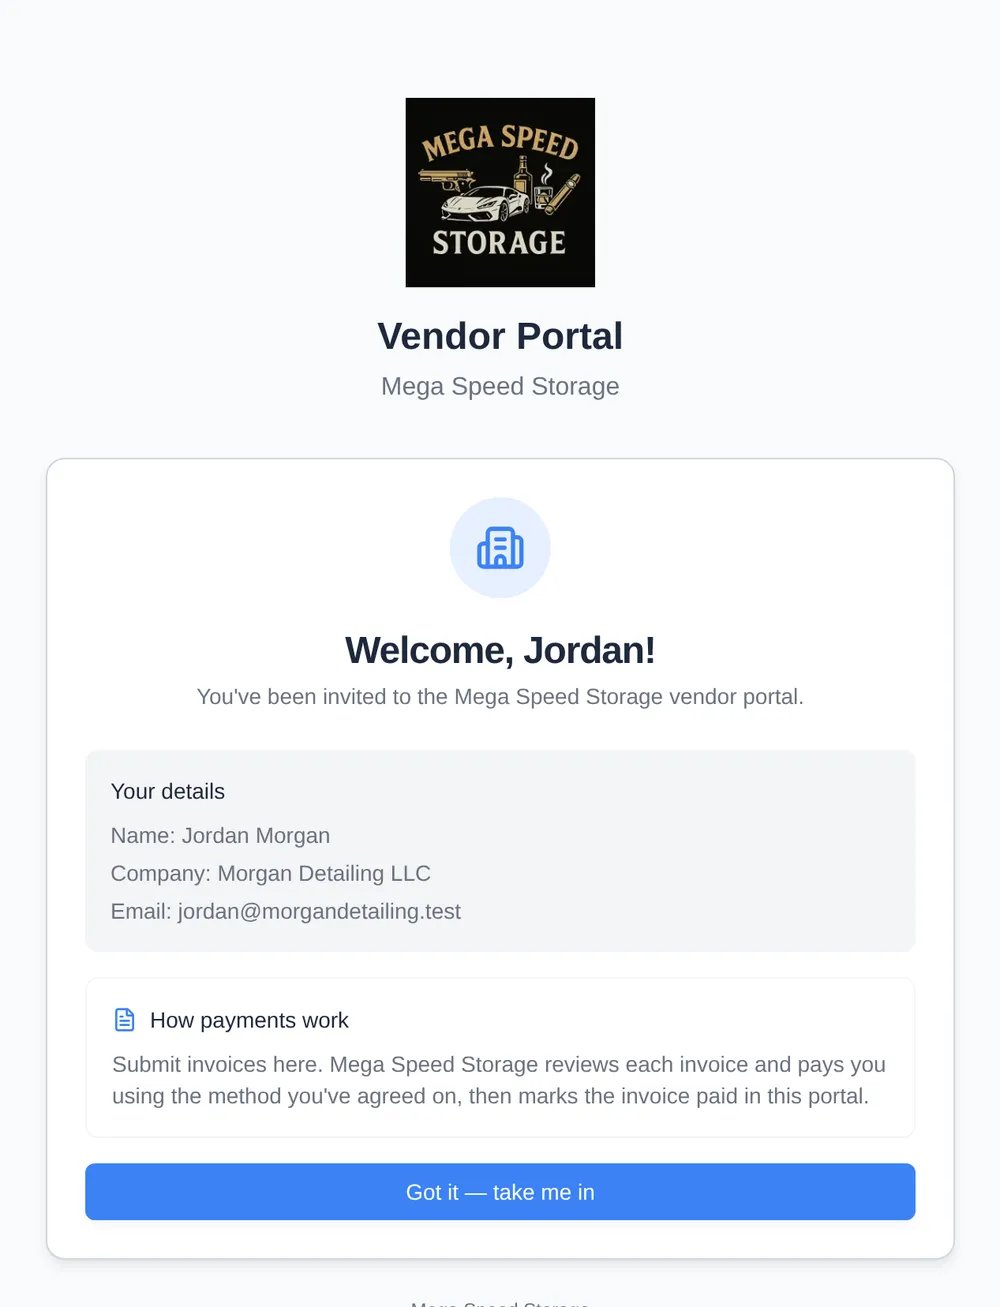
A welcome page shows Welcome, [first name]! with their name, company, and email, and a short note on How payments work. They click Got it — take me in.
What the vendor sees
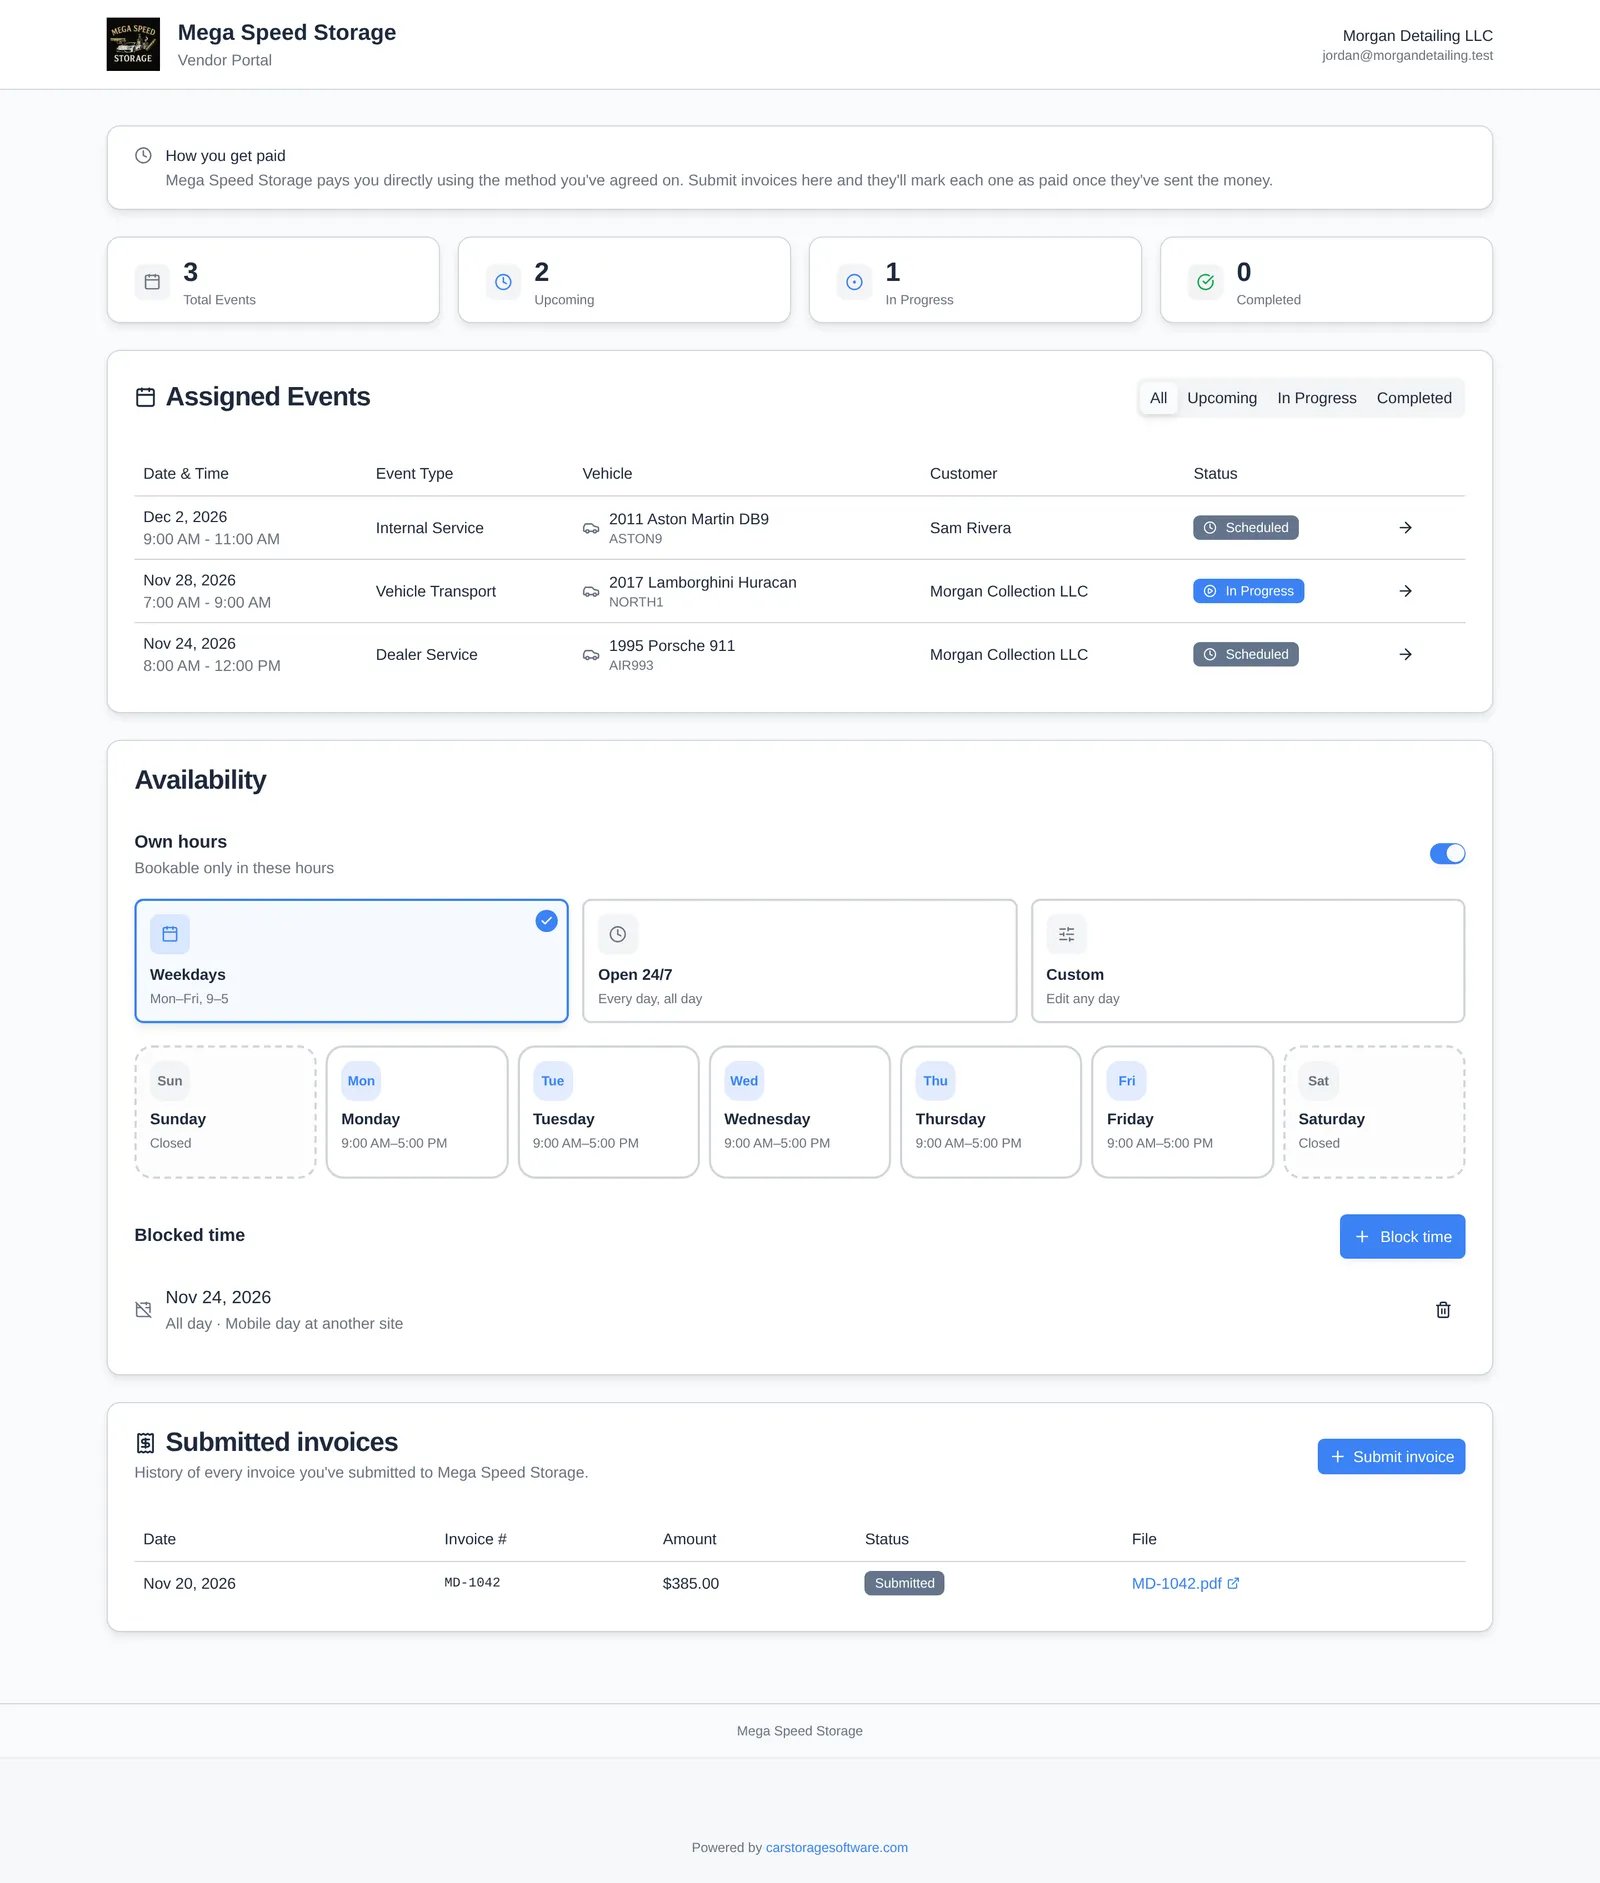
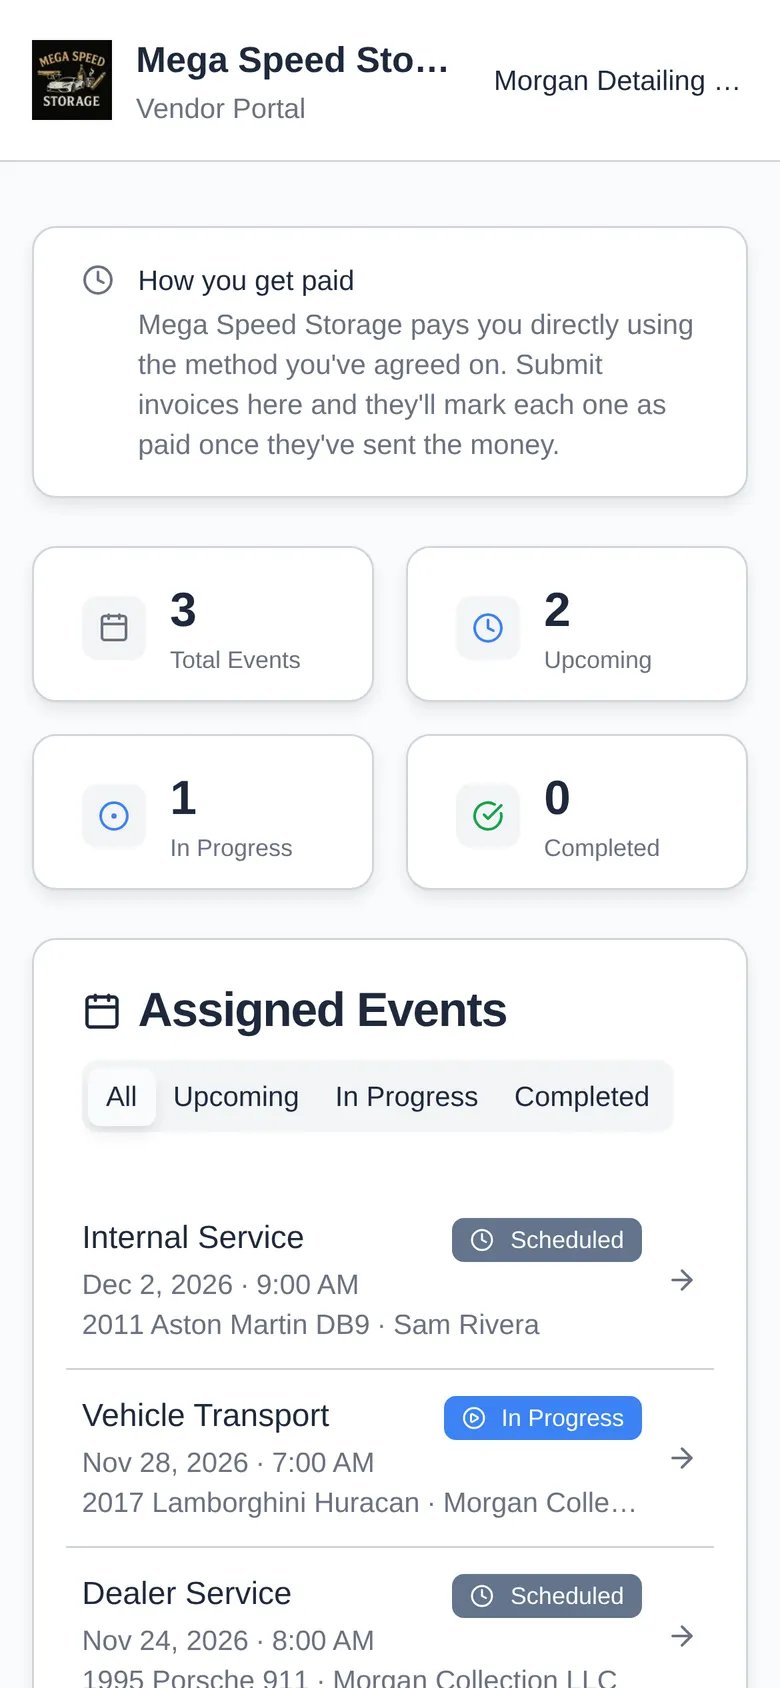
The portal header shows your facility name, Vendor Portal, and the vendor’s company and email. A card at the top explains How you get paid. Below it:- Four counters: Total Events, Upcoming, In Progress, Completed. Clicking one filters the list.
- Assigned Events
- Availability
- Submitted invoices
Work an assigned job
Assigned Events lists every event you’ve assigned to the vendor, with date and time, event type, car and plate, customer, and a status badge. Use All, Upcoming, In Progress, or Completed to filter. To give a vendor jobs, see Assign team members and vendors.1
Open the event
Click a row. The page shows the time, the car, and the customer’s name and email. Transport events also show Transport Details with Pickup, Delivery, and Transport Status.
2
Add notes
Type in Notes (and Transport Notes on transport jobs). They save by themselves, and your team sees them on the event.
3
Start and finish
Click Start Event when work begins. The badge changes to In Progress and the button becomes Mark Complete. Click it when the work is done.
Set hours and block time
The Availability card controls when the vendor can be booked. Times offered for jobs routed to this vendor fall inside their hours and outside their blocked time.- Own hours is off by default and shows Facility hours. Turn it on to choose the vendor’s own hours: Weekdays (Mon–Fri, 9–5), Open 24/7, or Custom, where each day can be edited or marked closed. It saves automatically and shows Hours saved.
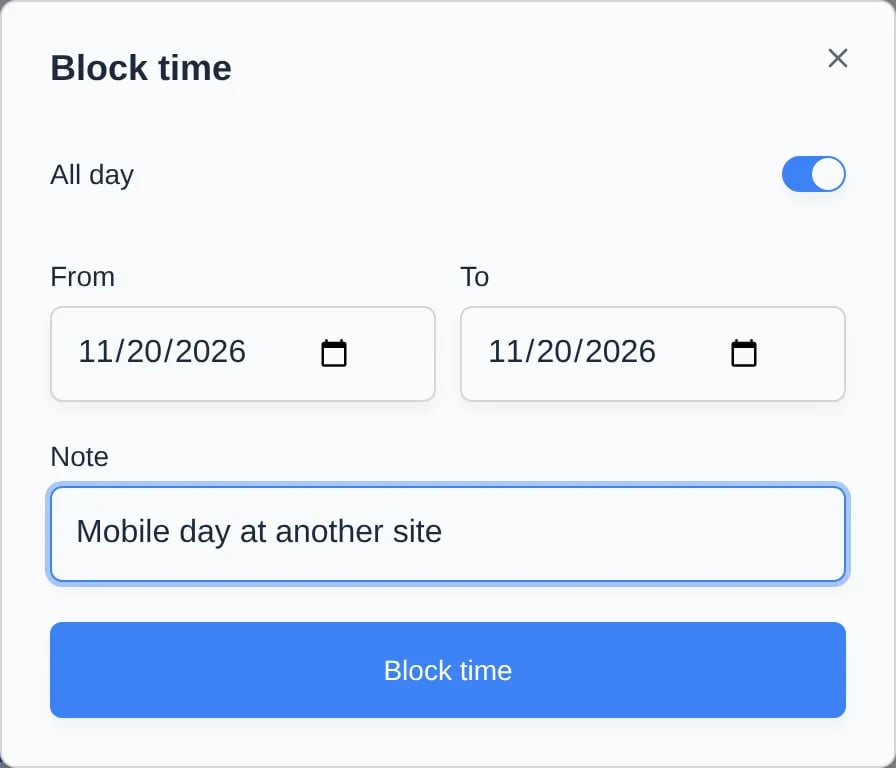
- Blocked time is for days off and trips. Click Block time, leave All day on and set From and To, or turn it off and set a Date, Start, and End. Add a Note if you like, then click Block time. Remove a block with the trash icon on its row.
Submit an invoice
1
Click Submit invoice
It’s at the top right of Submitted invoices.
2
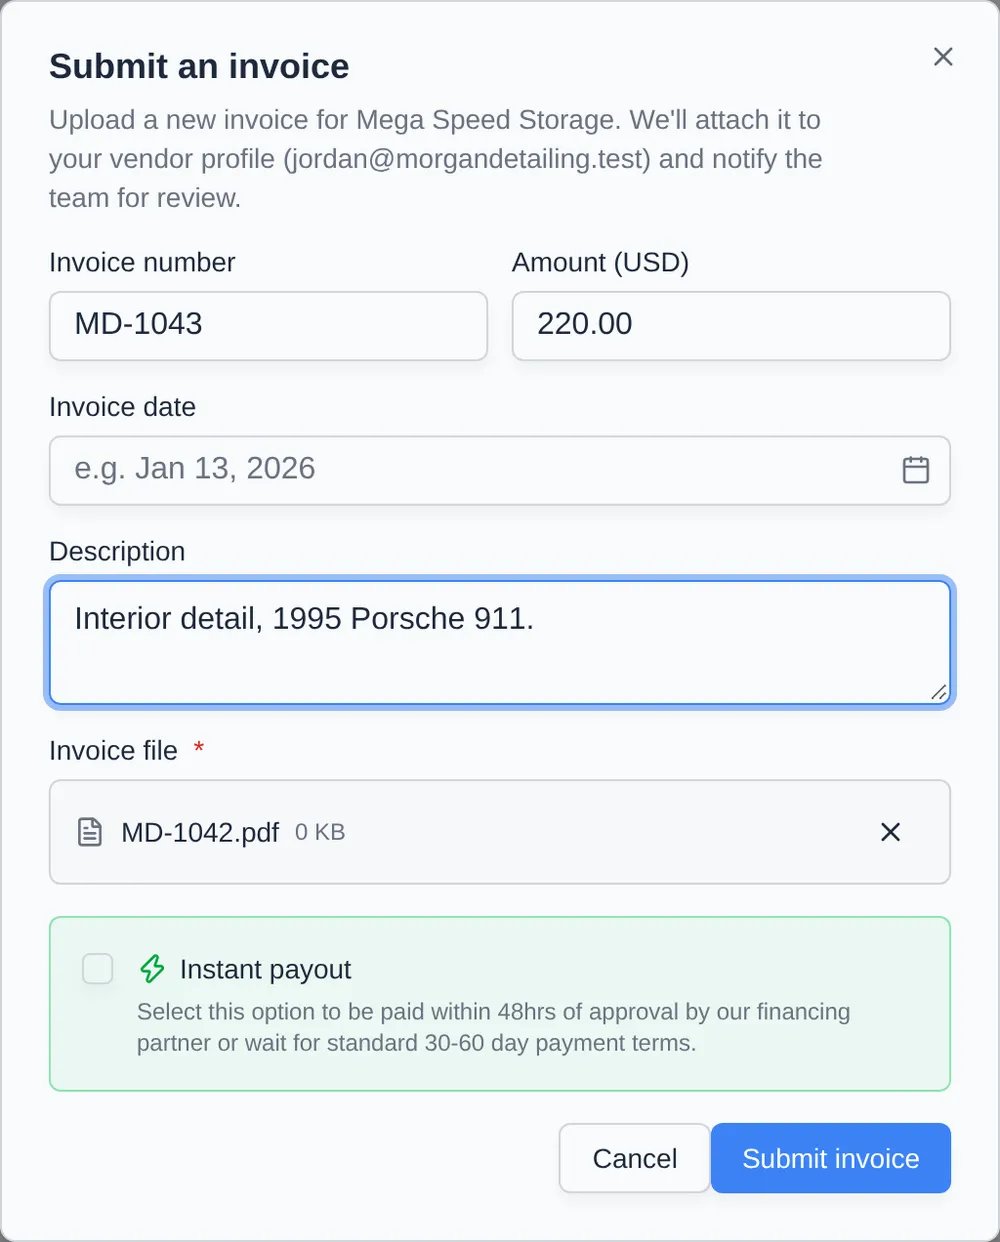
Fill in the details
Enter the Invoice number, Amount (USD), Invoice date, and a Description. These are optional. Invoice file is required: a PDF, image, or document up to 25 MB.
3
Submit
Click Submit invoice. The invoice appears in the list as Submitted, and your team is notified.
Troubleshooting
- The vendor sees “You don’t have any assigned events yet”. No events are assigned to them. Assign the vendor on the event.
- The vendor lands back on the welcome page. They haven’t finished the welcome steps yet. Ask them to click Got it — take me in (or Continue, then skip or finish the bank step).
- The invite link doesn’t work. It expired after 72 hours. Click Resend Invite on the vendor.