

Get customers in
Customers sign in with their email and a link. You can invite them from their record, share your login link or QR code, or let them register themselves. To save the portal to a phone’s home screen, point them to Install the mobile app. A customer who stores cars at several facilities has one login and switches facilities from a button at the top of the portal. See Serve a customer who uses several facilities.Find your way around
On a phone, a bar at the bottom has the main tabs. The default tabs are Events, Cars, New, Shop, and Profile. New is the round button in the middle and opens Schedule. Profile opens Settings, which links to Profile, Billing & Payments, and Other. On a desktop browser the same bar floats at the bottom of the page, and the banner buttons read Call, Text, and Chat.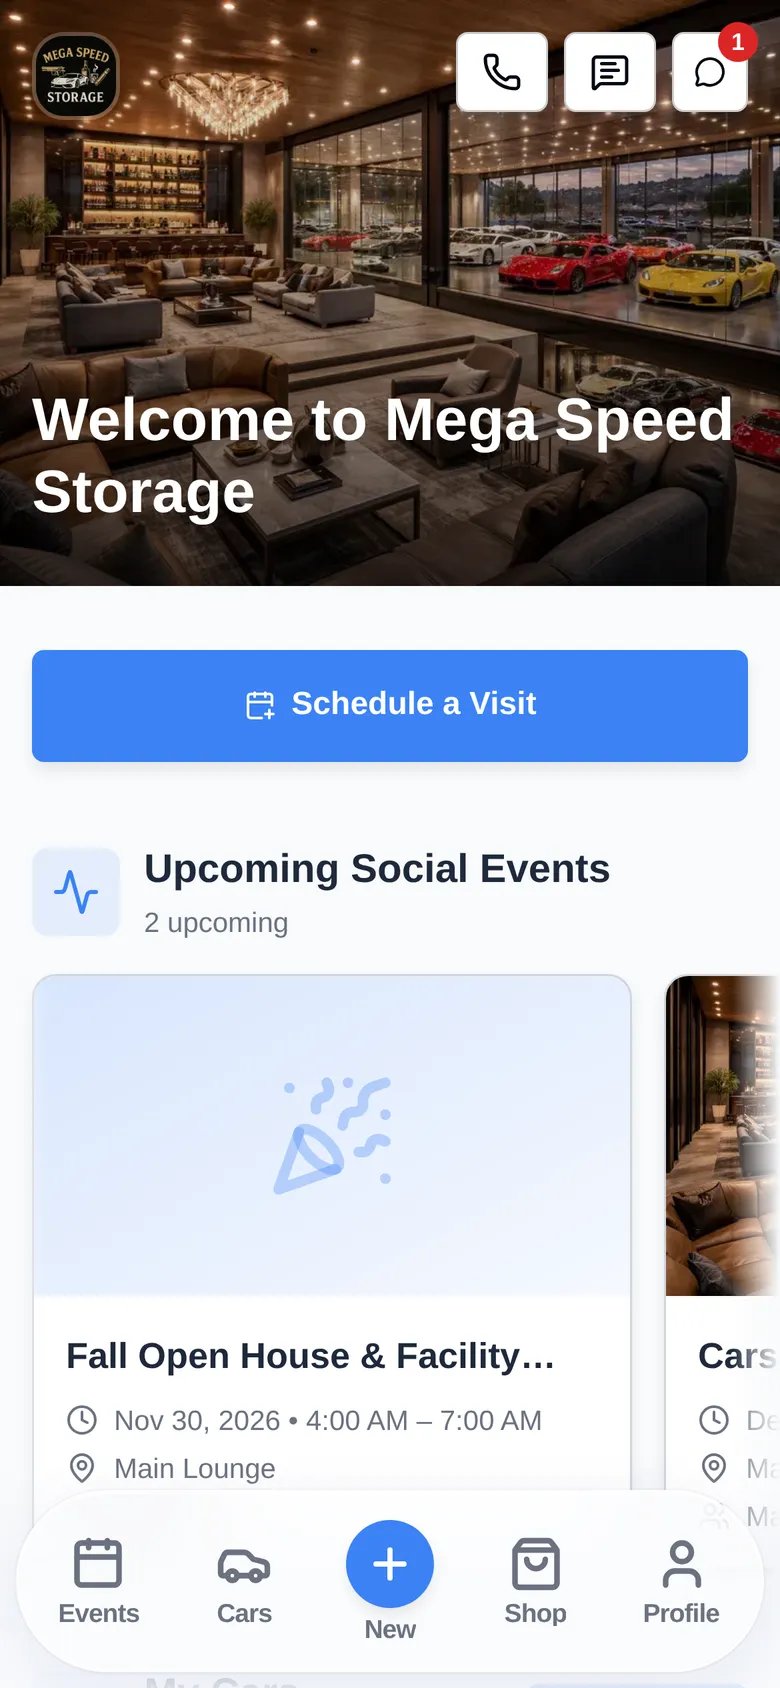
Cars
Cars lists My Cars with a photo, year, make, and model. Tap a car to open it. The car page is read-only for the customer. It has the photo, an Activity Feed, and Vehicle Details such as VIN, plate, mileage, insurance, and registration. If you allow it, an Add a Car button opens a form with Year, Make, Model, and an optional photo (Take Photo or Choose File). Customers add a car without calling you, and it appears on their record. To turn this on, see Customize the customer app. Under the car list, Create a sourcing request opens Sourcing request. The customer enters Year, Make, Model, and More details (optional), then taps Submit request. They manage each request in Your sourcing requests with Pause, Mark fulfilled, and Cancel.Book a pick-up, drop-off, or service
1
Tap New
The Schedule page lists the event types you’ve opened to customers, for example Vehicle Pick Up, Vehicle Drop Off, and Dealer Service. If you’ve tagged event types, tag buttons across the top filter the list.
2
Choose the car
Tap Search and select a vehicle… and pick a car.
3
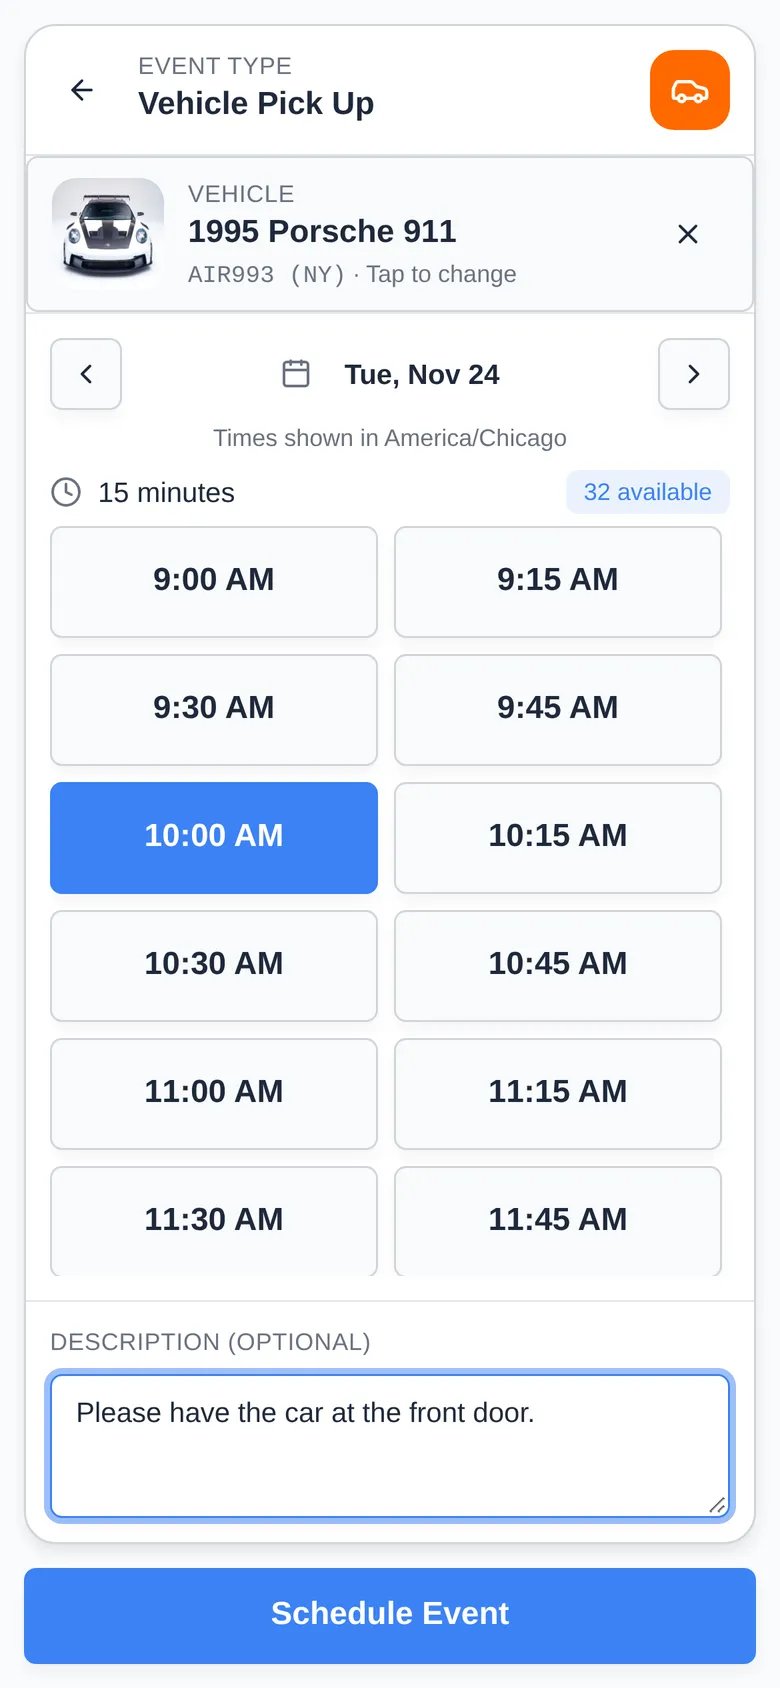
Pick a day and time
Use the arrows beside the date to change days. Open times show as buttons; taken times are crossed out as Reserved. A day you’re closed shows No Time Slots.
4
Add a note and book
Add anything the team should know under Description (optional), then tap Schedule Event.
Events and RSVPs
Events shows Upcoming Social Events (open houses, cars and coffee) and Upcoming Car Events (their pick-ups, drop-offs, and services). View all car events opens My Events, with a search box and the filters All, Upcoming, Pending, and Past. After your team completes a service, the customer can open it to see its photos and checklist.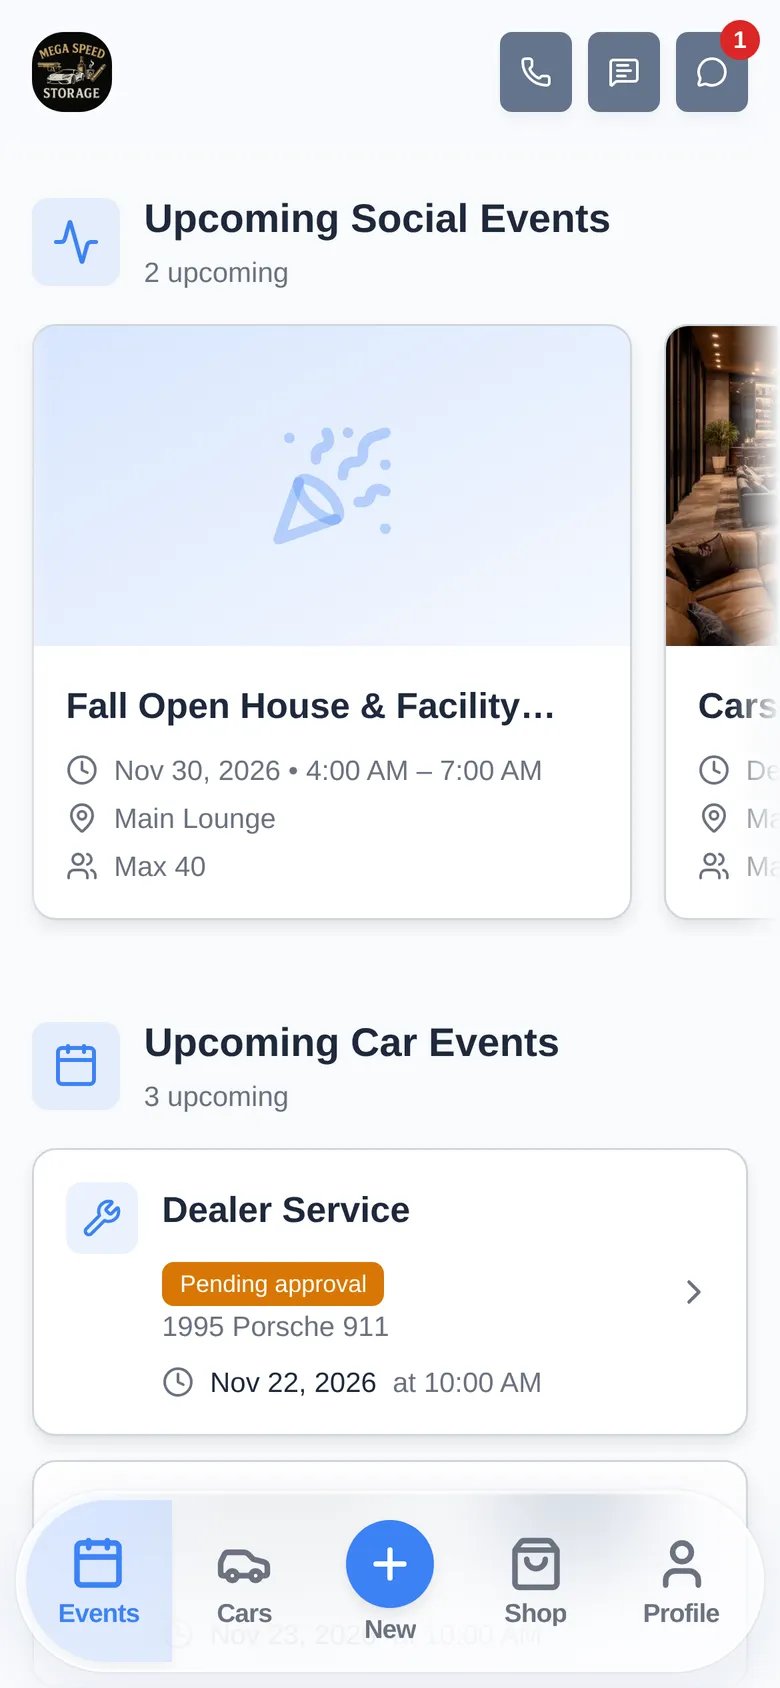
Billing, receipts, and cards
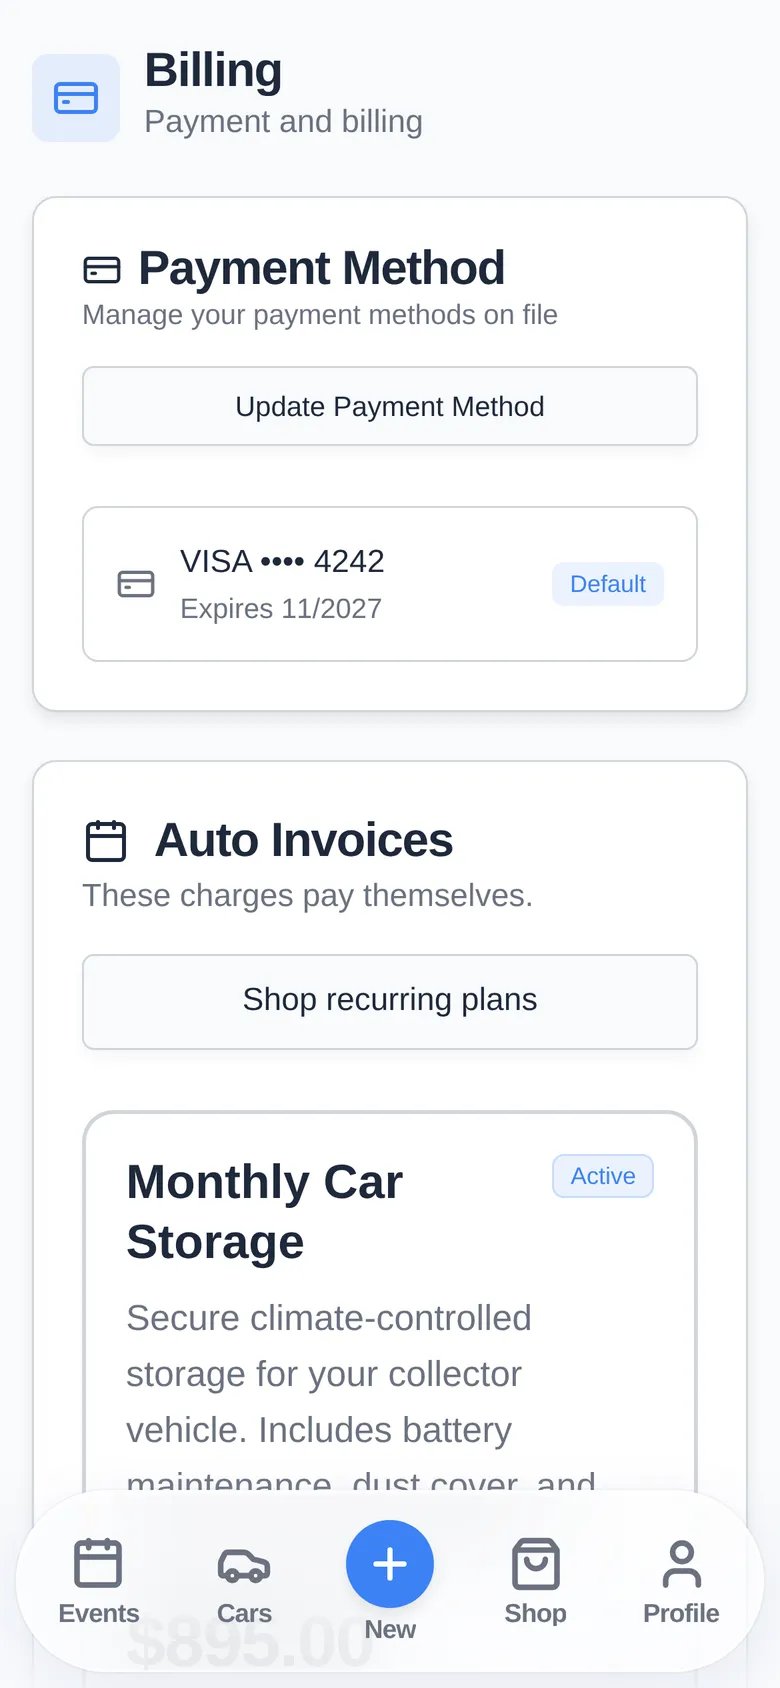
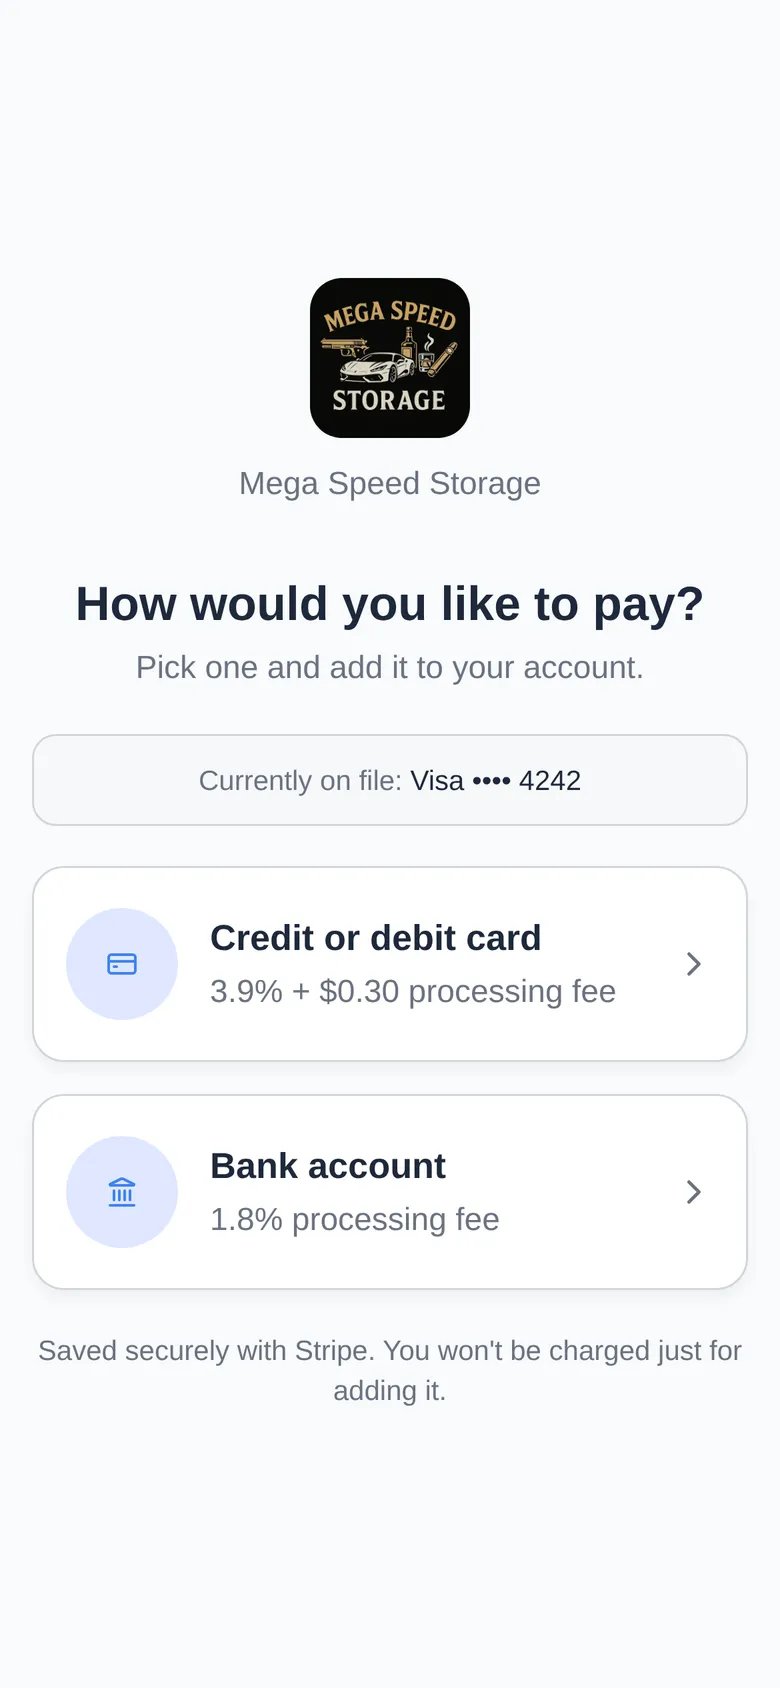
Billing (under Profile → Billing & Payments) has three parts:- Payment Method lists the cards on file, marks the Default, and has Update Payment Method.
- Auto Invoices shows each recurring plan with its price, Last payment, Next payment, and the card it uses. Shop recurring plans opens the shop. View Invoice opens that plan’s invoice.
- Receipts lists one-time purchases and plan payments with the amount and Paid.
Shop
Shop lists your products with price and category buttons such as All, Storage, and Detailing. One-time items have a Purchase button. Products with several prices show View Options. On Confirm Purchase, the customer sees the item, the total, a Promo code box, and the card to be charged. They tap Confirm Purchase and get Purchased! with View Receipt and Continue Shopping. The sale shows up in Receipts and in your payments. You set up the catalog in Customize the customer app.Documents and contracts
My Documents (in the portal’s Documents page) lists the document types you’ve asked customers to upload, such as insurance and registration. If you haven’t enabled any, the page says No Document Types Available. Contracts a customer must sign appear as steps in their first-time setup or arrive by link. See Help customers with paperwork.Messages and community
The banner’s call and text buttons use your facility’s phone number. Texts land in your shared inbox. The chat button opens Community, a list of channels such as #Event Announcements, where customers read and post. You manage channels in Manage community channels.Profile and account
Profile has Upload Photo, First Name, Last Name, Phone Number, Address, and the saved payment methods. The email shows Email cannot be changed. If a customer needs a different email, change it on their record. Other has Appearance (Facility default, Device, Light, Dark), Download my data, and Sign out. Under Danger zone, Delete account sends a request to your facility. Your team gets an email and the customer is told you’ll email them when the account is deleted. The button then shows when the request was sent.What you control
Troubleshooting
- A customer can’t find a page. Pages and tabs come from your customer app settings. Check the tab is shown under Settings → Website & customer app.
- The event they want isn’t on Schedule. The event type isn’t open to customers, or customer scheduling is off for it.
- No times on a day. The day is outside your hours or the event type’s closed days, or it’s fully booked. Customers see No Time Slots or Fully booked.
- A customer can’t sign in. Resend the invite from their record. Links expire after 72 hours.