

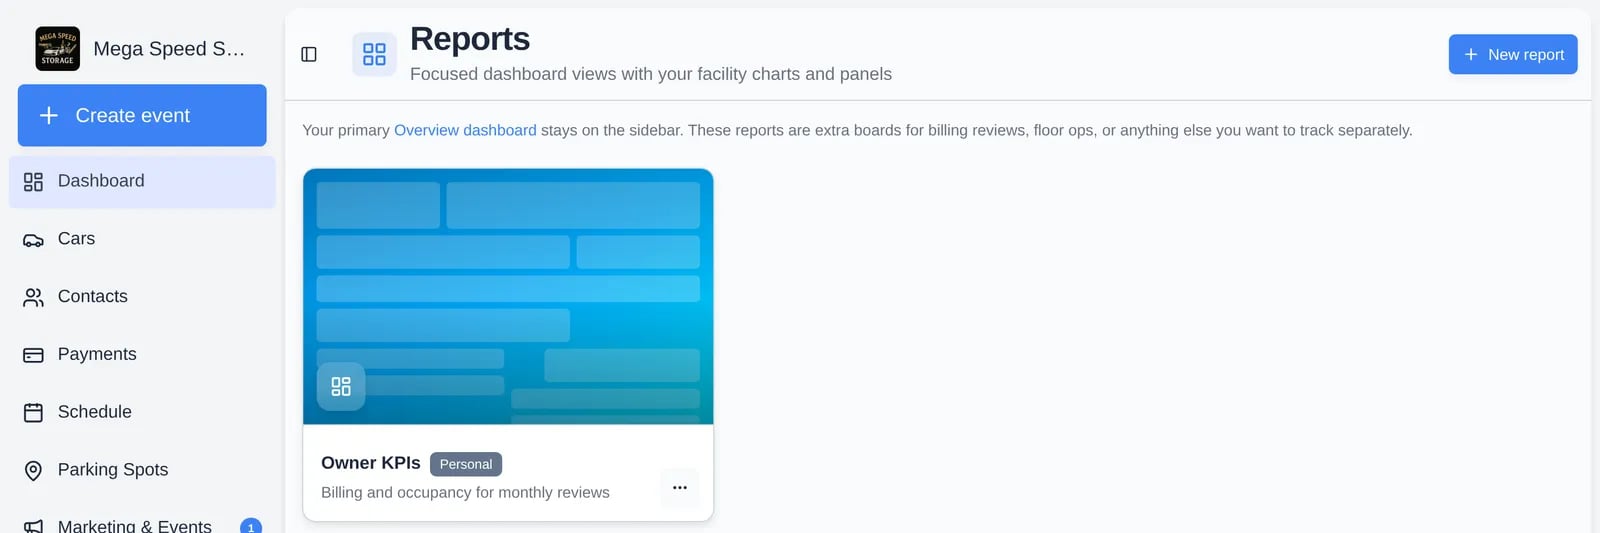
Create a report
2
Click New report
Top right. Enter a Name and an optional Description. Click the cover color to cycle colors and the cover icon to pick another icon.
3
Choose who can see it
Under Who can see this, pick Only me or Everyone on the team. Team reports can only be created by facility admins; for everyone else the team option is locked.
4
Click Create report
The report opens in edit mode with a starter chart titled “Add panels to build this report”. Remove it with the x on its header once you have your own panels.
Add panels and save
1
Click Add panel
The Add panel box sits above the grid. Search or filter the catalog by Schedule, Parking, Inbox, Customers, Cars, Activity, Contracts, Payments, Financials, Alerts, Tasks, or Shortcuts. Click a panel to add it. It lands at the bottom of the grid.
2
Arrange the panels
Drag a panel by its handle to move it. Open a panel’s settings in edit mode to resize it or change what it shows. On a phone, panels stack in one column and you reorder them instead of dragging.
3
Or start from a template
In Add panel, click Apply layout template and pick Operations standard, Billing focus, or Floor operations. This replaces the current layout with a starter you can keep editing.
4
Click Save
Top right. Cancel (or the Escape key) throws away your changes since you started editing.
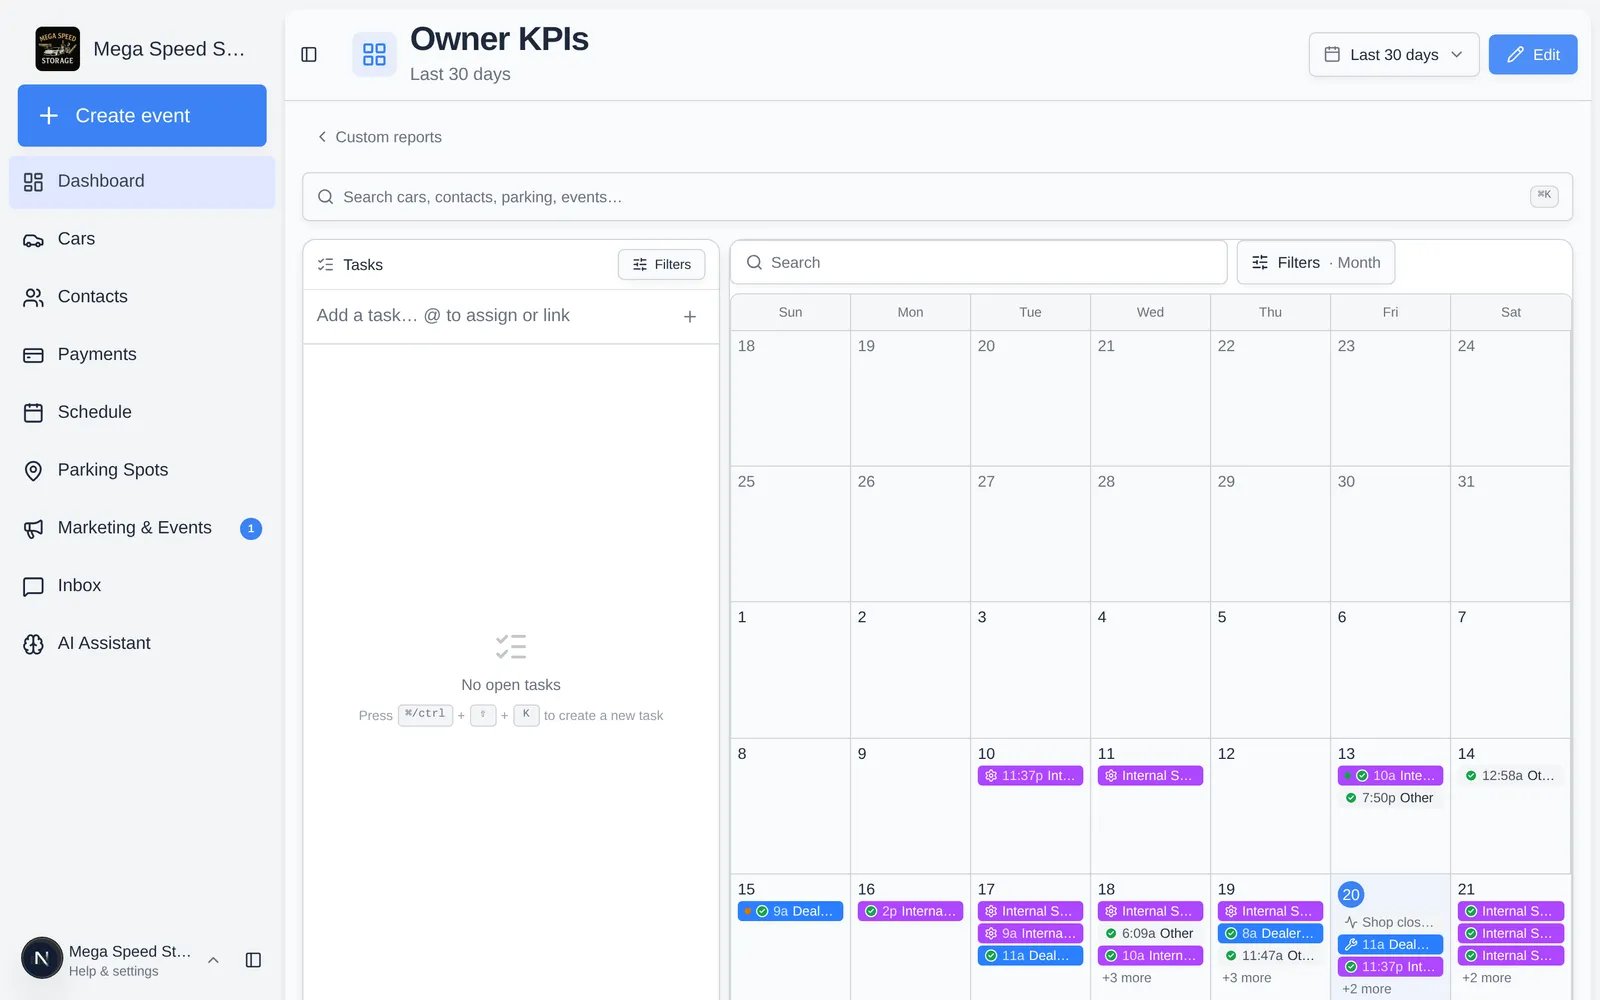
Use a report
- The Last 30 days control at the top sets the date range for every chart, calendar, and activity panel on the board. It is not saved with the report, so it resets each time you open it.
- Click Edit to change the layout. Only people who can edit the report see it.
- Panels follow permissions. A panel that needs a permission you don’t have (for example billing charts) is not offered to you and does not show data.
Who can edit or remove a report
To edit the layout, open the … menu on the report card and click Edit layout. To delete, click Remove in the same menu. Removing a team report removes it for everyone and can’t be undone.