

Before you start
An admin must connect your accounts first. Go to Settings → Communications (open in app), scroll to Marketing, and click Sign in on each platform you post from: Instagram, Facebook, TikTok, YouTube, or Google (Business Profile). A card shows Needs attention when the account has to be signed in again.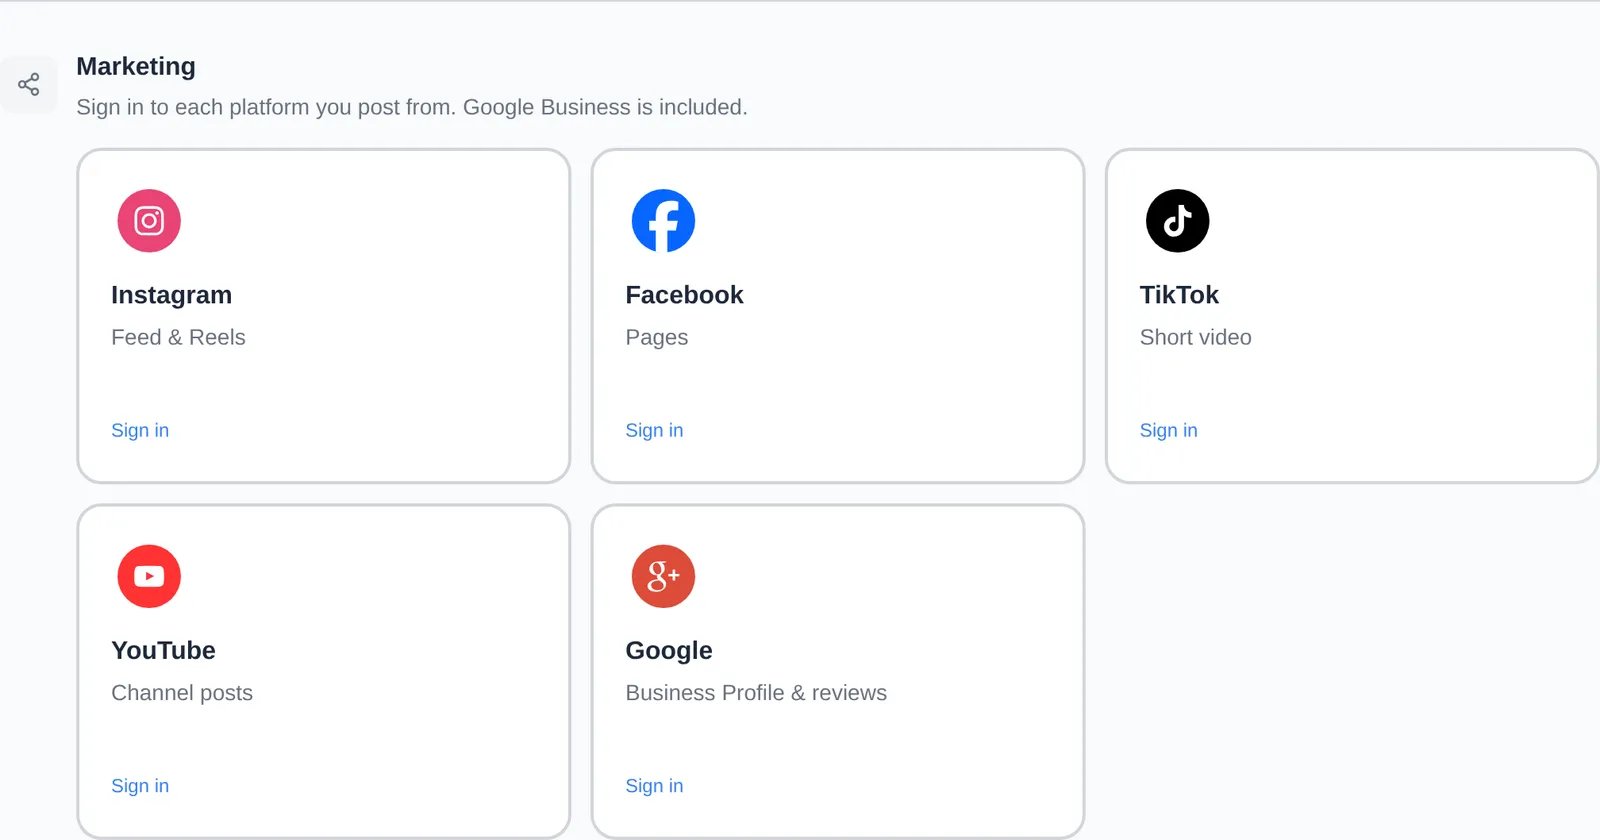
Create the post
1
Start from Create New
In Marketing & Events (open in app), click Create New and choose Social Media Post.
2
Name it and pick a planned date
Type a Campaign name (for example, “Member spotlight: 1967 Corvette”), pick a Planned date, and click Create Social Campaign. The setup opens with three steps: Design, Schedule, and Review.
3
Open the editor
Click Design Social.
4
Pick the account and post type
Click Choose platform (top right of Post settings) and pick the connected account and the kind of post. The options are in the table below.
5
Write the text and add media
Fill in the text box (its label changes with the platform, such as Caption or Post text). Under Media, click Upload media to add photos or video. The card tells you whether media is Video required, Media required, or Media optional for the post type. Check the Preview.
6
Save and go back
Click Save draft (top right). The post editor doesn’t save on its own; the button reads No changes once everything is saved. Then use your browser’s back button to return to the setup.
7
Schedule and start
On Schedule, pick the date and time (at least 30 minutes from now), click Continue, check Review, and click Start campaign. The post publishes at that time.
As with other campaigns, you can Cancel send until 15 minutes before it publishes.