

Insurance and registration
The registration and inspection names follow your facility’s country. For example, UK teams see Road Tax and MOT, and New Zealand teams see Rego and WOF.
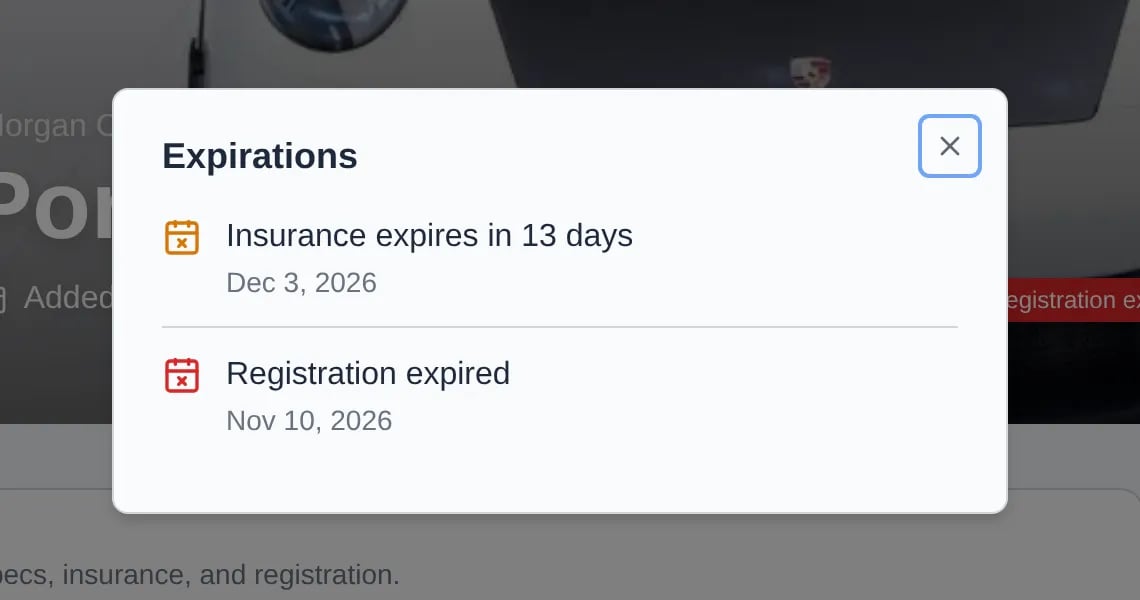
Expiry alerts: when the insurance policy or registration has expired or expires within 30 days, an alert appears in the car header (“Insurance expires in 13 days”, “Registration expired”). Red means expired, amber means soon. Click it to see the dates. Plate and inspection dates don’t raise an alert.
Battery
The Battery Information block tells porters how to keep the car charged:- Battery Type: Lead Acid, AGM, or Lithium
- Battery Location: for example “Under rear seat, trunk”
- Customer Trickle Charger: Customer provided or Not provided
- Battery Notes
Readings
The Vehicle Readings block has three cards:- Tire Pressure: the latest reading for each tire, colored against the ideal. Set Ideal Front PSI, Ideal Rear PSI, and Tire Date Code (DOT) here.
- Fuel Level: a gauge and trend. Enter Fuel Level as 0–100.
- Odometer: the latest reading and a mileage chart. Enter Odometer and Units.
Parts, modifications, and accessories
1
Open Add Part
In the Parts block, click Add Part.
2
Fill in the part
Name is required. Add Category, Condition (New, Used, Refurbished, OEM, Aftermarket, or NOS (New Old Stock)), Manufacturer, Part Number, Cost, Installed Date, Notes, and Photos as needed.
3
Save
The part appears in the table with its category, manufacturer, condition, part number, and cost.