Before you start
- The agreements must exist as templates. See Create a contract template.
- Document types you want to require need Customer access turned on. See Set up document types.
Turn on the steps
1
Open Customer onboarding settings
Go to Settings → Customer onboarding. Under Customer app onboarding, choose On.
2
Include Contract Signing
In Onboarding steps, click the check mark on Contract Signing to include it, then click Configure on that row.
3
Choose the contracts
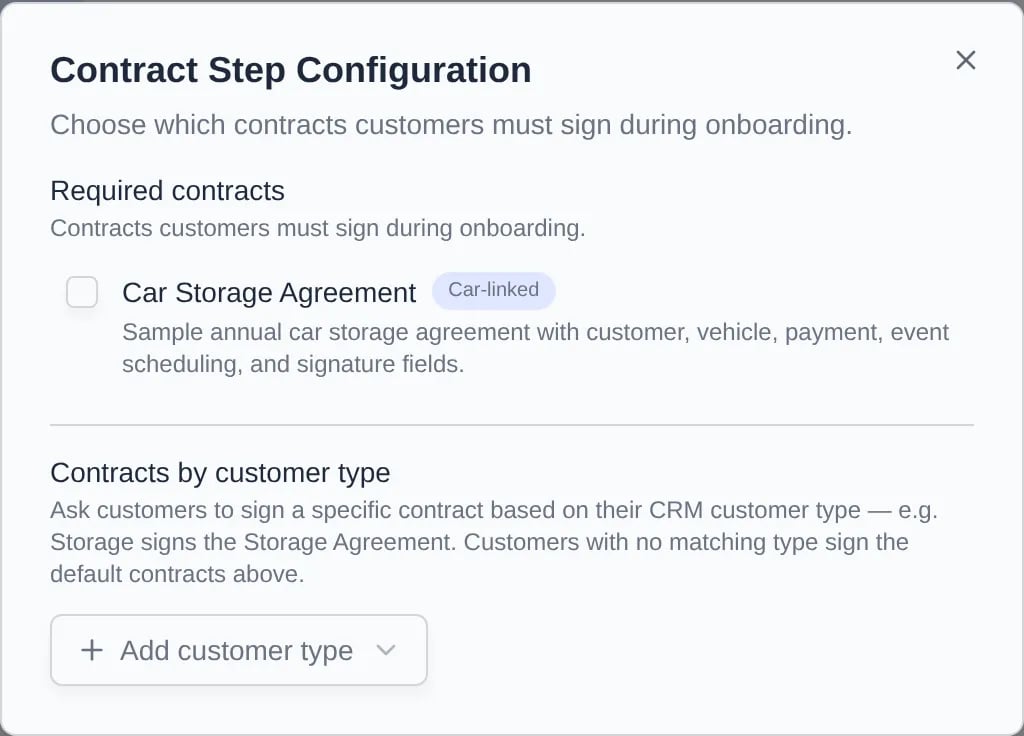
In Contract Step Configuration, pick the templates under Required contracts. Templates tagged Car-linked need the customer’s car first.
4
Optional: different contracts by customer type
Under Contracts by customer type, click Add customer type and pick the contracts that type signs. For example, Storage customers sign the storage agreement and Events customers sign a waiver. Customers with no matching type sign the defaults. If someone has several types, choose Top of list wins or Sign all matching.
5
Include Document Upload
Click the check mark on Document Upload, then Configure, and tick the types under Required document types.
6
Put Cars before Contract Signing
Drag the Cars step above Contract Signing, so per-car agreements know which cars to cover. If it’s in the wrong order, the app turns on the Cars step and moves it for you when it saves.